
Spring is here and I am putting in new plants (mostly seeds) every week. Go here to learn about growing from seeds.
Before the seeds are plunged into the ground, the beds often need a little maintenance. In order to get the best results, I occasionally give my garden beds little encouragement.
Depending on what happened in the bed last year, it may only need a little work. Many of my beds just needed a little weeding and hoeing. Some of them needed a complete overhaul.
Why your garden beds may need a boost:
- Soil lacking in nutrients
- Soil is dense or clay
- History of blight, powdery mildew, or some other annoying fungus
- Even the richest soil needs to be revitalized in order for plants to perform well
If you happen to have chickens, goats, cows, or other garden-boosting animal – it is a piece of cake to refresh your garden. If you don’t have soil producing critters on your farm – don’t loose heart – there is organic matter everywhere.
You can get your garden beds ready for planting in 4 steps.
STEP 1 – TORCH THE BEDS
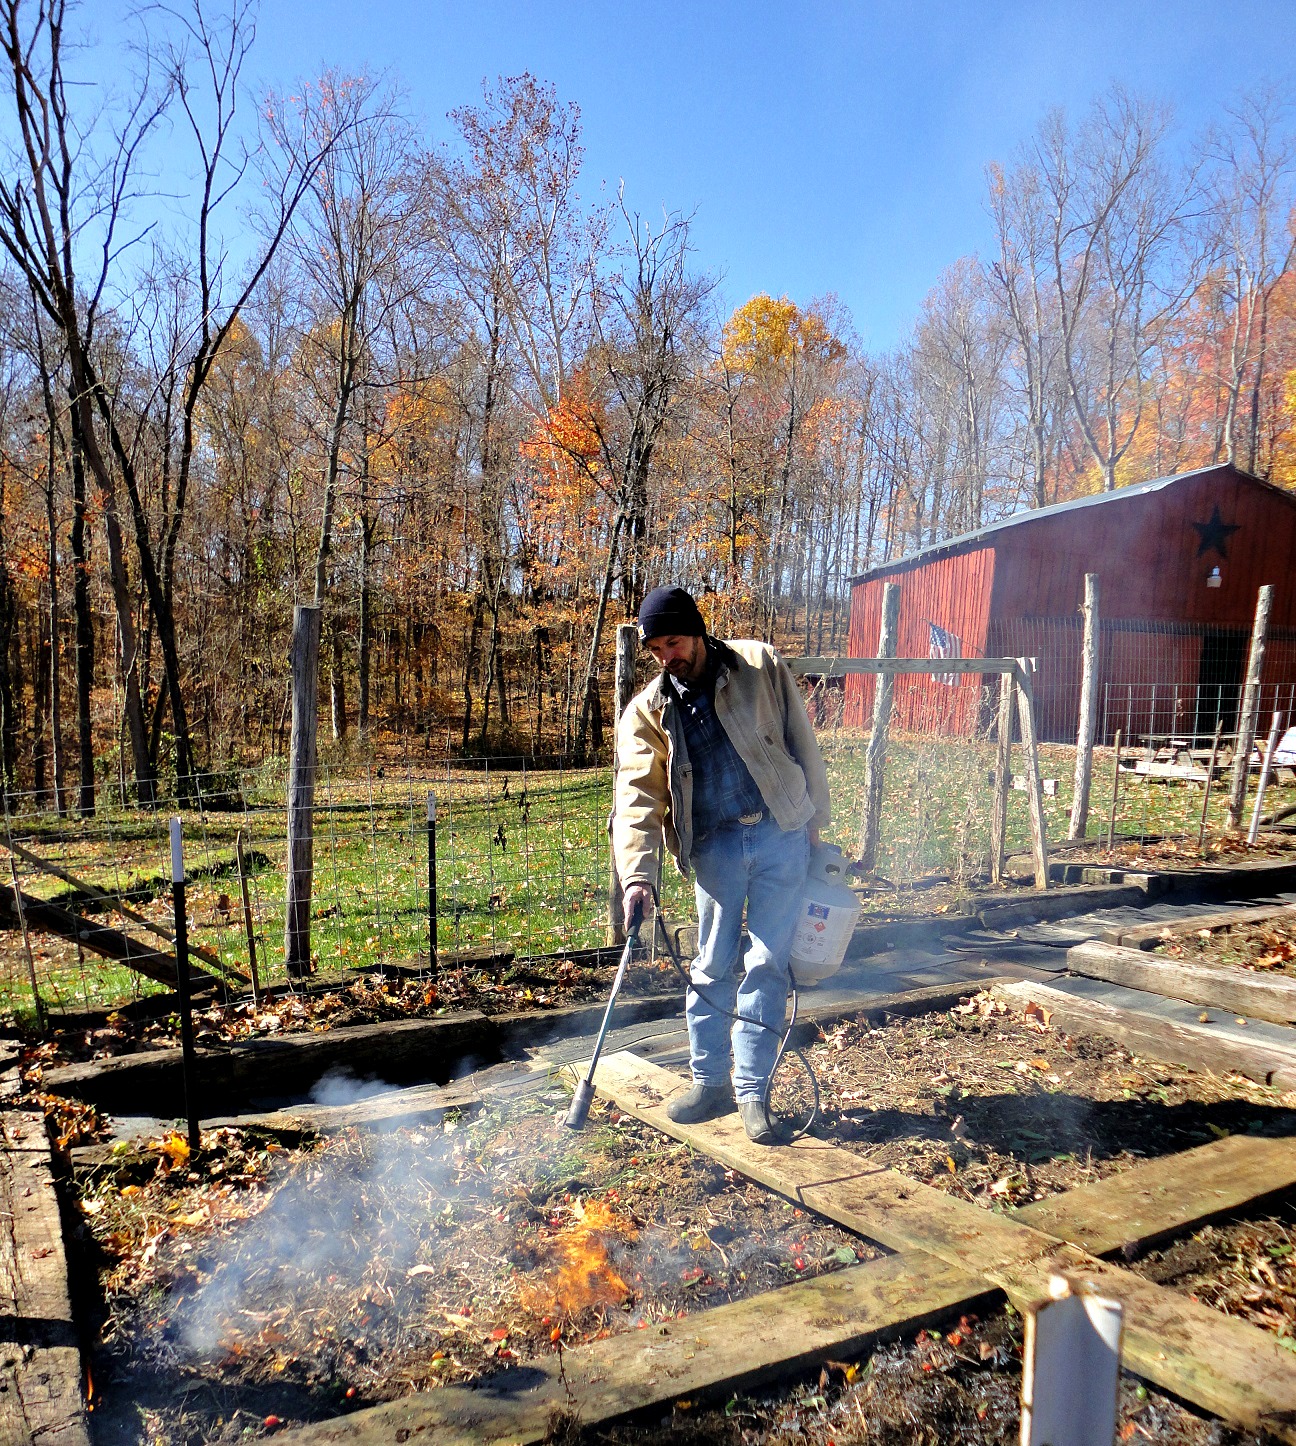
Many of us do not have the luxury or the space to be constantly rotating crops when something like blight attacks our garden. At our home, we have found that torching the beds really helps reduce these headaches from reoccurring year after year.
Every fall we torch our garden beds after we remove all the plant debris. To read more about the torching go here. By torching in fall, freezing in winter and refreshing in spring we have been able to keep ugly stuff from wreaking havoc on the garden.
If you didn’t torch in fall, it’s ok. You can either do it now, or skip this step entirely. Your garden will still benefit from steps 2, 3 & 4.
STEP 2 – HAY, BEDDING, FLUFFY STUFF
When spring arrives, we go to the previously torched & frozen beds and spread something light on it. Plant roots need to be able to travel through soil. For roots to thrive they actually need 3 things: soil, water, and air. Air – underground. Who knew?
If your soil is clay, compacted or very dense, there will be little to no air in the ground. This is where the fluffy stuff comes in.
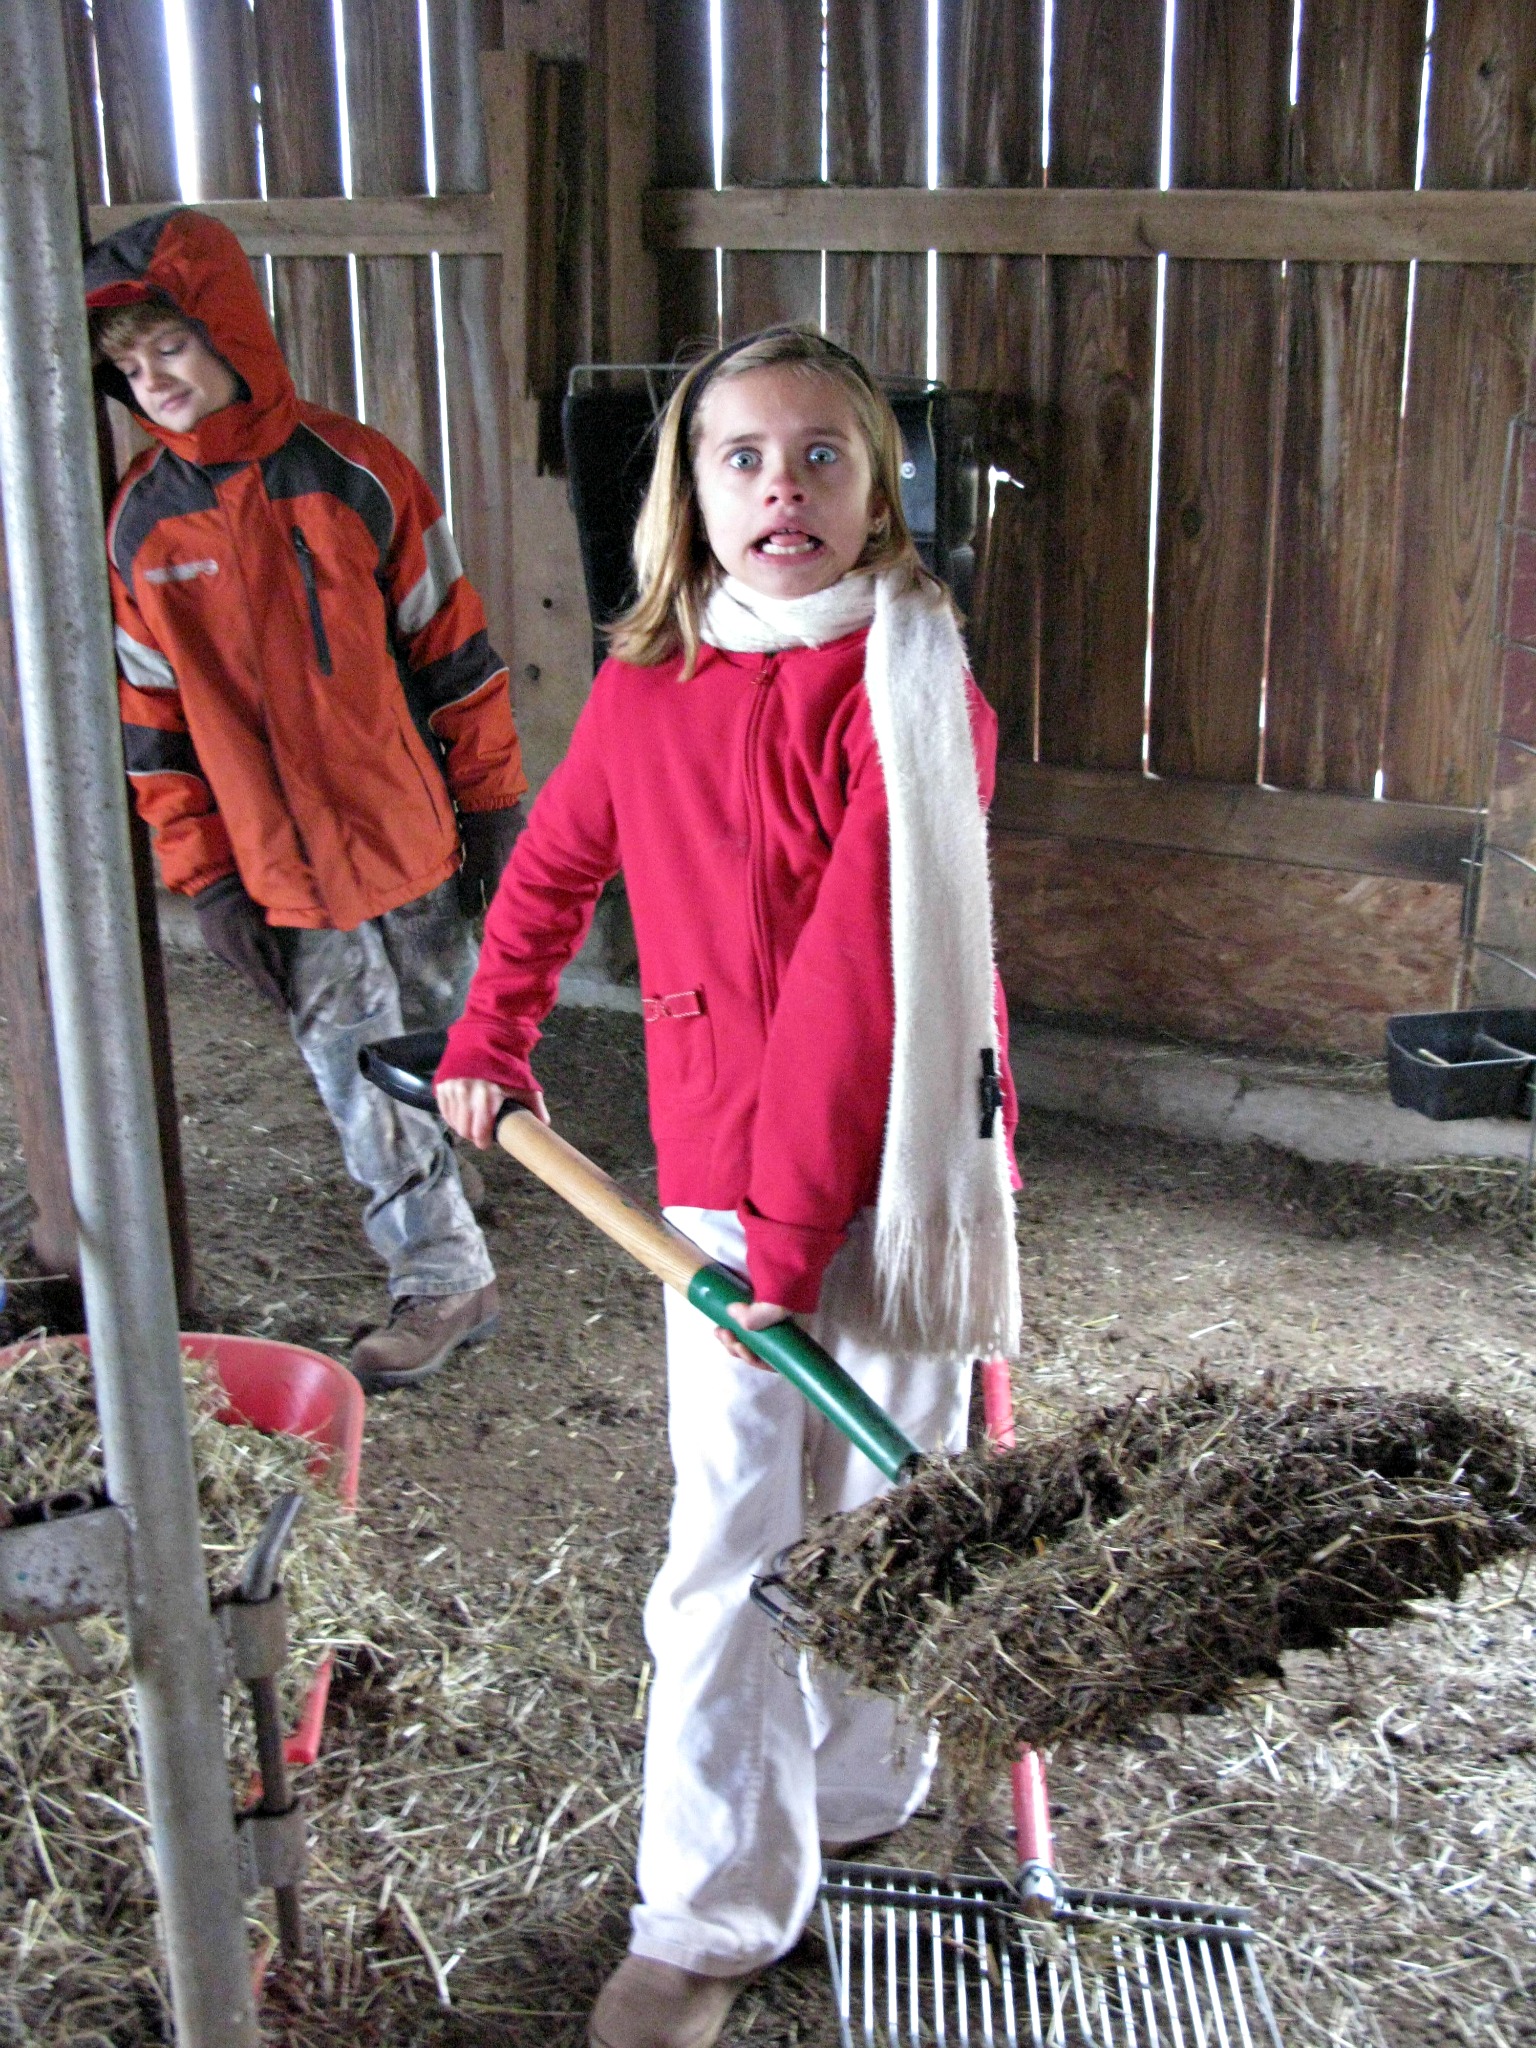
We set up brooders and raise baby chicks every spring. After all the baby chicks move to the big coop the brooders must be cleaned.
This provides wheel barrows full of fluffy organic matter.
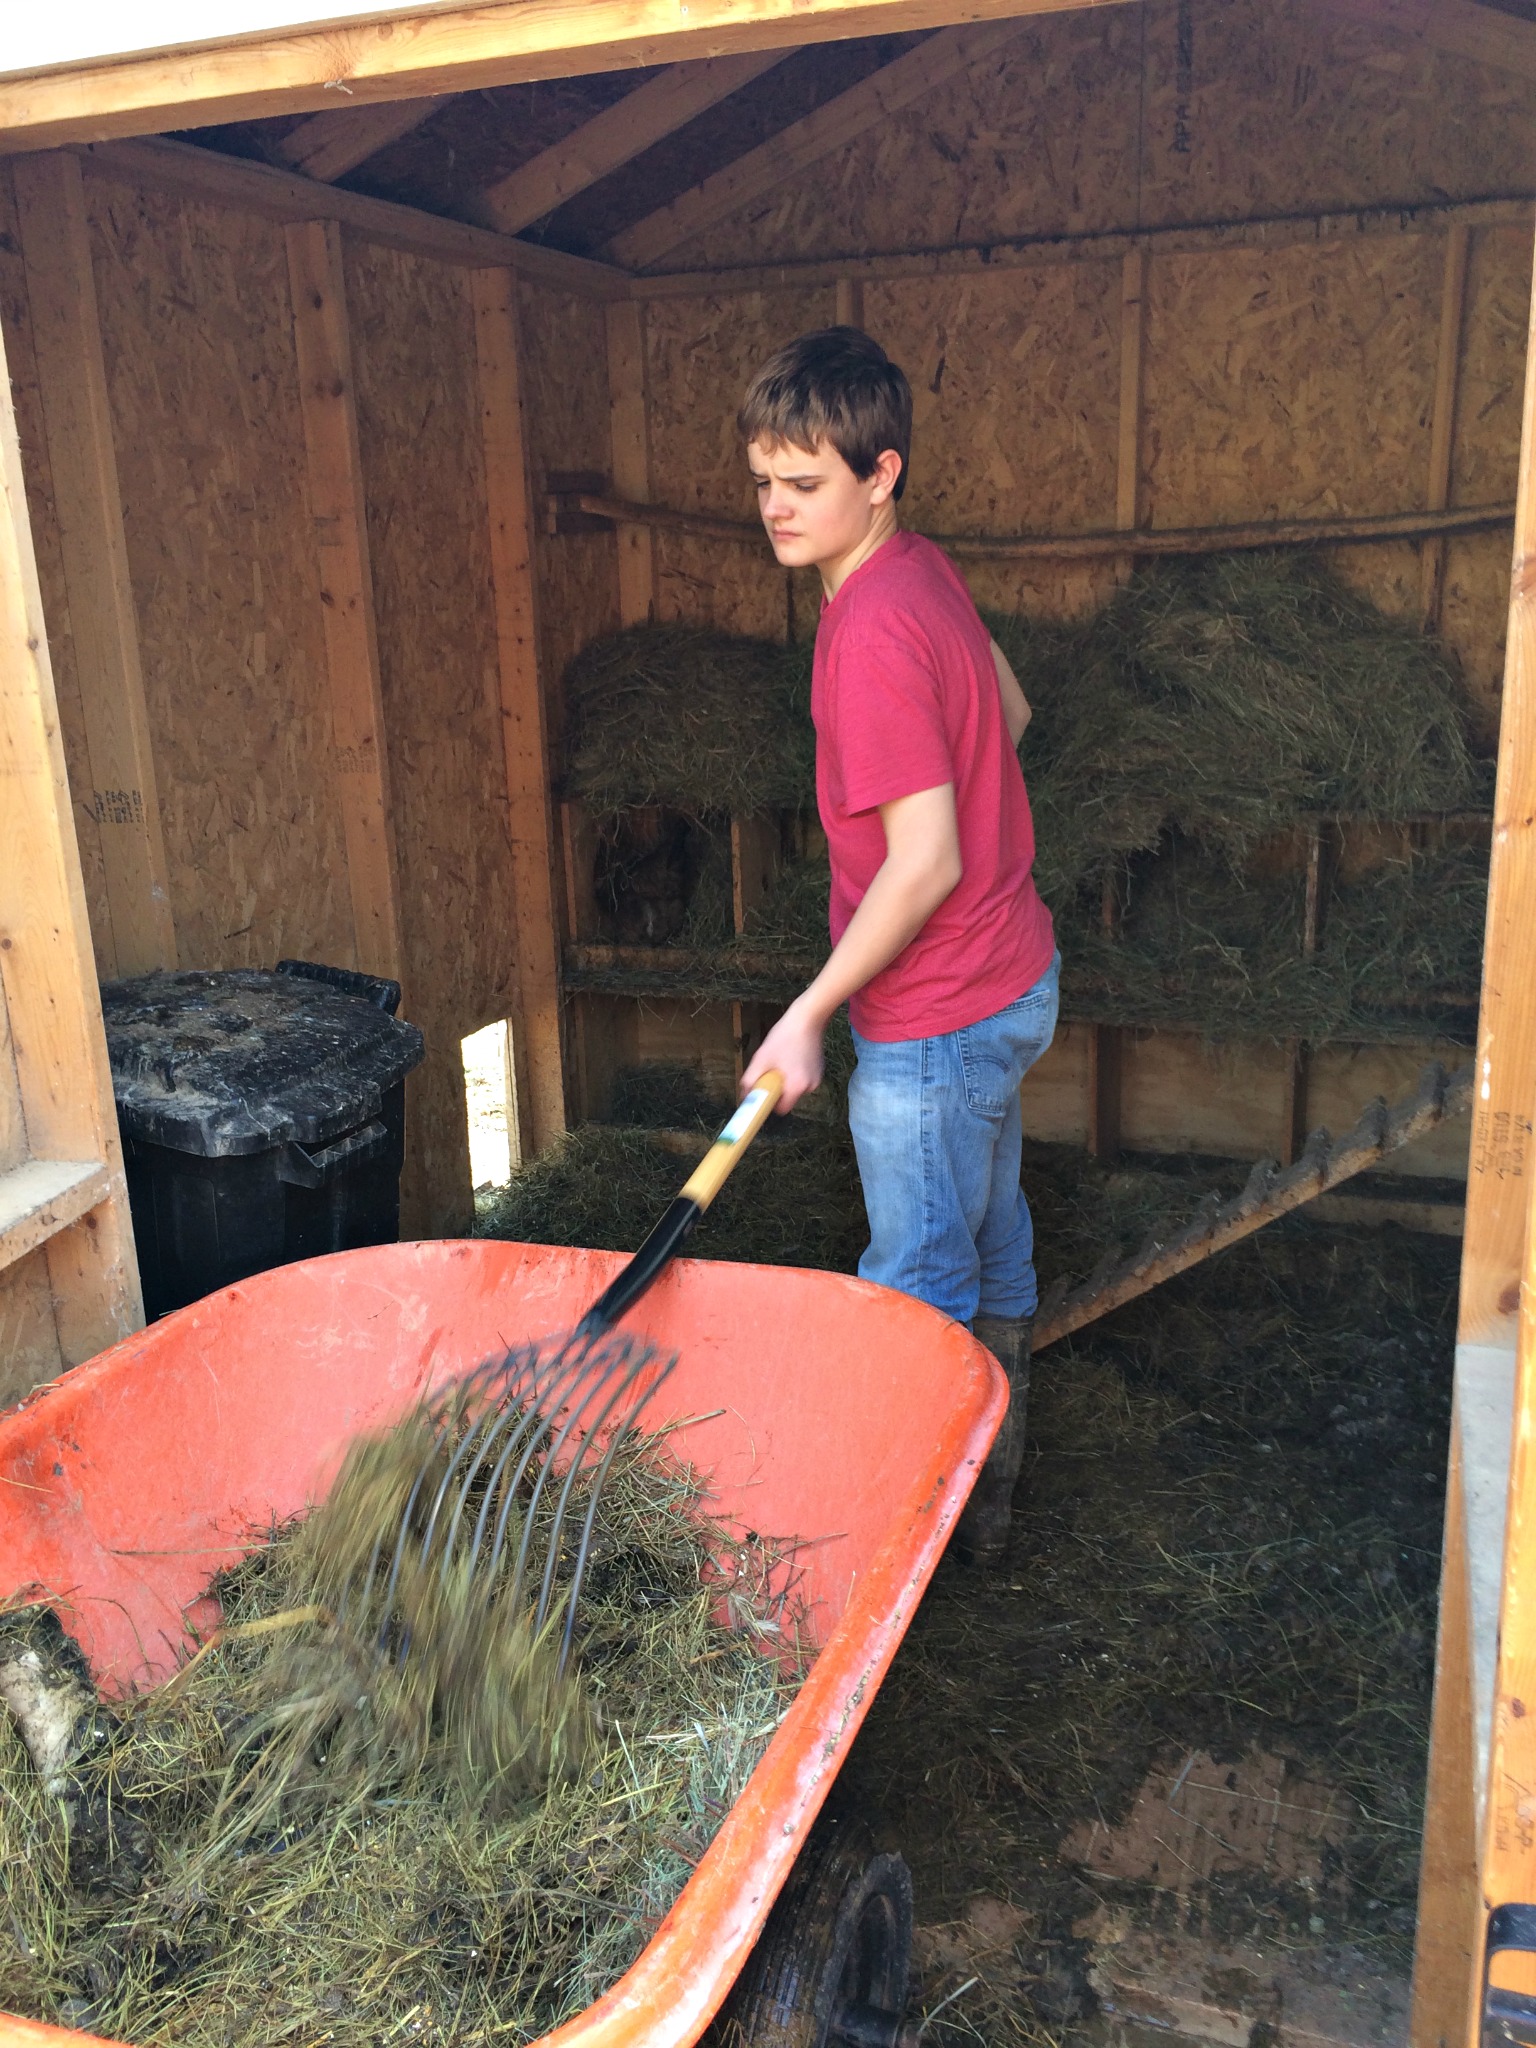
If you don’t have a brooder to clean out, you can substitute the deep litter from your chicken coop. You could also use hay from the floor of your run-ins or stalls.
You could even clean out a friends barn (or coop) in exchange for all the droppings & fluffy matter on the floor.

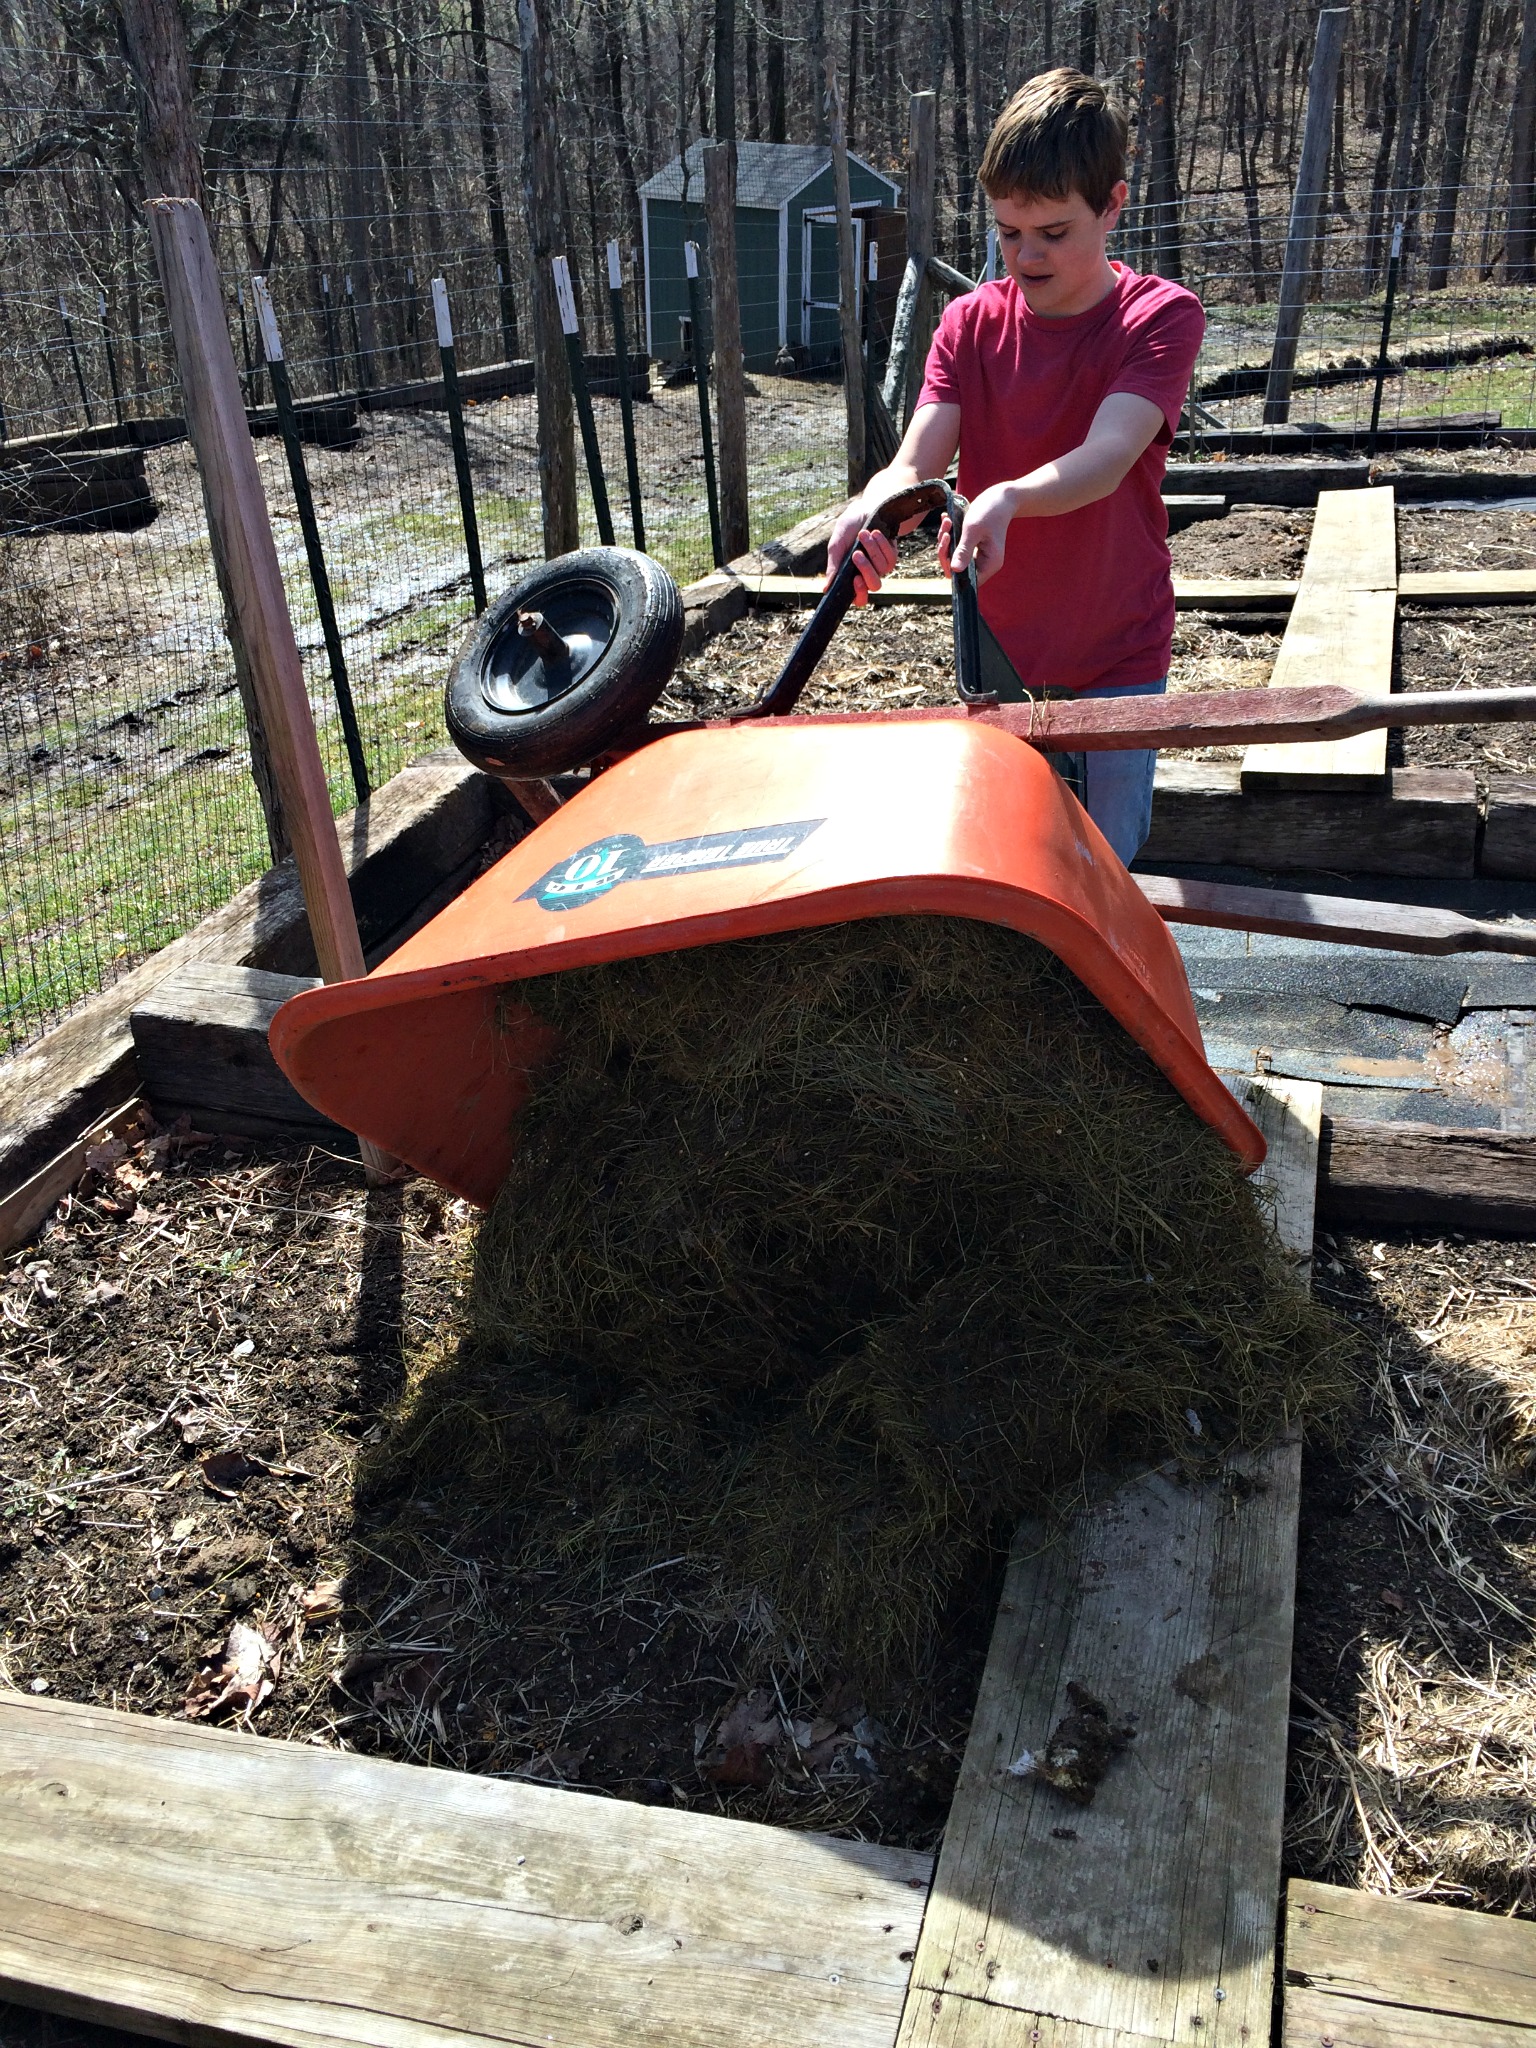
Gather the fluffy stuff & spread it out in a single layer over the garden beds. I allowed mine to dry out a few days.
STEP 3 – BLACK GOLD
(and I’m not talking about oil)
I think one of the most challenging parts of cow ownership is figuring out what to do with all the manure. It is mind blowing how much manure one cow can produce. Many folks leave it in the fields to fertilize the ground. This is fine if you have large pastures. We don’t.
And, I want to be able to use the manure in my garden. Manure in fields does not help my garden. We needed a place to collect it. We started with 2 “compost bins” behind the garden for our manure to decompose in. Our compost bins total about 20 feet long by 6 feet deep. They were about 80 times too small to hold all the lovely manure our cows produce.
So, we have decomposing manure in 3 different locations throughout our homestead. All of it is in different stages of breaking down. When I need some cow-made fertilizer, I go to the oldest manure pile.
If you are wondering why I am looking to my right……..
I am trying to make sure I don’t get shot by my small child.

He was practicing this archery skills.
Scoop, shovel, dig it up and take it to the garden.
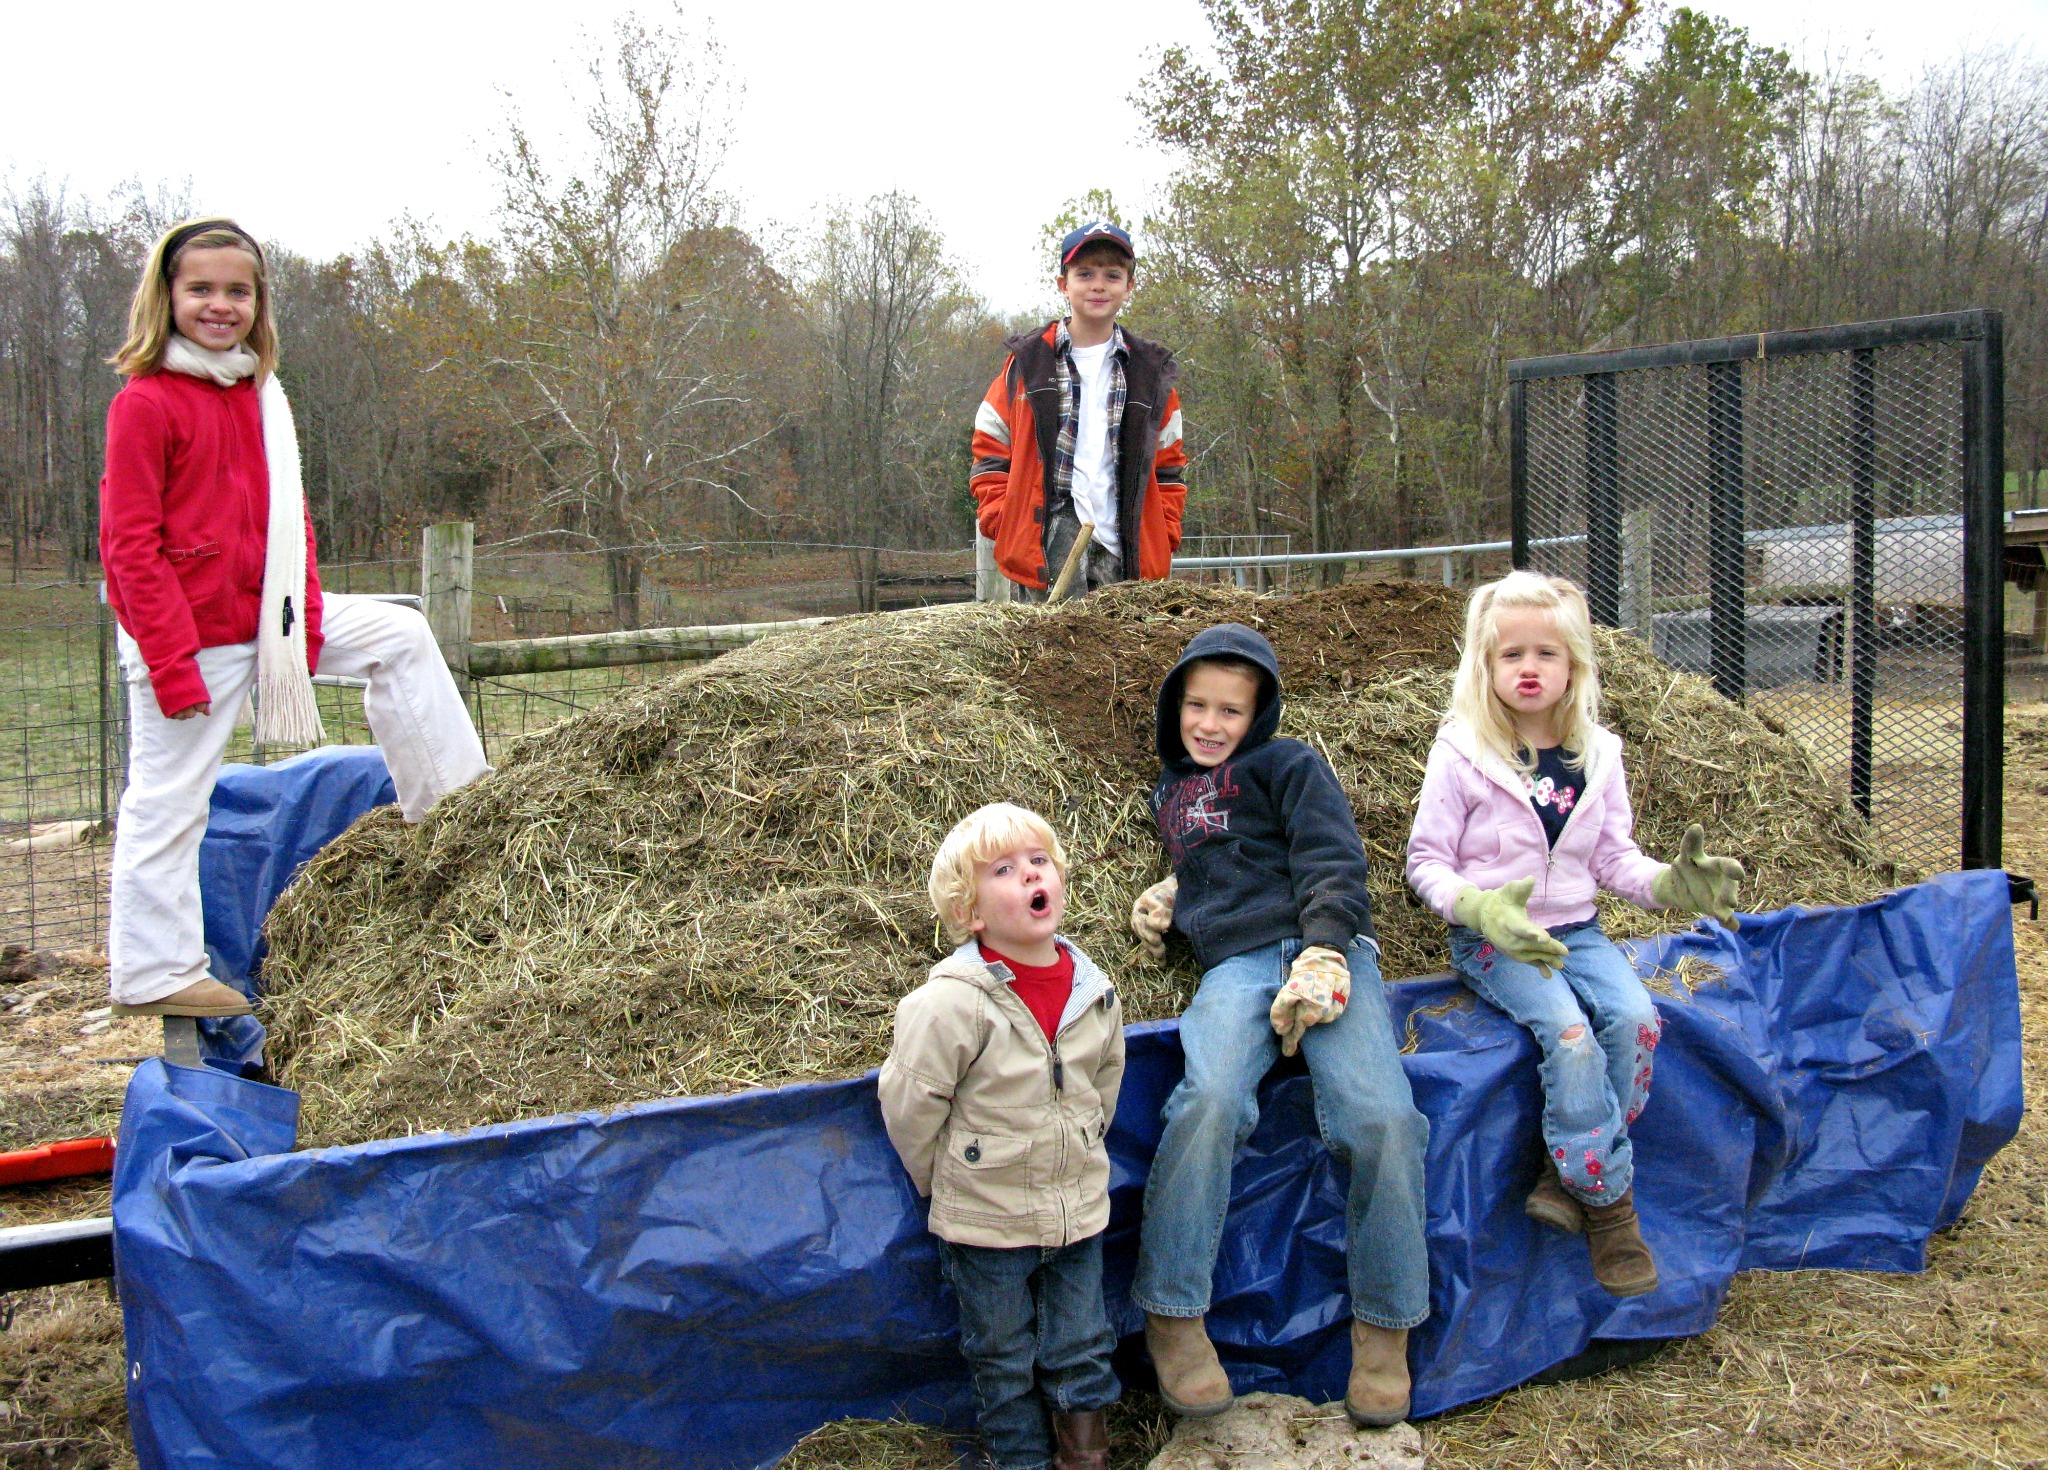
If you don’t have animals pooping all over your yard, organic matter can still be yours. You just need a little creativity or elbow grease. Before we even owned a chicken, we were able to get all the manure we wanted from friends.
In case you think I am lying……….

Yes, I drug all my (very small) children to random barns so we could collect free manure.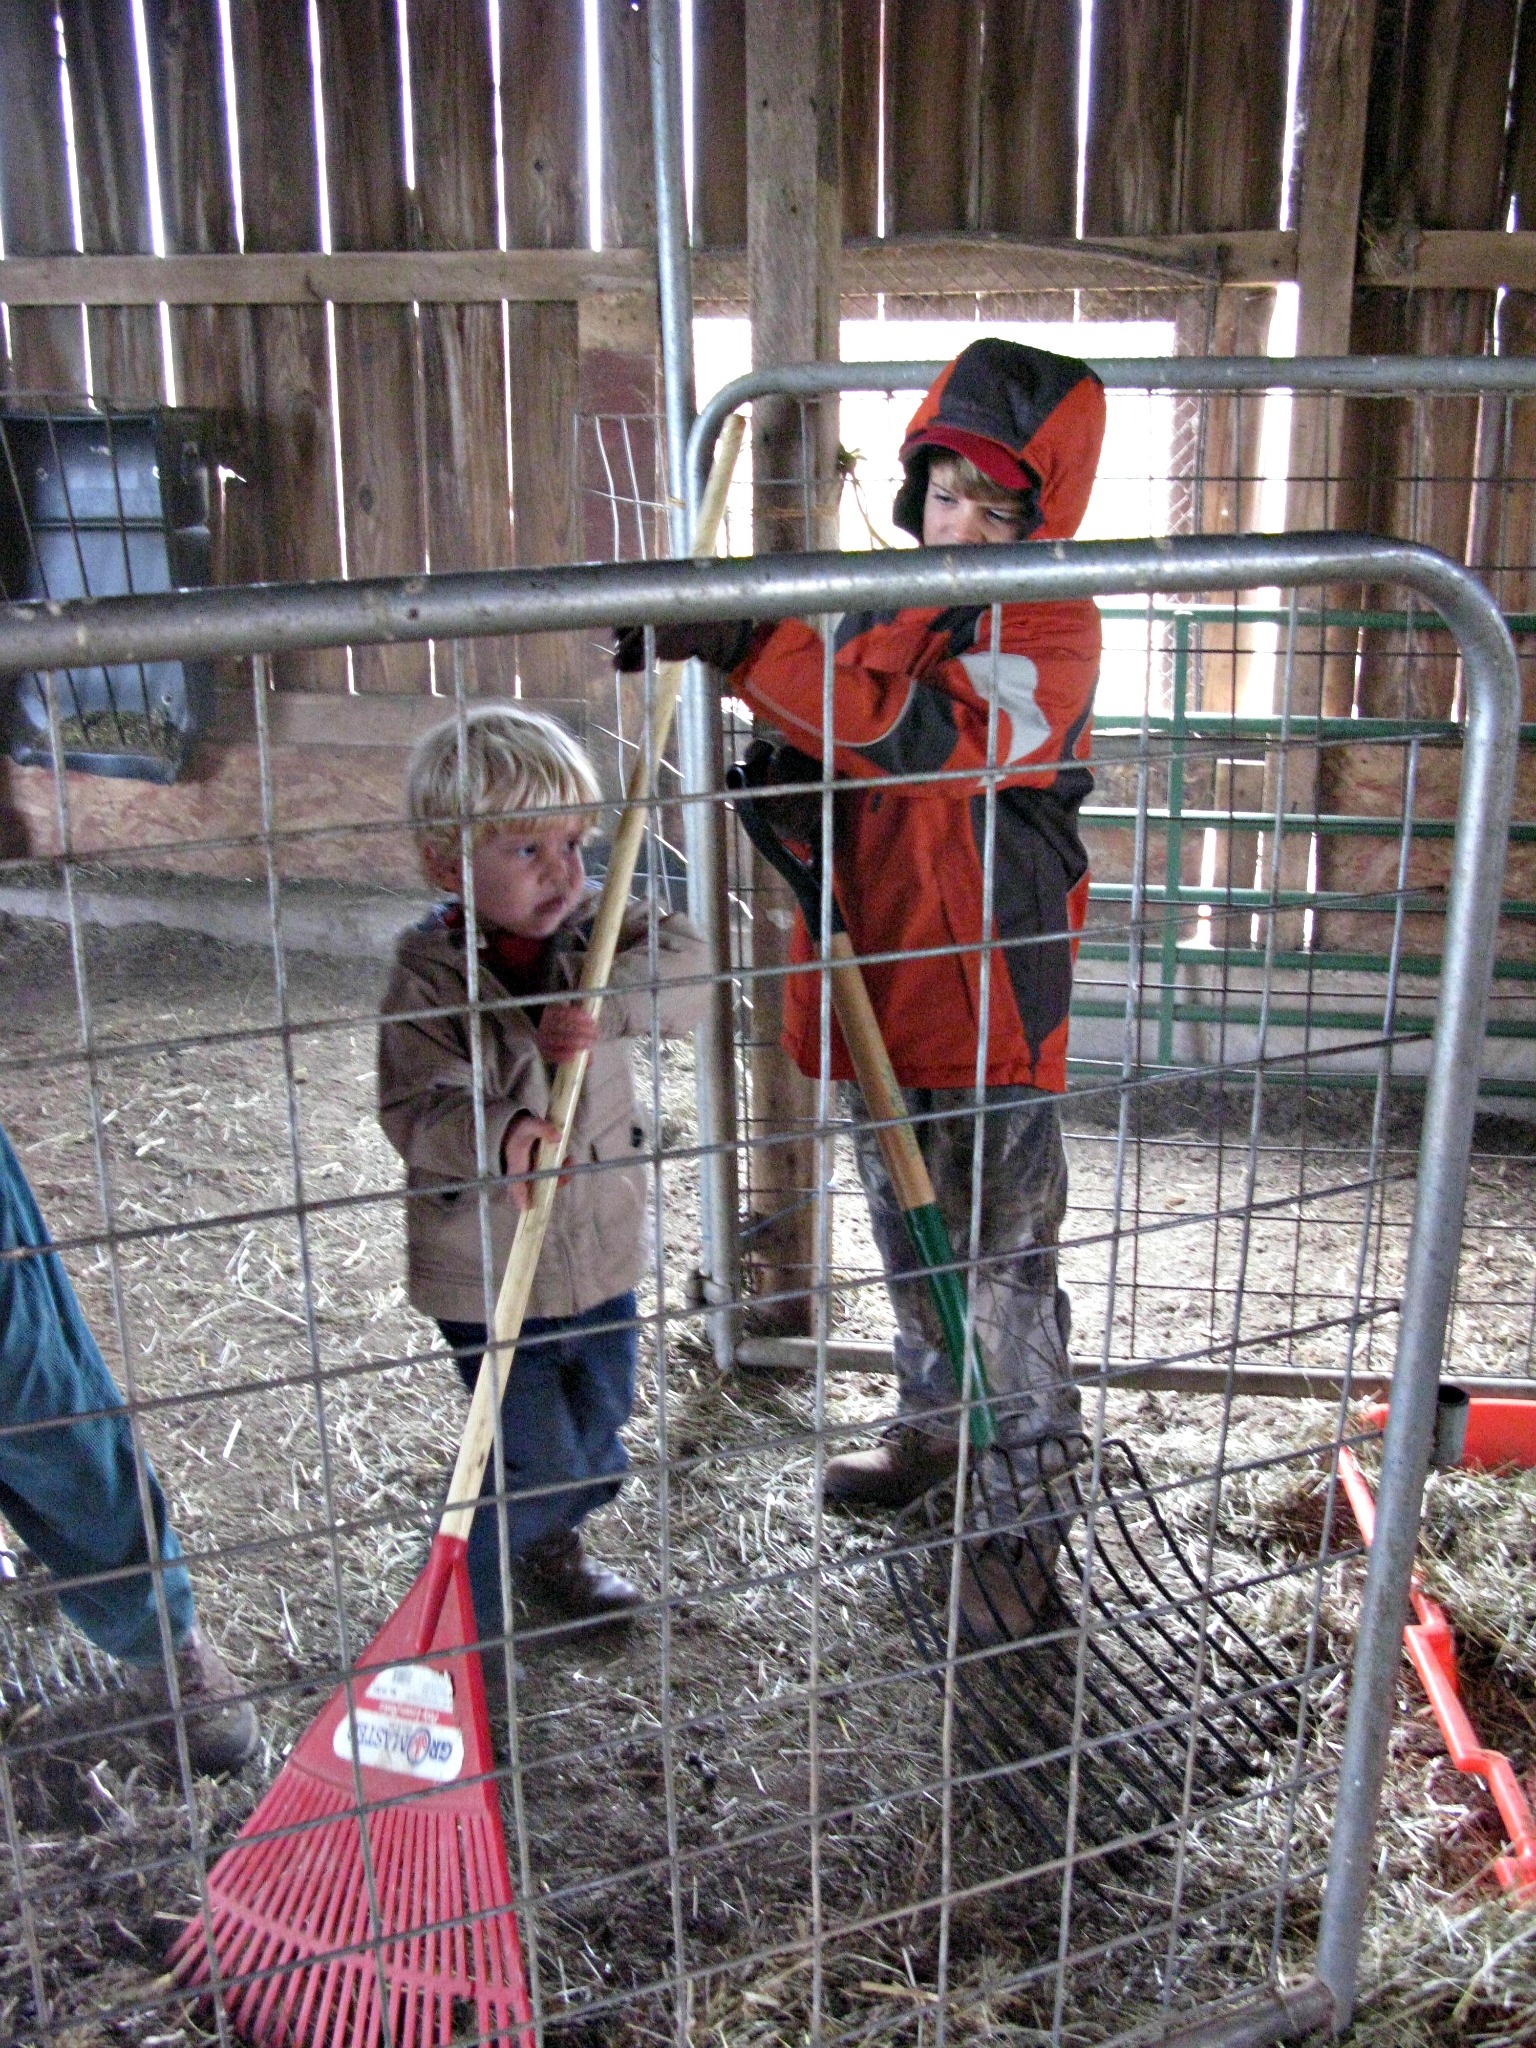
You can pay with your money, or you can pay with work. We were able to get all the manure and “garden-bed-filler” we wanted.
Yea! Poop!
Look at that trailer full of organic matter…. don’t worry, the kids pitched in (ha!); however, DH & I did most of the work.
We made several trips to my friend’s farm. We cleaned up her barn & filled our garden beds. We both were happy!
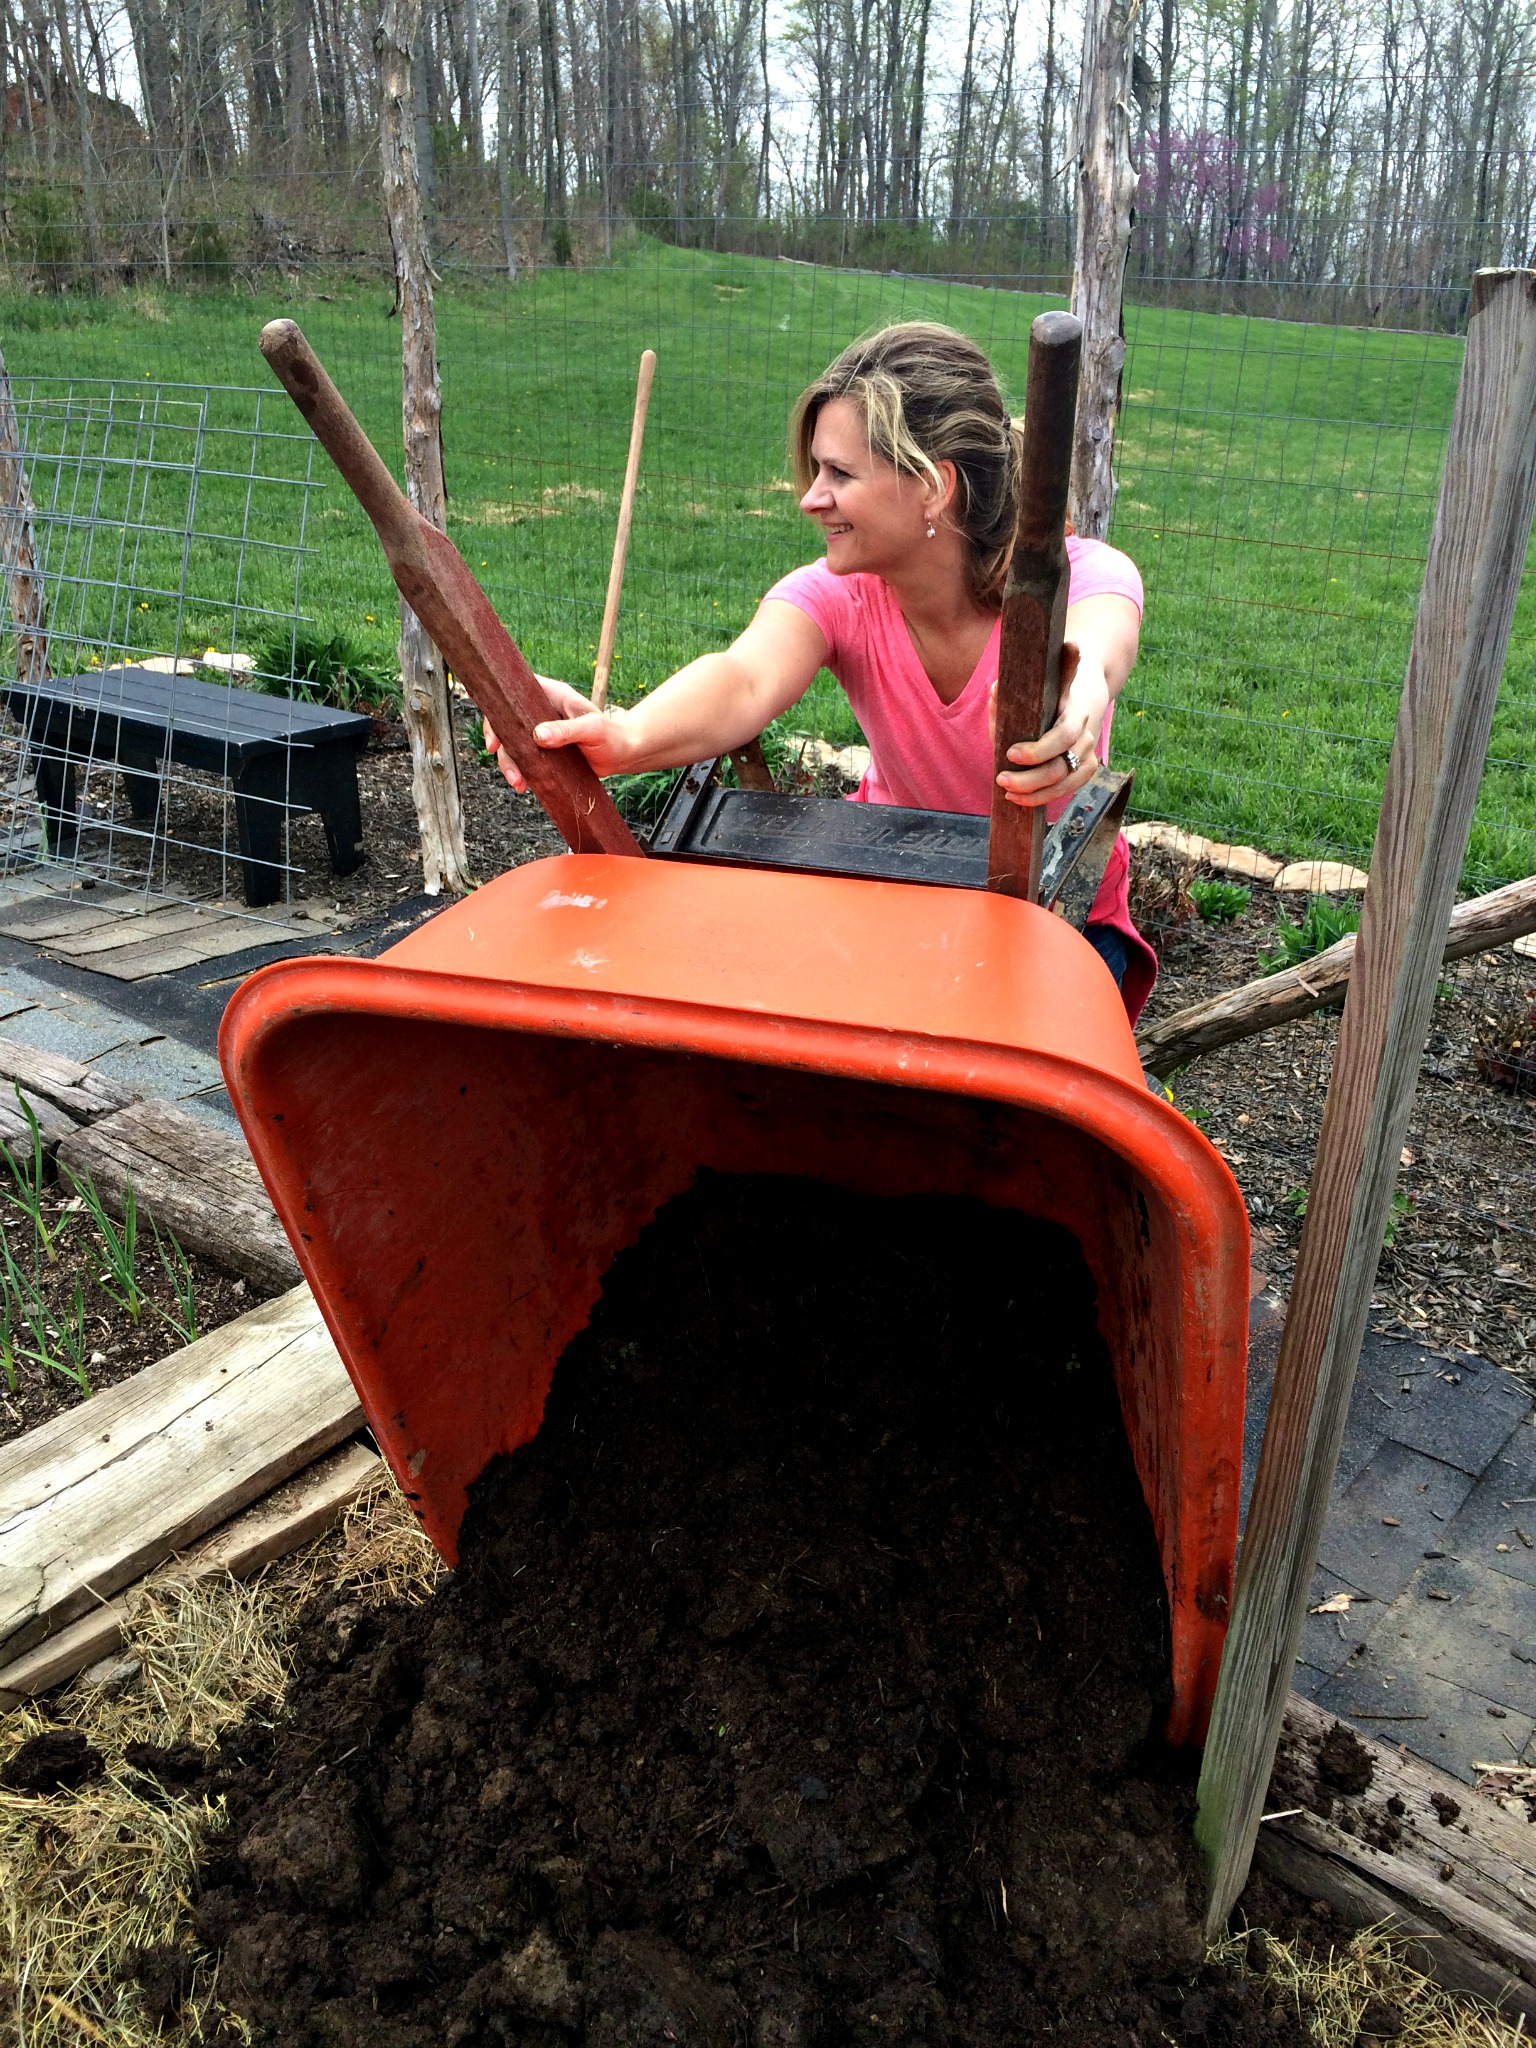
Dump the black gold right on top of the deep-litter, fluffy stuff. Do you see the color of this? The manure pile I gathered from was about 2 years old. It’s lightweight, nutrient rich, organic matter.
STEP 4 – RAKE & PLANT

Rake the manure smooth & put in your plants (or seeds).
Having healthy garden soil does more than just grow beautiful vegetables and fruits. A healthy garden has fewer pests and diseases as well.
Your garden will provide more food and less headaches if you give it an occasional, organic boost.
If you haven’t already, be sure to subscribe via email (here) to get old fashioned advice, farm tips and homesteading fun delivered straight to you.
XO,
Candi
