
Here is another homemade gift idea. It is super easy and practically free. Especially if you have a friend about to push a barn over to burn it. 2 years ago I gave signs like this to everyone I knew.
They were all custom made for the person I gave them too. I wish I had some pictures of them.
Here’s what I put on some of the signs: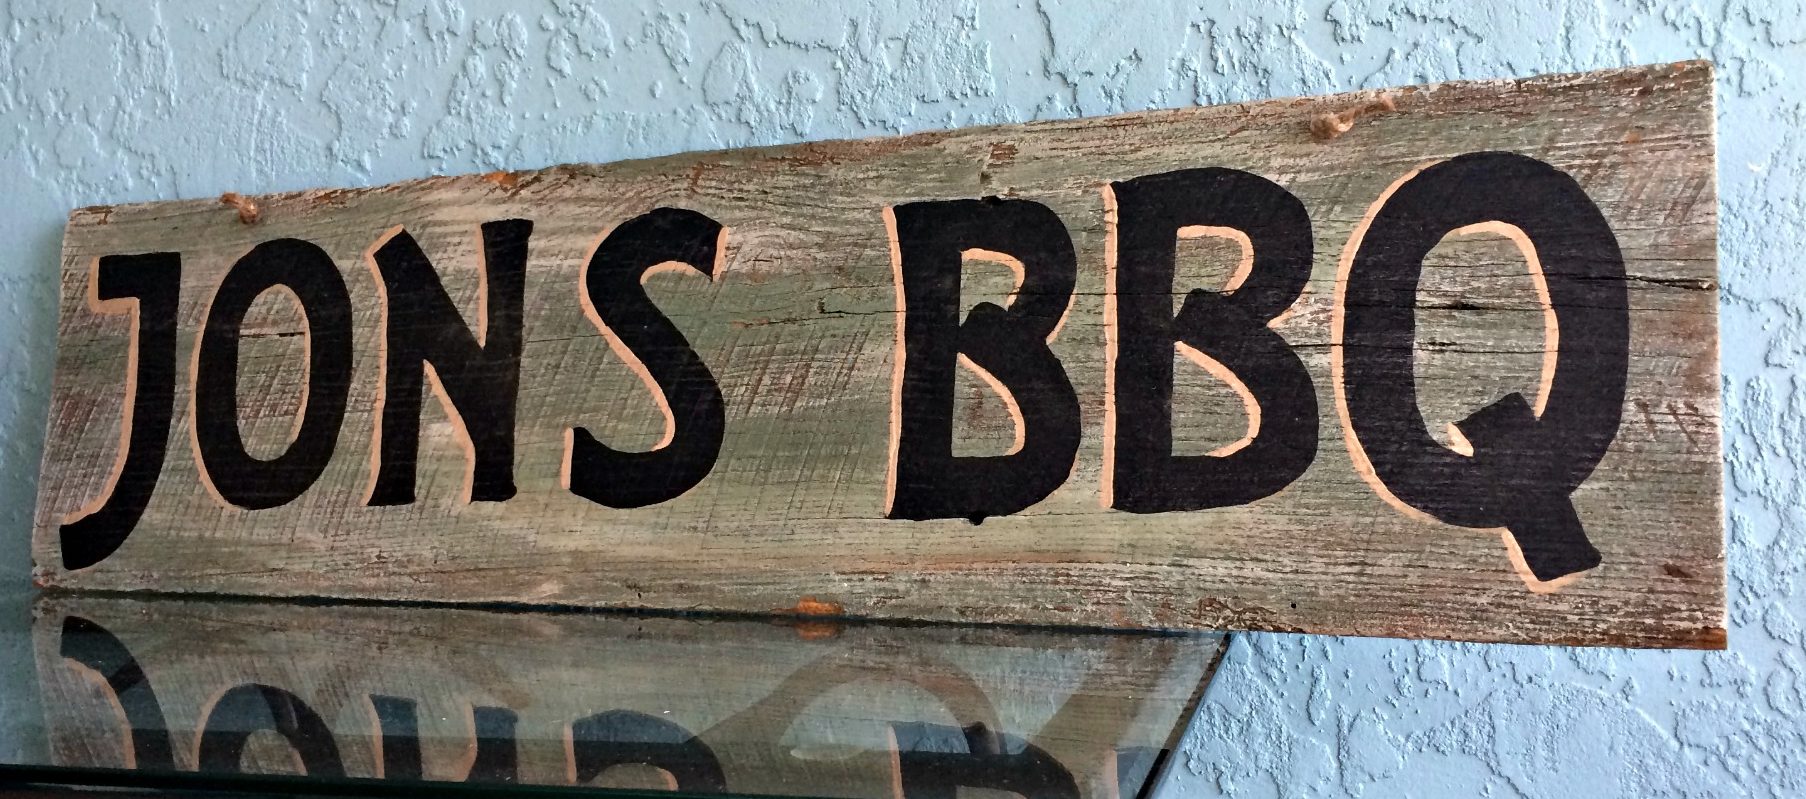
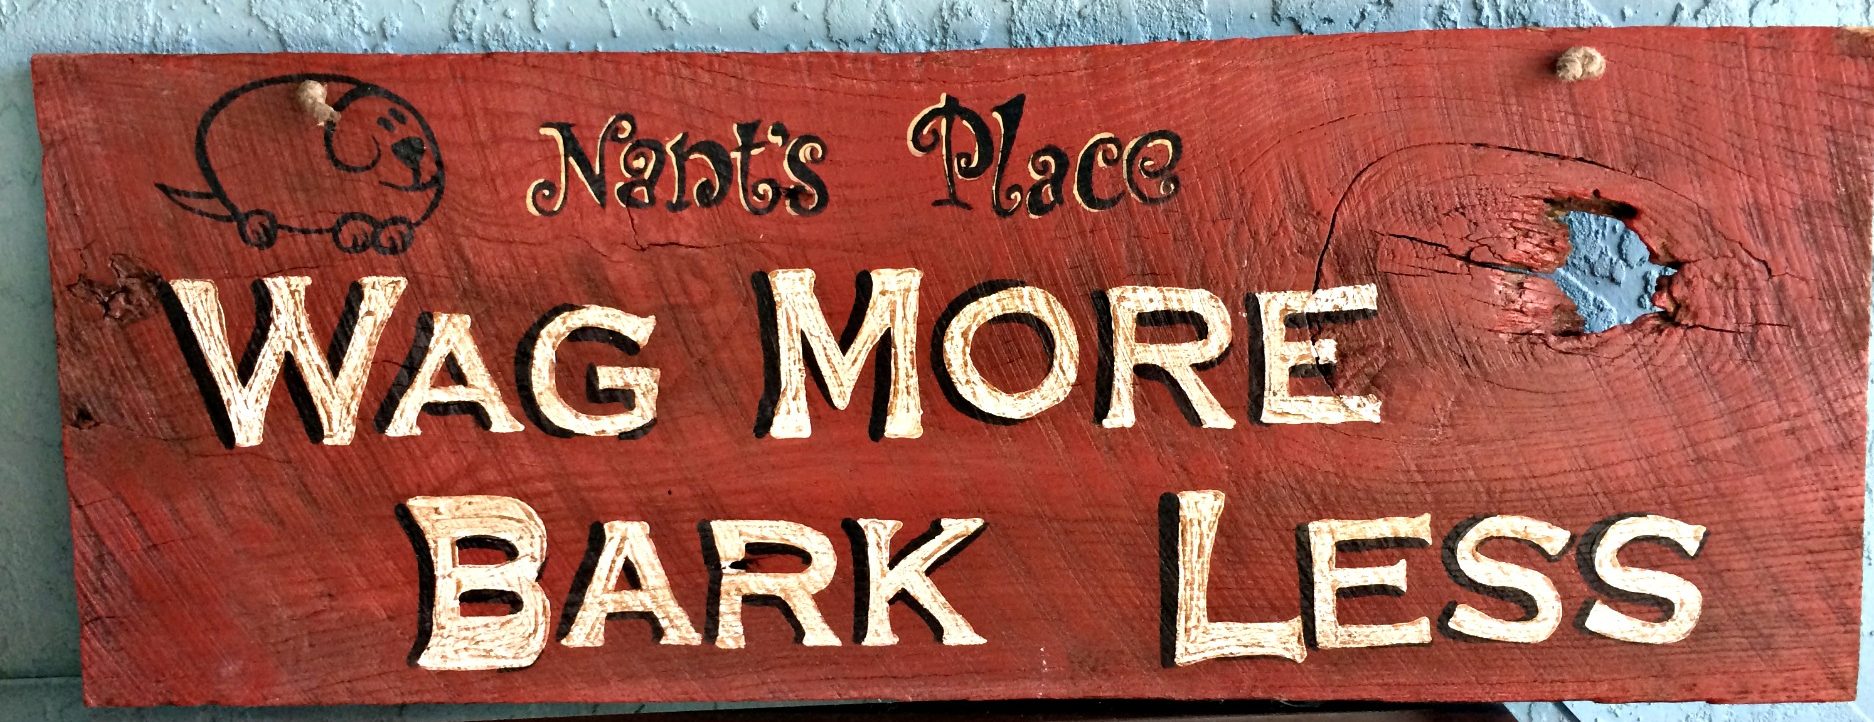
- Wag More – Bark Less
- JON’S SMOKEHOUSE
- Papa’s GRILL
- MAGGI’s BAKERY
- Welcome Friends
- ANDY’s SMOKEHOUSE
- Mamaw’s PIES (guess who that was for?)
And, some of them said: “JOY”

This one’s kind of fancy and curly. You can go with your own personal taste on the lettering style.
To make this craft all you need is:
- Wood
- Paint
- Dark Stain
That’s it. I’m assuming that you have some paint brushes. If you don’t, you’ll need some of those too.
I have a friend who has 200 goats and sheep. She also has a few dogs, horses, cows, and a chicken or two. But she has hundreds of goats, so she is known for her goats. My children LOVE to go to her farm. There are almost always baby animals there.
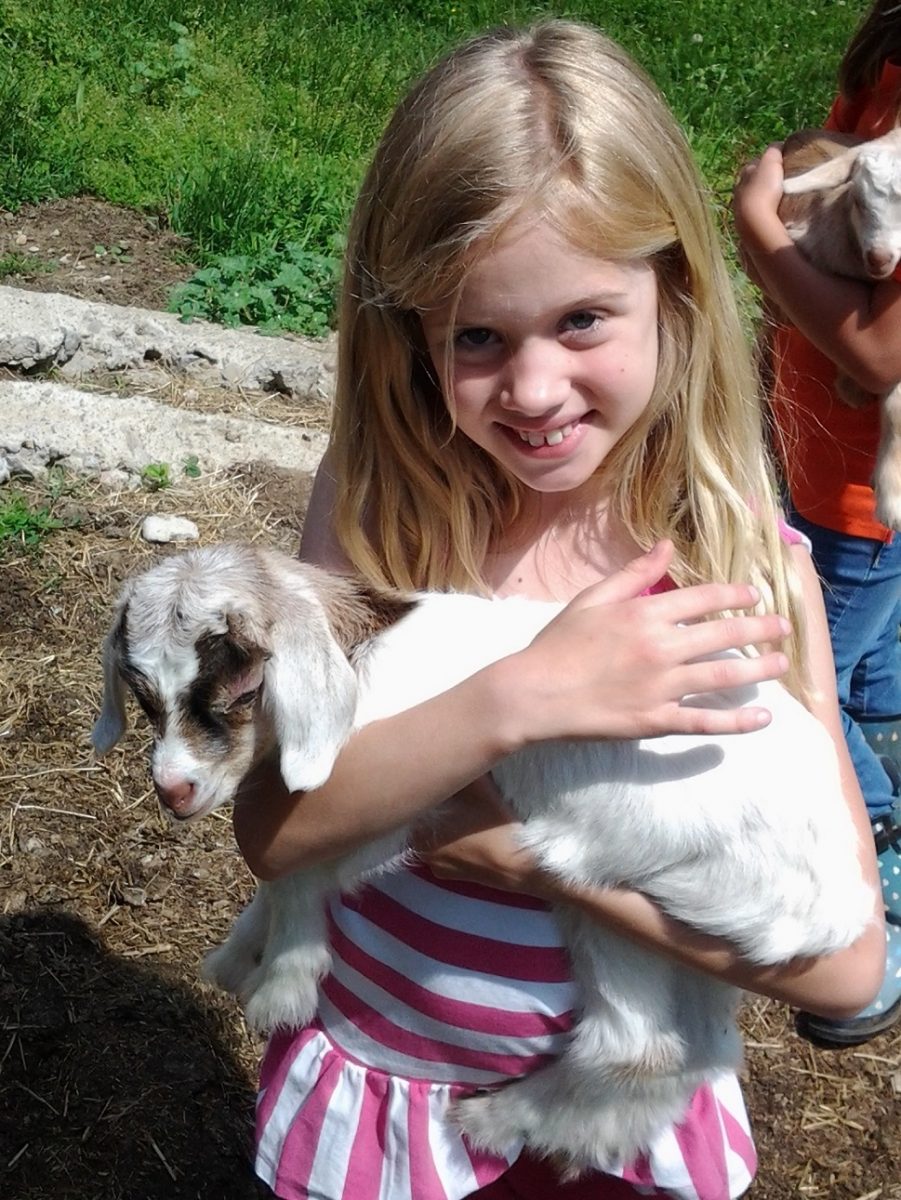
Like this one.
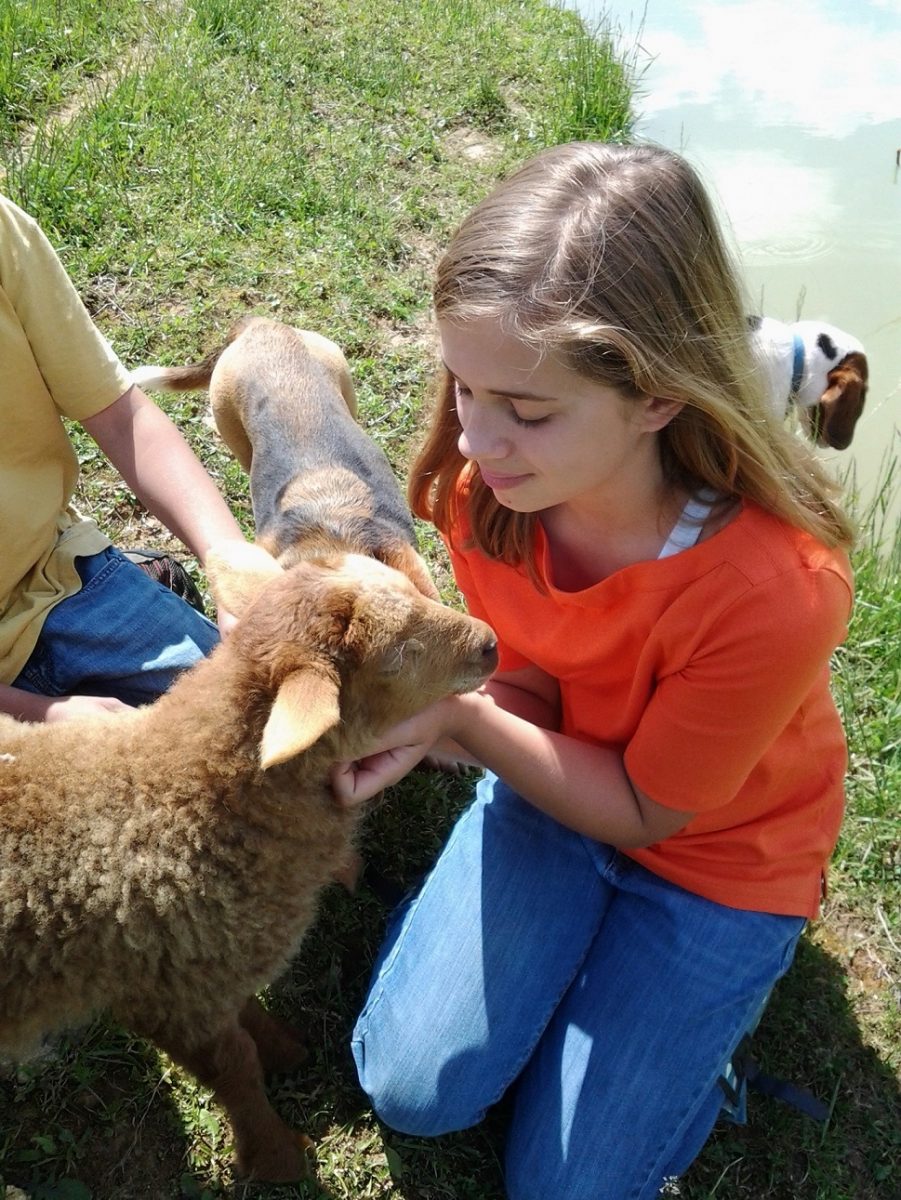
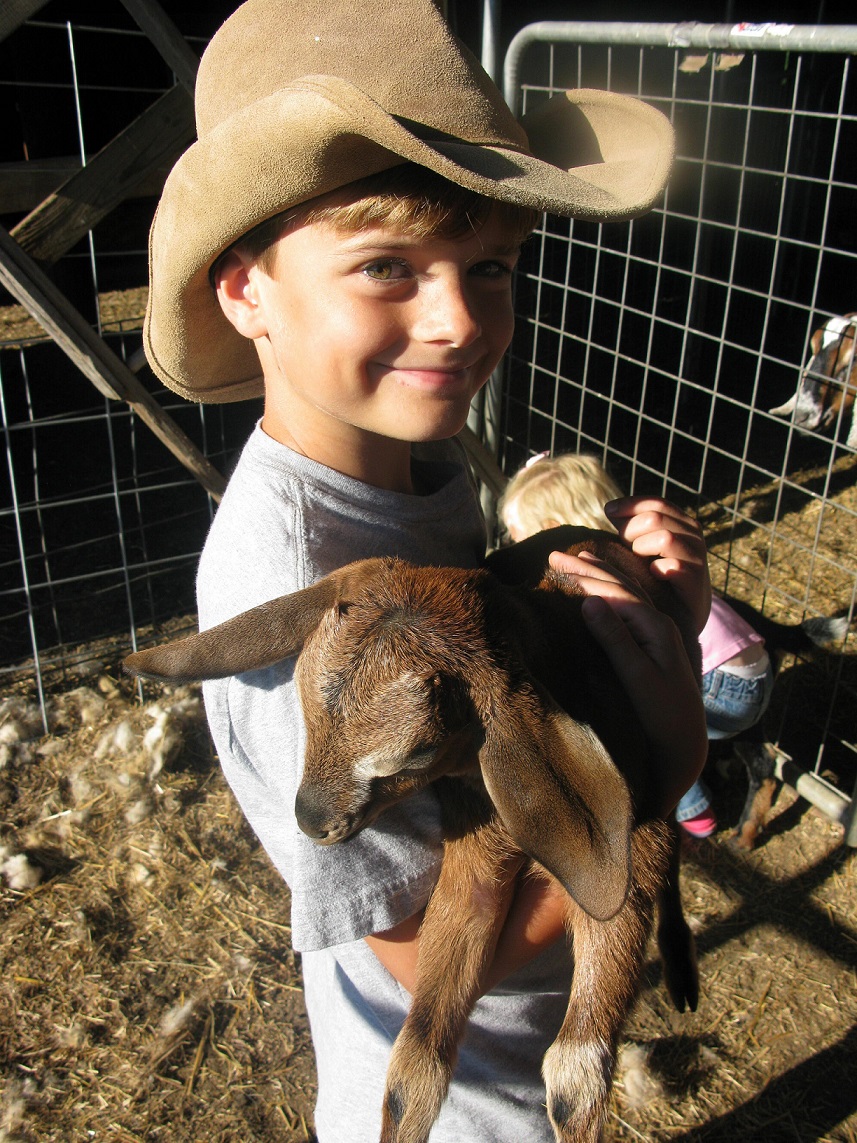
and this one.

and this guy.
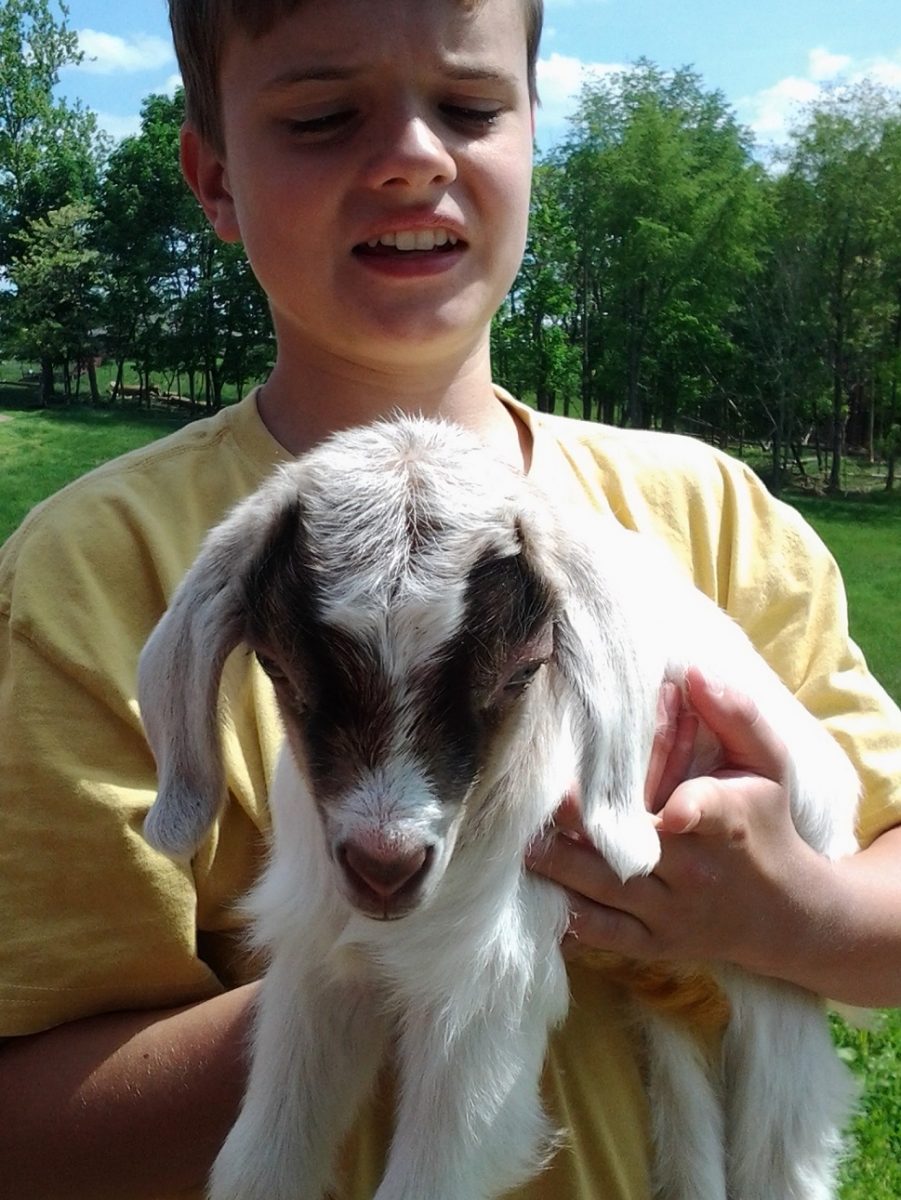
here’s another little one.
Here’s one from a few years ago.
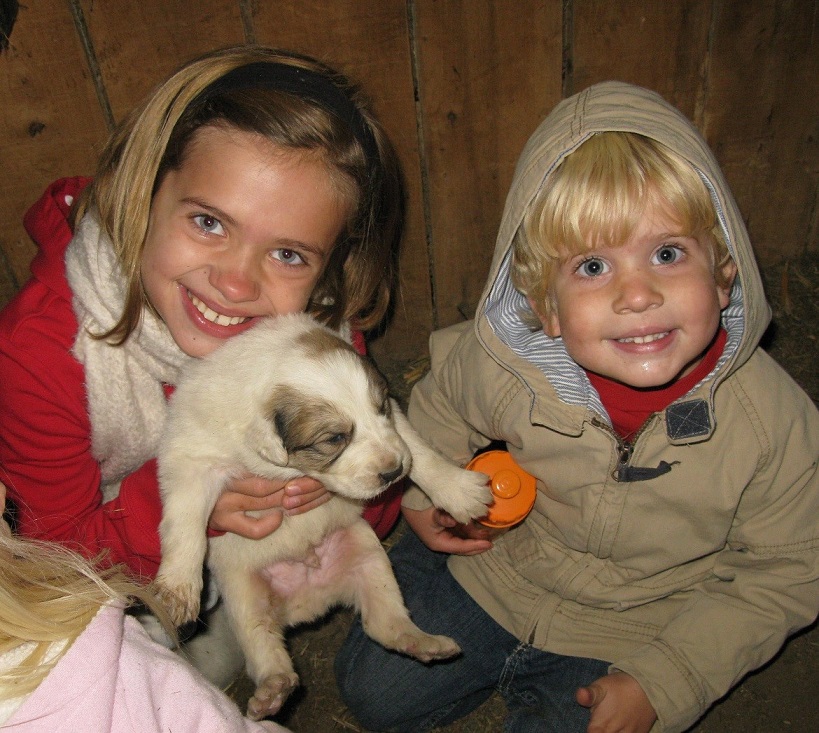
And another one.
We love to go to the goat farm!
Now, back to the crafts.
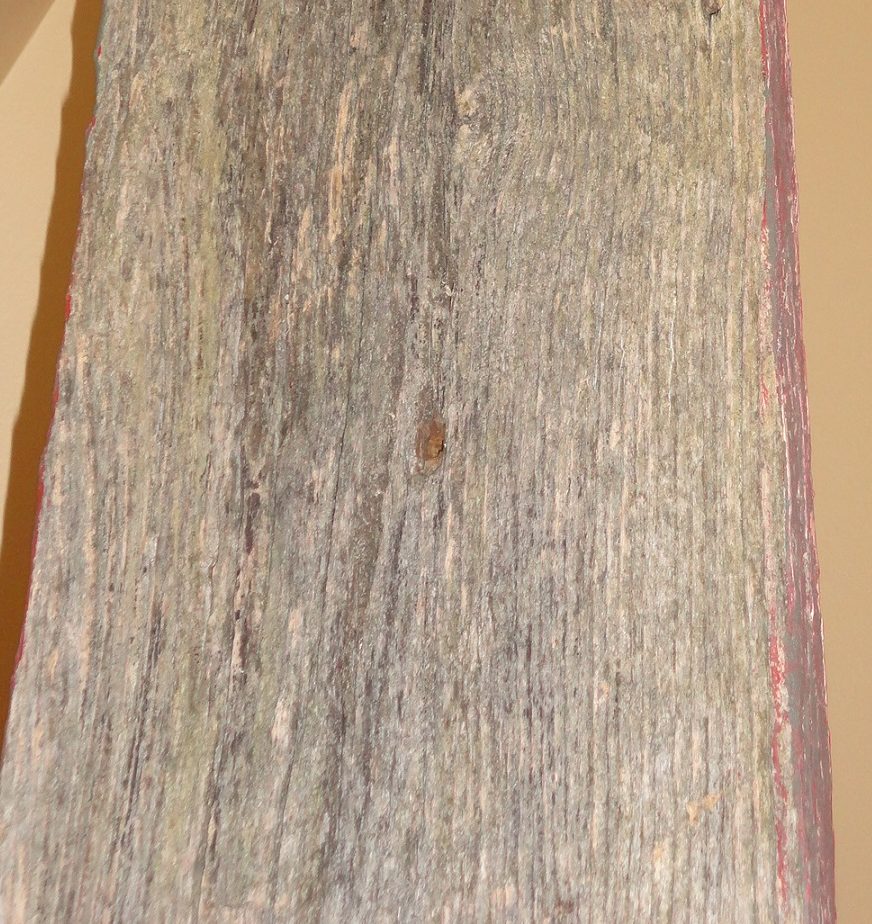
We took Mark’s pick-up truck out to the goat farm and threw a bunch of barn wood into the back. I had to remove nails and wipe some debris off, but that’s about it. I cut the boards to the length I wanted with a circular saw.
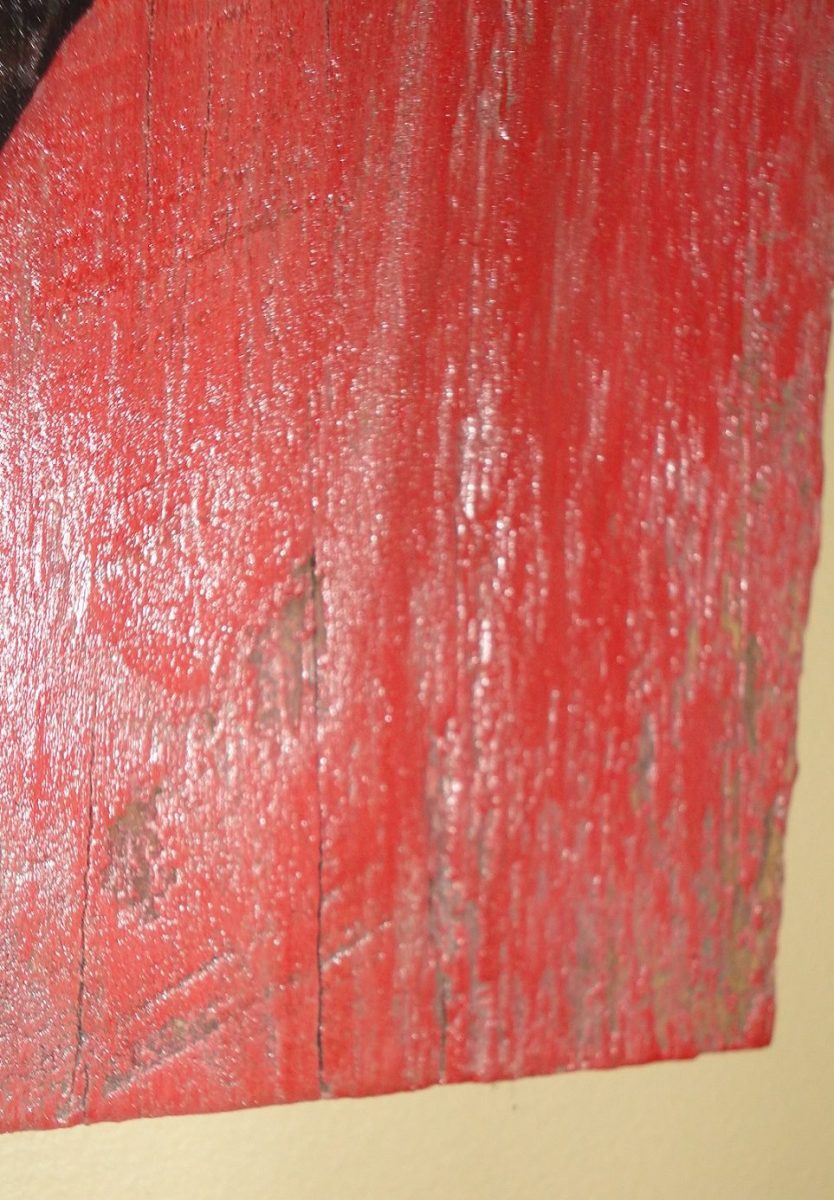
Then I gave them a coat of paint. This one’s barn-red. I have ump-teem gallons of barn-red paint. It’s all in 5 gallon buckets. I could paint an entire city barn-red. Seriously, I could.
Once the red paint dries I added some stain to give it an “aged” look. This wood was already 100 years old, but the shiny, new coat of red paint looked too perfect. I want rustic & country. So, I dipped a washcloth in some dark stain & wiped over the freshly, red-painted wood. The stain stuck in the grooves. I kept wiping until it looked the way I wanted. Be sure you don’t forget to do the edges.
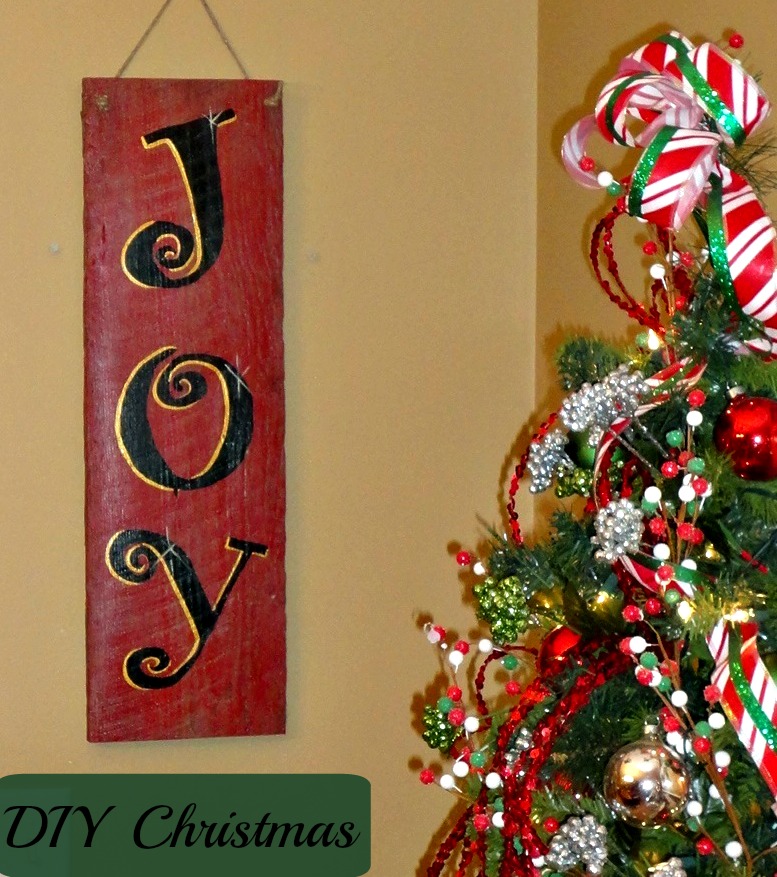
The lettering is the last part. Feel free to copy mine. I did this free-hand. If free-hand is not your thing, there’s a way to cheat:
- Open up a word-document & type the word “J O Y” (or whatever word(s) you are decorating with)
- Go to “fonts” and select the font style you want for your craft.
- Enlarge the font until it is HUGE (you may need to play with this to get it the correct size for the board)
- Trace onto board & coat with paint. I have used a sharp object (like an ice pick, or letter opener) and trace the letters (use some muscle). This will make an indention in the wood that you can use as your guide when painting.
That’s it. Very little cost (if any) and very cute!
To get old fashioned recipes, farm tips and homesteading advice be sure to subscribe via email (here).
Merry Christmas!
Candi


