
How to Make Bread with Fresh Flour
I make bread. It would be much easier to just buy bread at the store. It is healthier if you make it. To learn more about why you should make your own bread go here. It also happens to be the softest, sweetest, most wonderful baked good you’ll ever taste. So, I make bread.
Disclaimer: If you are new to making bread I’ll warn you it is not for everyone. The method I use involves some special kitchen appliances (a mill & a heavy duty mixer). This is not the kind of bread that comes out of a “breadmaker” from 1990 – 1 loaf at a time. The end results are well worth the learning curve and expense. I have baking my own bread since 2004.
This recipe will make 6 loaves at a time in a standard oven.
First, I am going to need some wheat berries. Wheat berries are the little oval grains that come from the wheat plant. I buy mine in 50lb bags from a co-op. These are sold at most whole food stores, however, they can be expensive there. 50Lbs of wheat berries costs me $25.00 from the co-op.
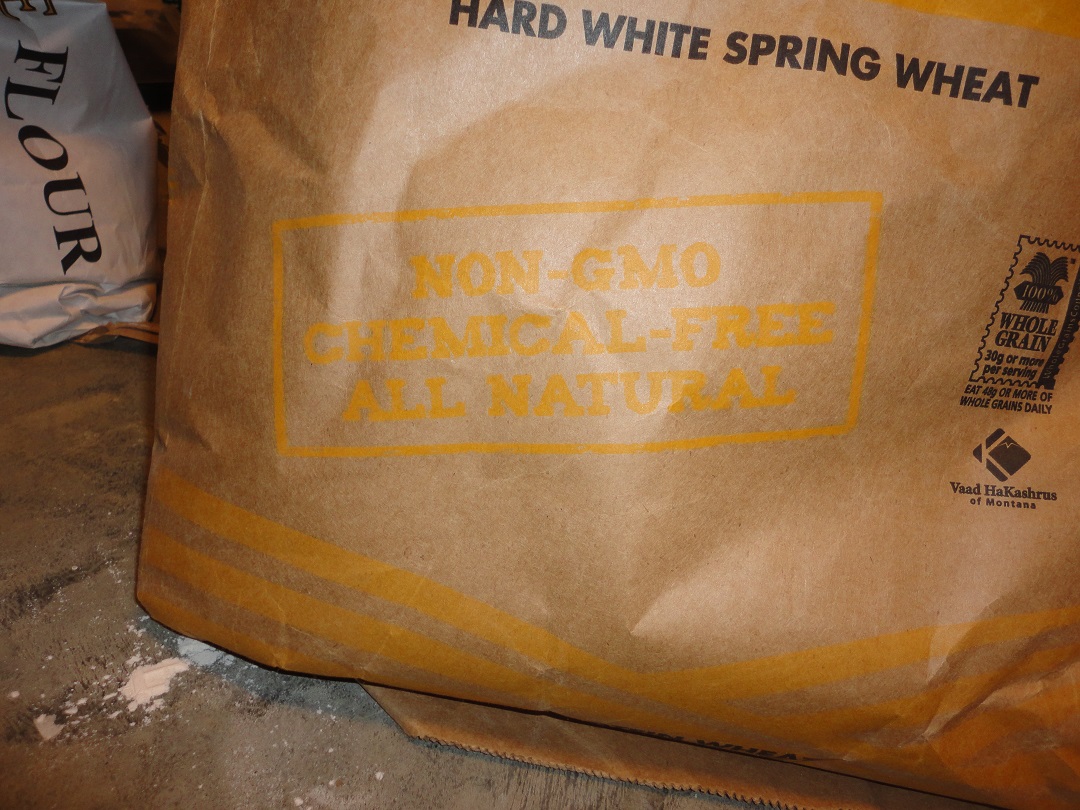
This is “hard white wheat.” It is non-GMO, chemical-free, all natural.

I am using a combination of 3 different wheat berries.
- 5 Cups Hard white berries
- 4 Cups Hard red berries
- 2 Cups Spelt berries
Sometimes I make my bread with just one kind of wheat. Today I am combining 3 different types of wheat, to get a slightly different flavor and boost the nutrition.
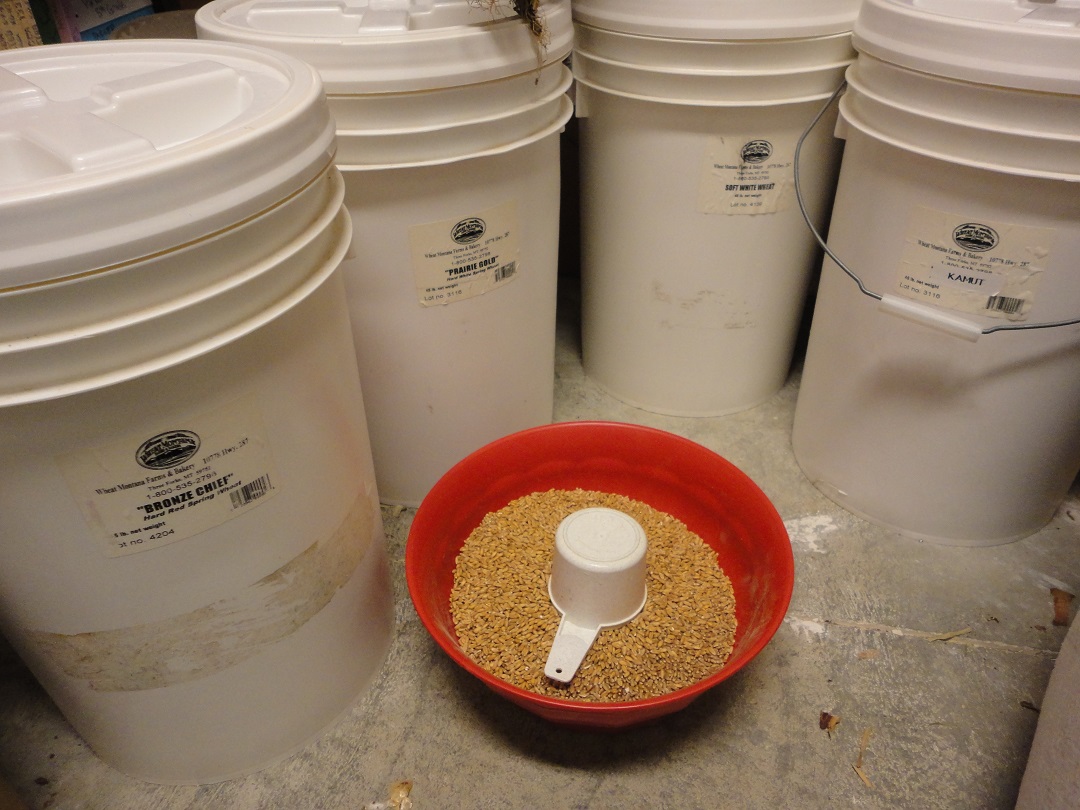
I store my wheat berries in these white buckets. They have screw tops (called gamma-seal lids) that keep the wheat fresh for years. I have filled my red bowl with wheat berries & am ready to go start grinding.
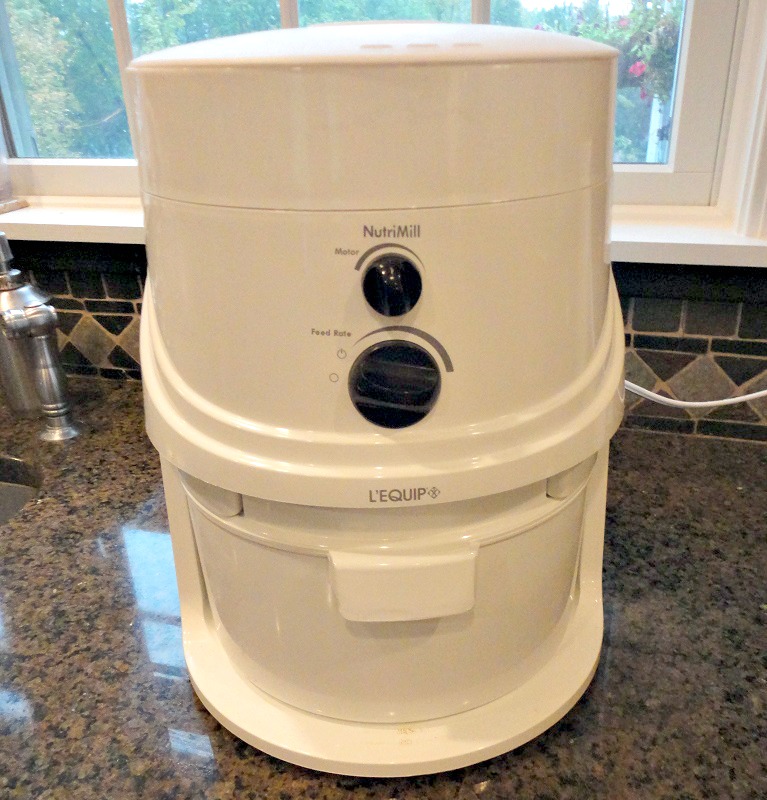
This is a mill (I use a Nutrimill). It will grind the wheat berries into light, fluffy flour.
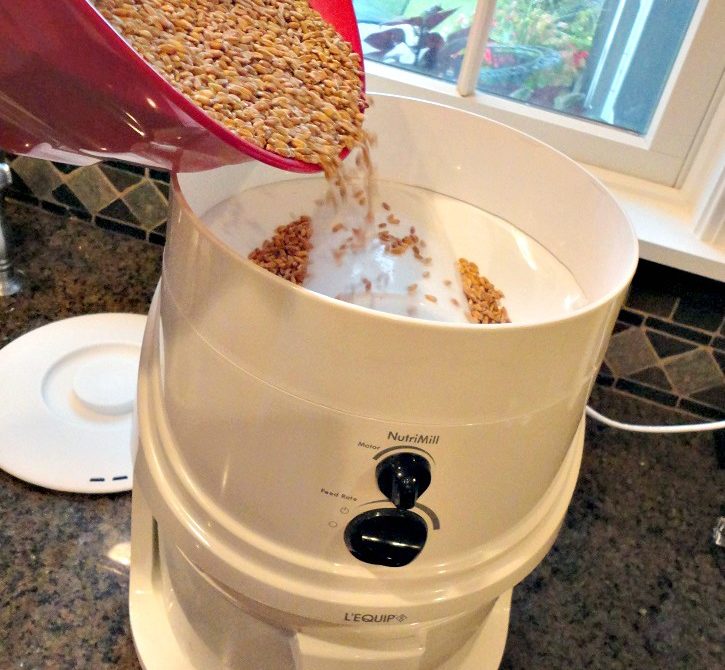
Pour all 11 cups of wheat berries into the hopper at the top & turn the mill on. When it sounds like a jet engine has landed in the kitchen, check to make sure all the berries have disappeared from the hopper at the top and turn the mill off. It’s done.
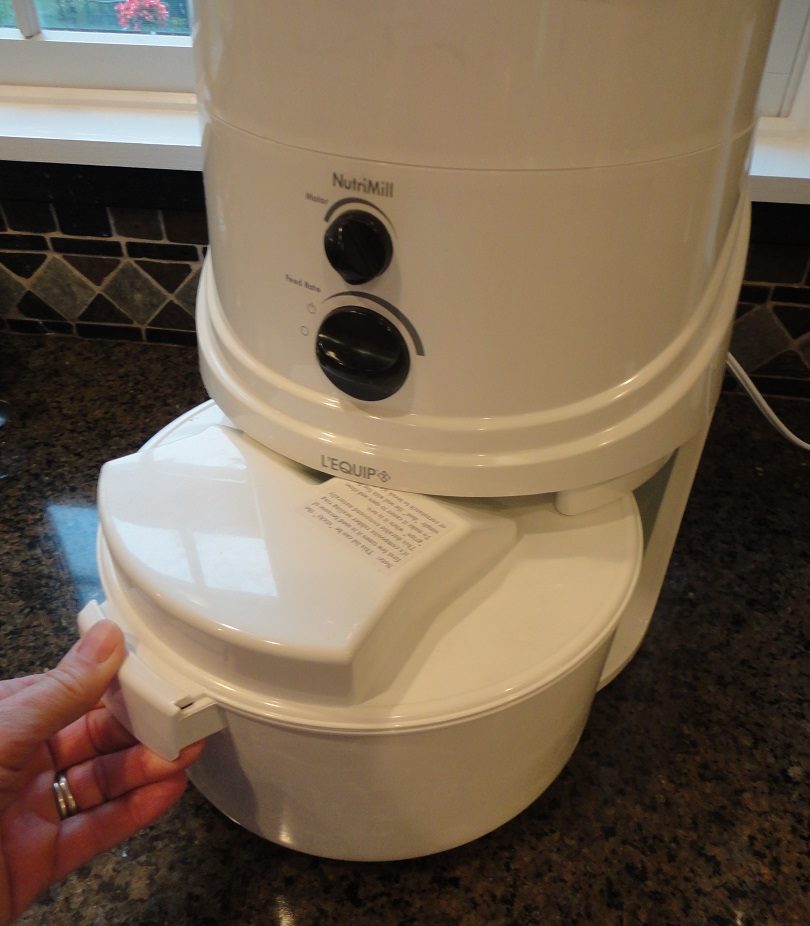
Now, all the berries have been gravity fed from the hopper at the top, ground into flour and have been deposited into the bowl in the bottom.
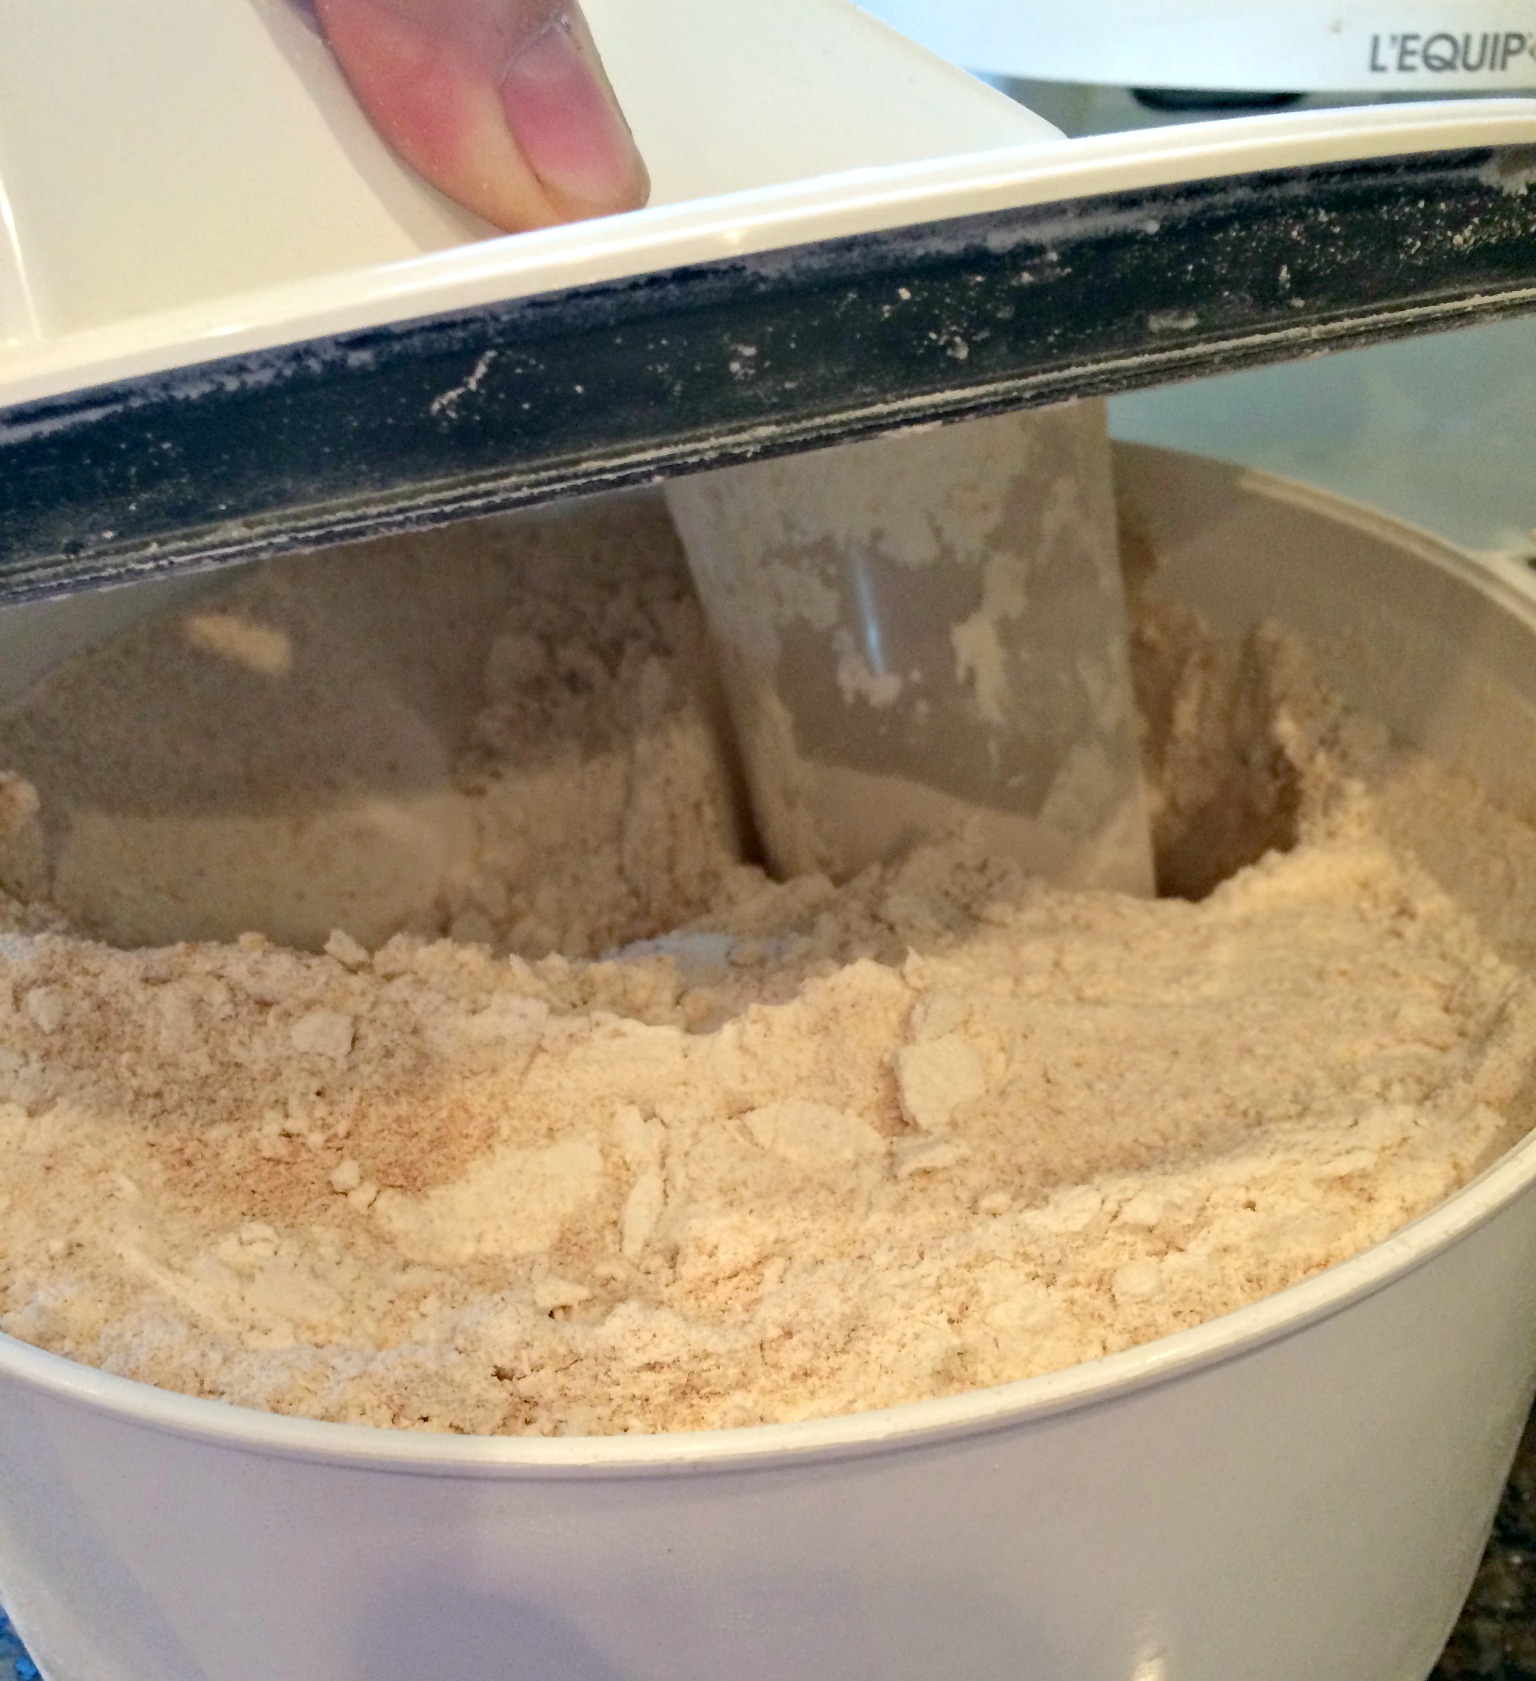
Freshly milled flour.
Let’s make this flour into some bread! The recipe is simple: flour, oil, honey, salt, and yeast. That’s it.
I add a little gluten flour, which has become a hot topic these days.

The gluten is optional. We don’t have gluten issues in our home, so we use it in our bread. The gluten will make the bread lighter and softer.
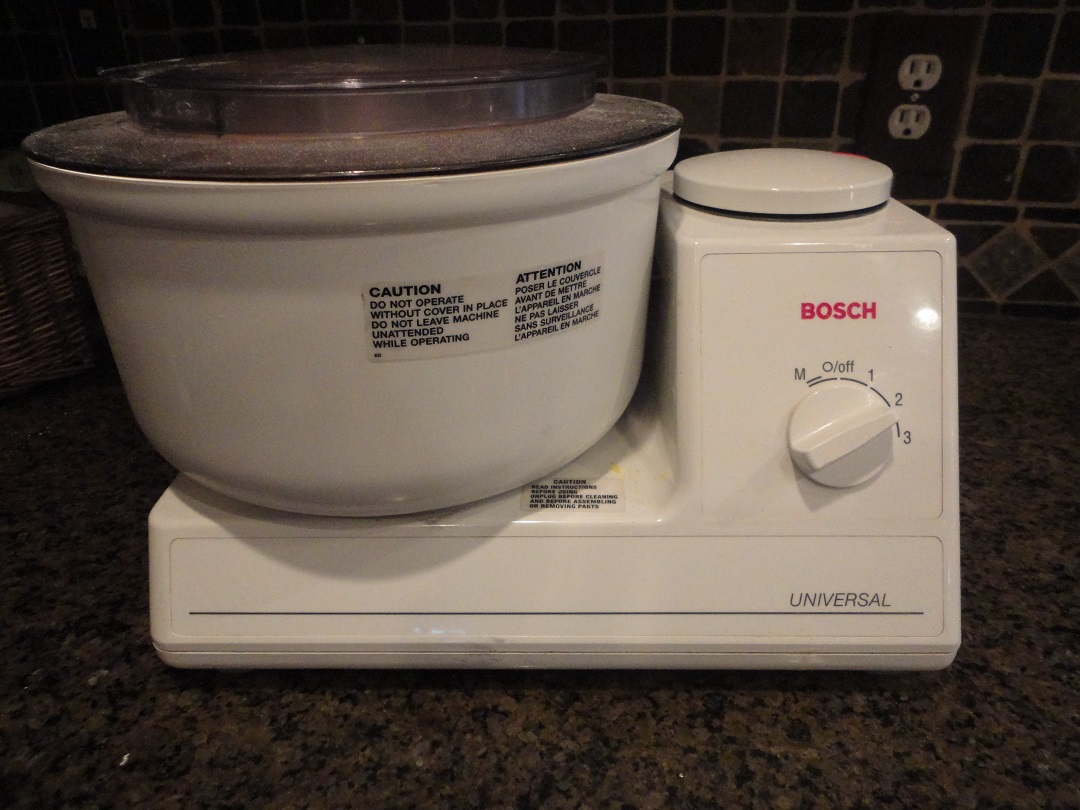
I am going to be using my Bosch Universal Mixer to knead my dough for me. To do this I am using the dough hook.
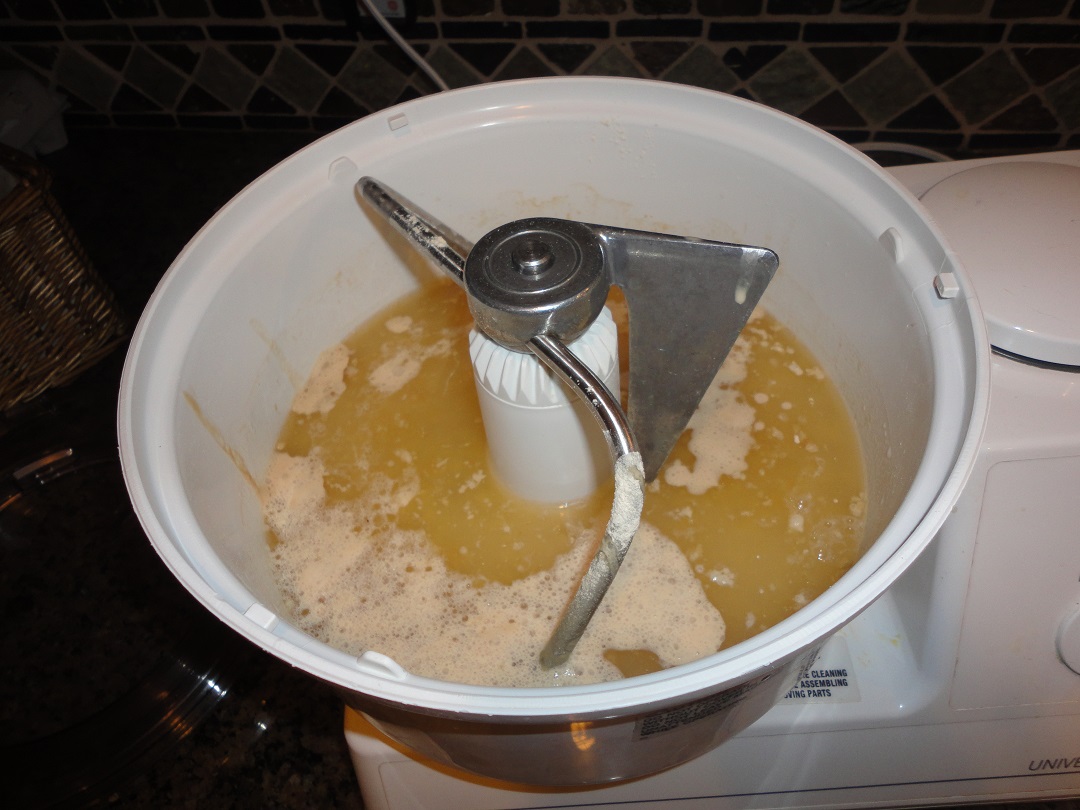
Add the following into the mixing bowl:
- 5 1/2 cups hot water
- 1 1/4 cups oil
- 1 cup honey
- 3 Tbsp yeast
Let this sit in the mixer until the yeast begins to activate (it will get bubbly and foamy).

After the yeast is active, it is time to add some flour. If you are adding gluten, this is when to do that. Add 1/4 cup gluten flour. Next, add the freshly milled flour one cup at a time with the mixer set on low.
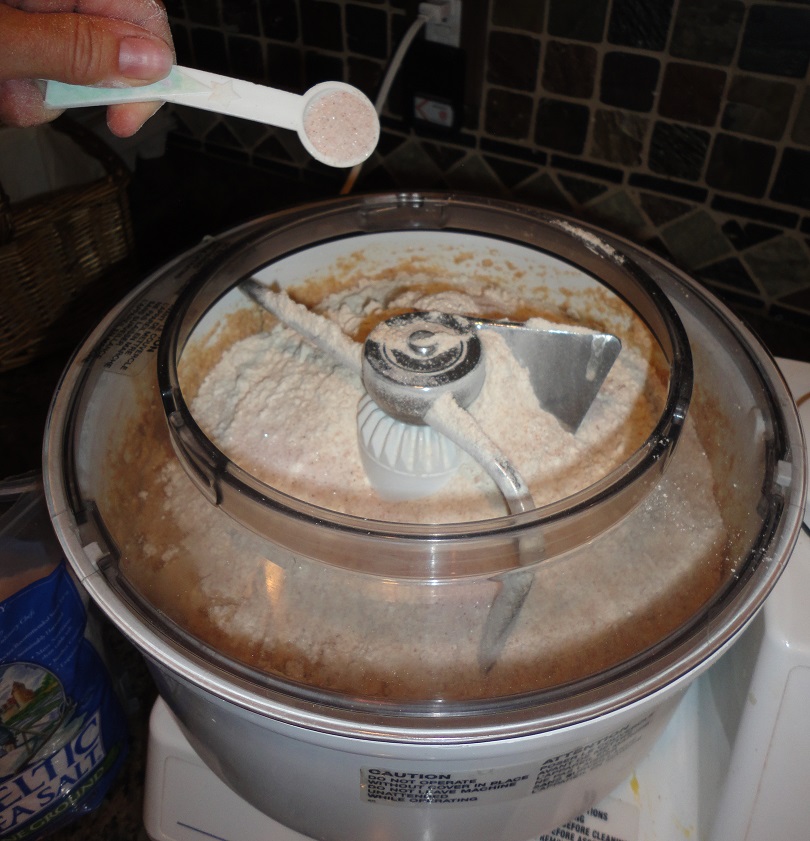
Once 5 cups of flour have been added to the bowl, it is time to add the salt. Salt adds flavor and is very important when making bread. Salt also kills yeast, which is why it is added after 5 cups of flour, When the salt is added with the flour it won’t kill the yeast.
Add 5 tsp salt.
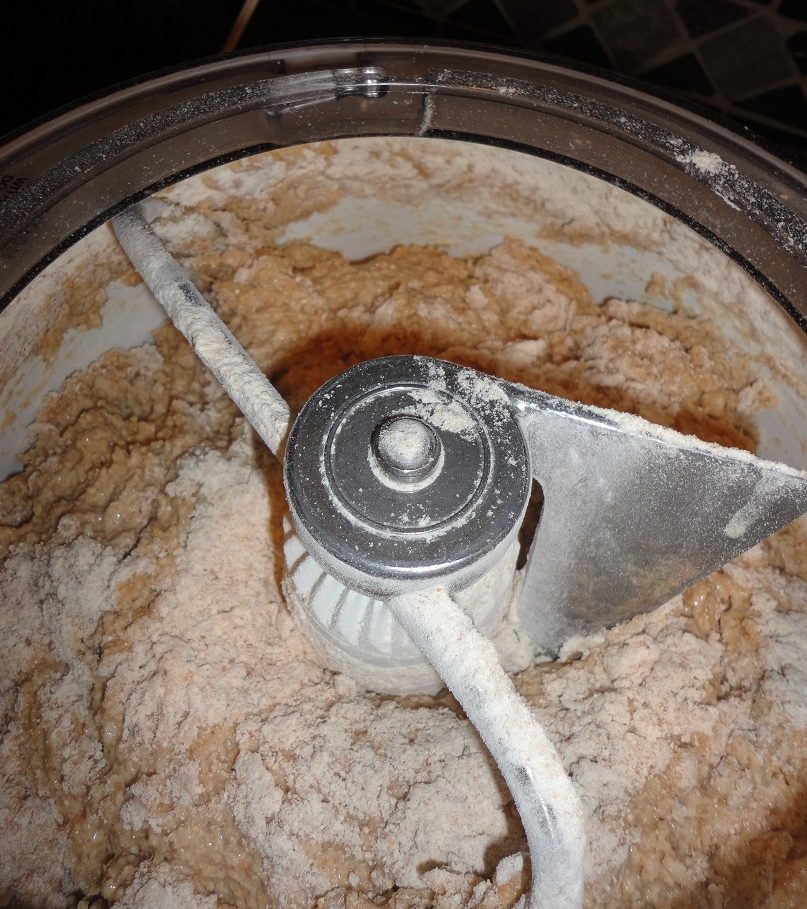
Continue to add your flour, 1 cup at a time, watching the sides of your mixing bowl.

When the dough thickens and sides of the mixing bowl begin to “clean” that means the correct amount of flour had been added. I ground up 11 cups of wheat berries. I did not use all of the flour. I have about a 1 cup leftover. The amount of flour used for this recipe changes depending on the humidity level, temperature, and climate. In winter I use less flour. In summer the bread needs more. Just watch for the sides of the mixer to begin to “clean” and you will know when to stop adding flour.
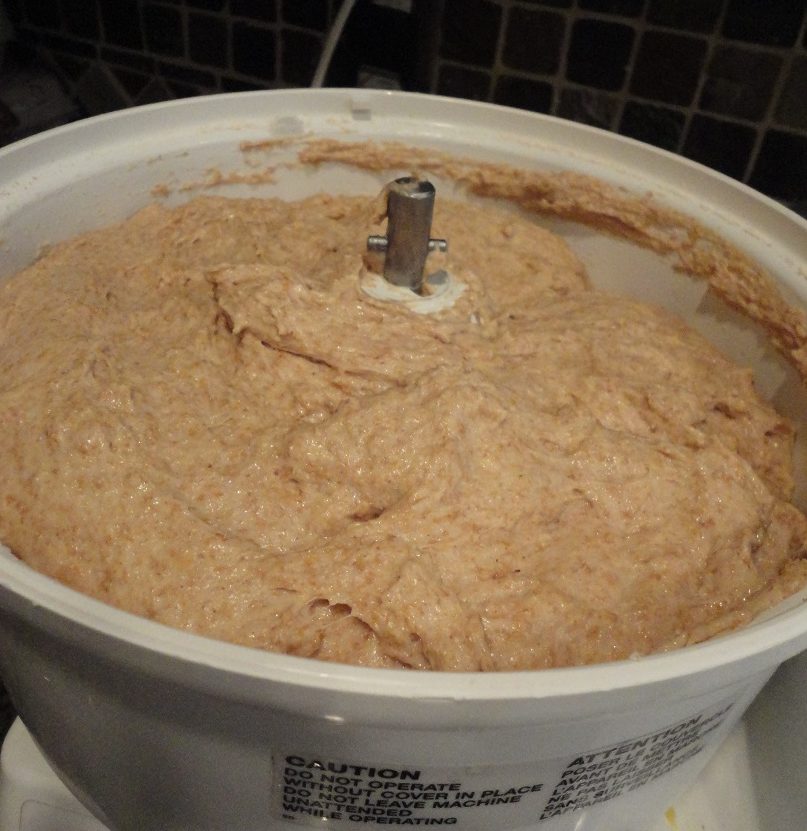
Put your lid in place and set your mixer on medium for 9 minutes. The stickier your dough is, the softer and lighter your bread will be after it is baked. The nice thing about using a mixer to knead for you is that it doesn’t care how sticky the dough is.
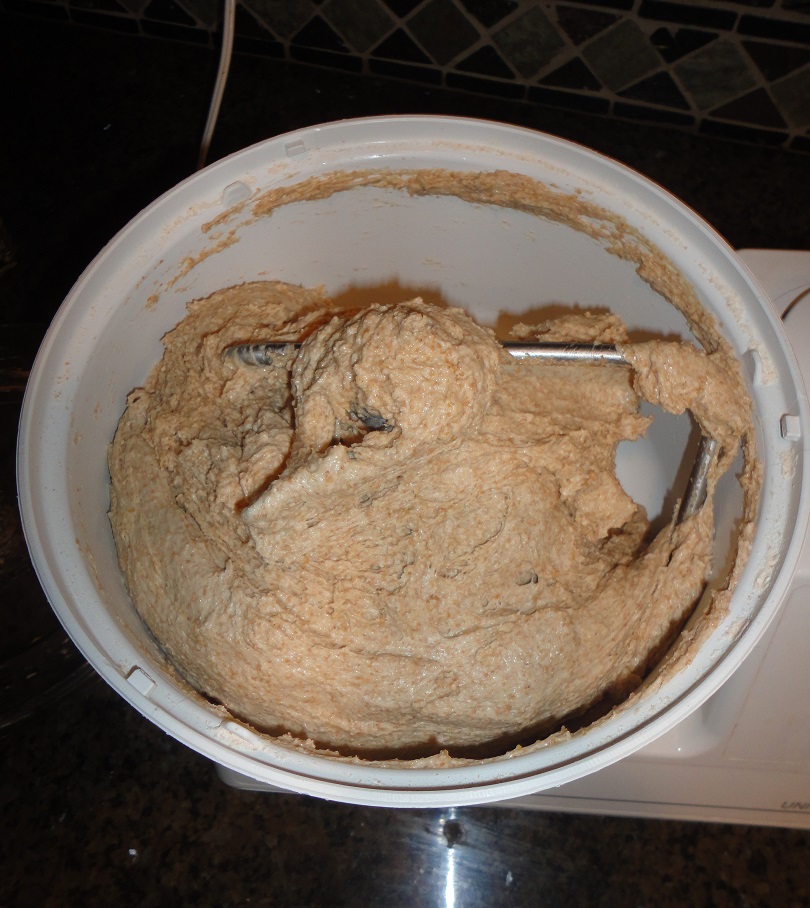
After 9 minutes, you will have perfectly kneaded dough. It will be smooth and elastic and no longer sticky.
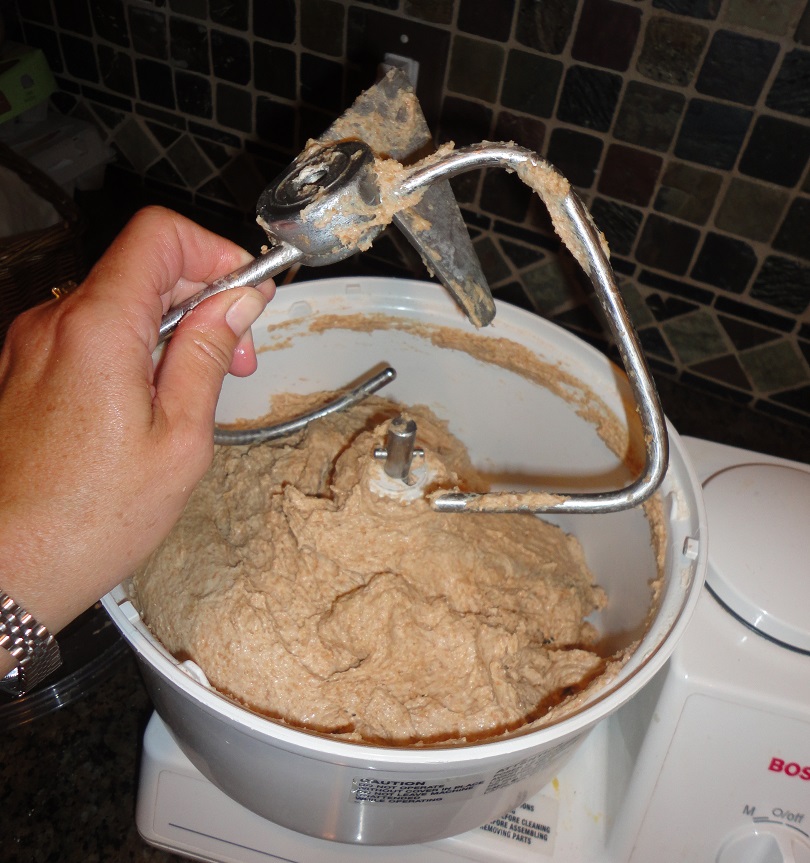
Take out the dough hook.

Put the cover back on and let it rest for 20 minutes.
After 20 minutes the dough will have risen quite a bit. This is the first rise.
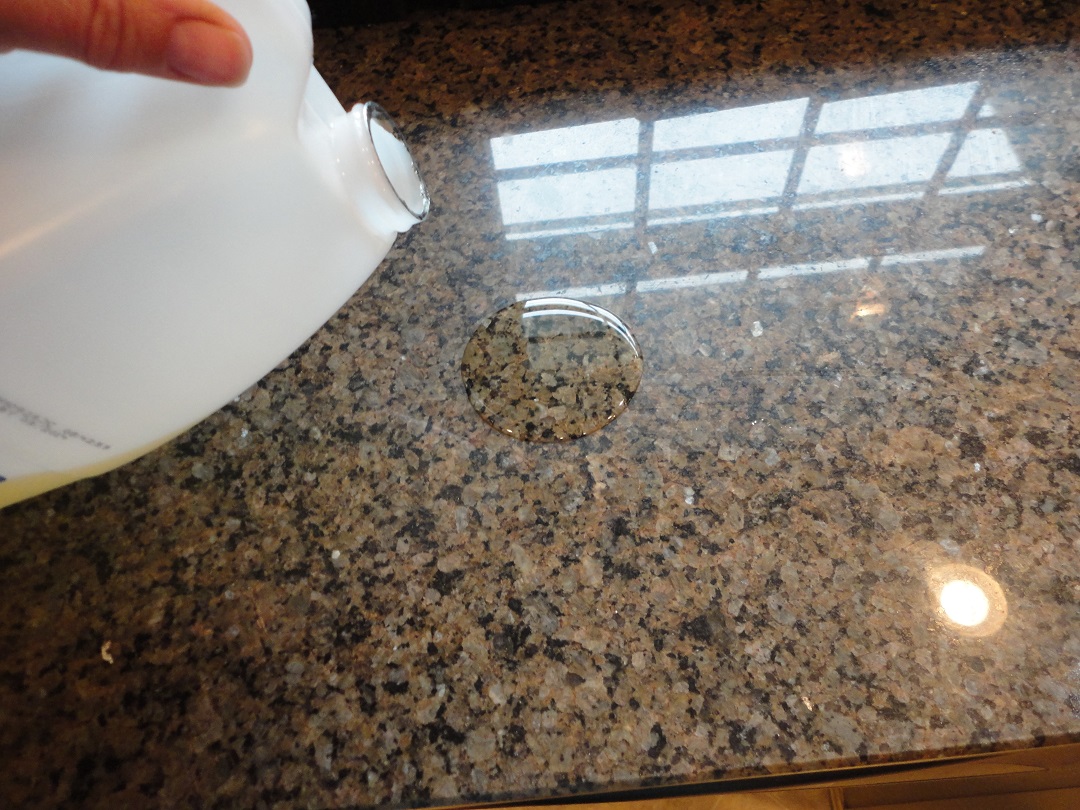
Now, I “oil” my countertop.
Perfectly kneaded bread does not need to be turned onto a floured surface.
Just smear some oil on the counter & turn out the dough onto it. This will “punch-down” the dough after the first rise.
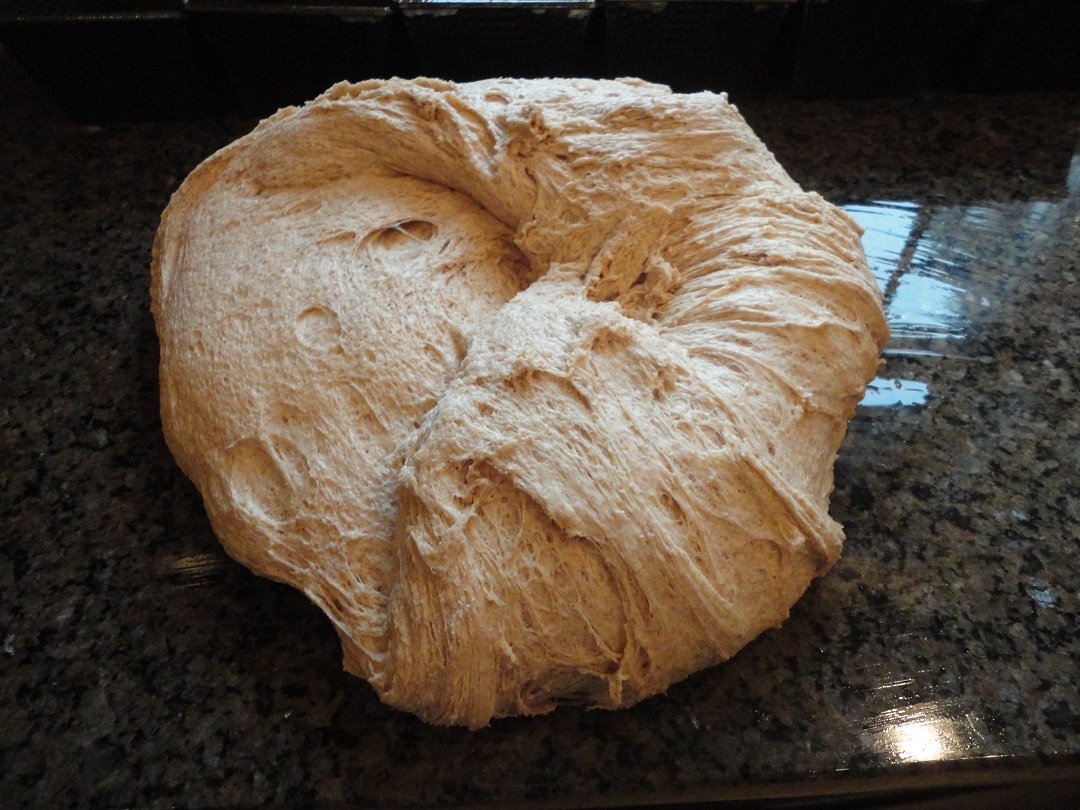
This recipe makes 5-6 loaves of bread.
If you are new to breadmaking I suggest you make 5 loaves (in 10 inch pans). By making 5 instead of 6 you will net bigger loaves and they will rise quicker. If you chose to make 6 loaves expect them to be a bit smaller and take longer to rise.
Divide the dough into 5 or 6 even parts. I have a kitchen scale and could get very precise,
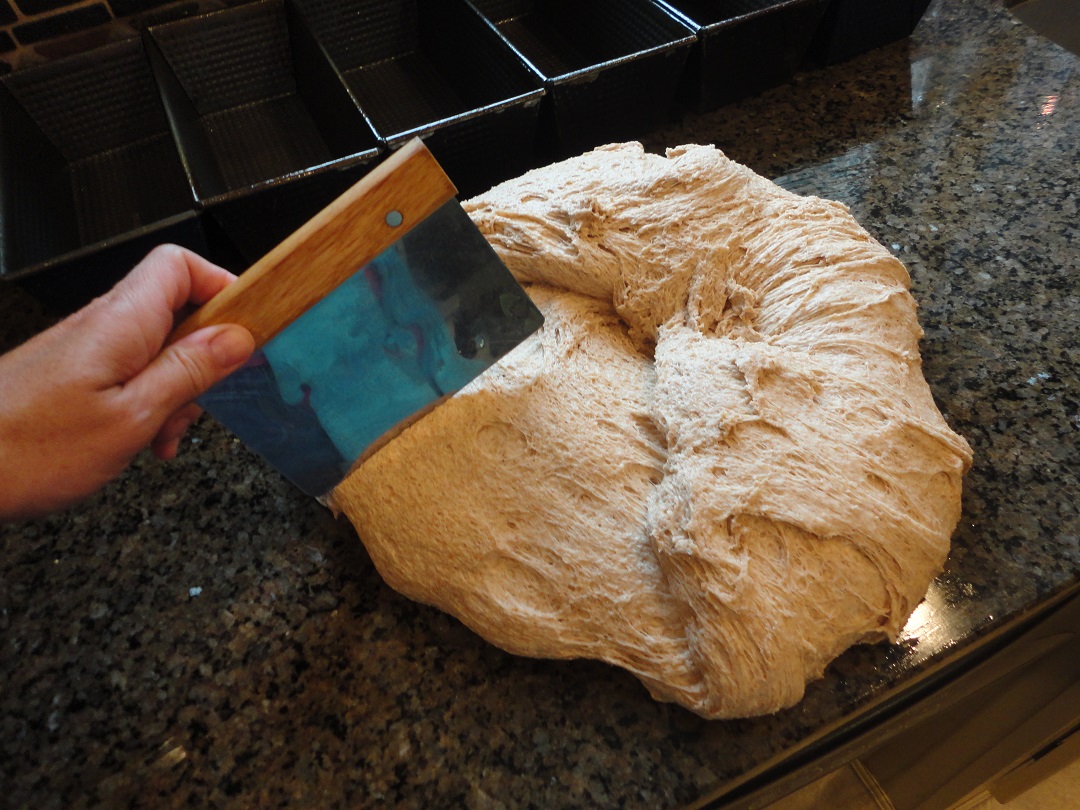
but I am only making bread for my family, and I don’t care if they are all exactly the same size, so I’m just going to eyeball it. The tool I am using to slice the dough is a bread divider. It is handy if you make a lot of bread.

There we go.
Now, I am going to shape my loaves and put them into my pans. I am using 10-inch Norpro bread pans. The waffling on these pans helps the baked loaves fall right out.
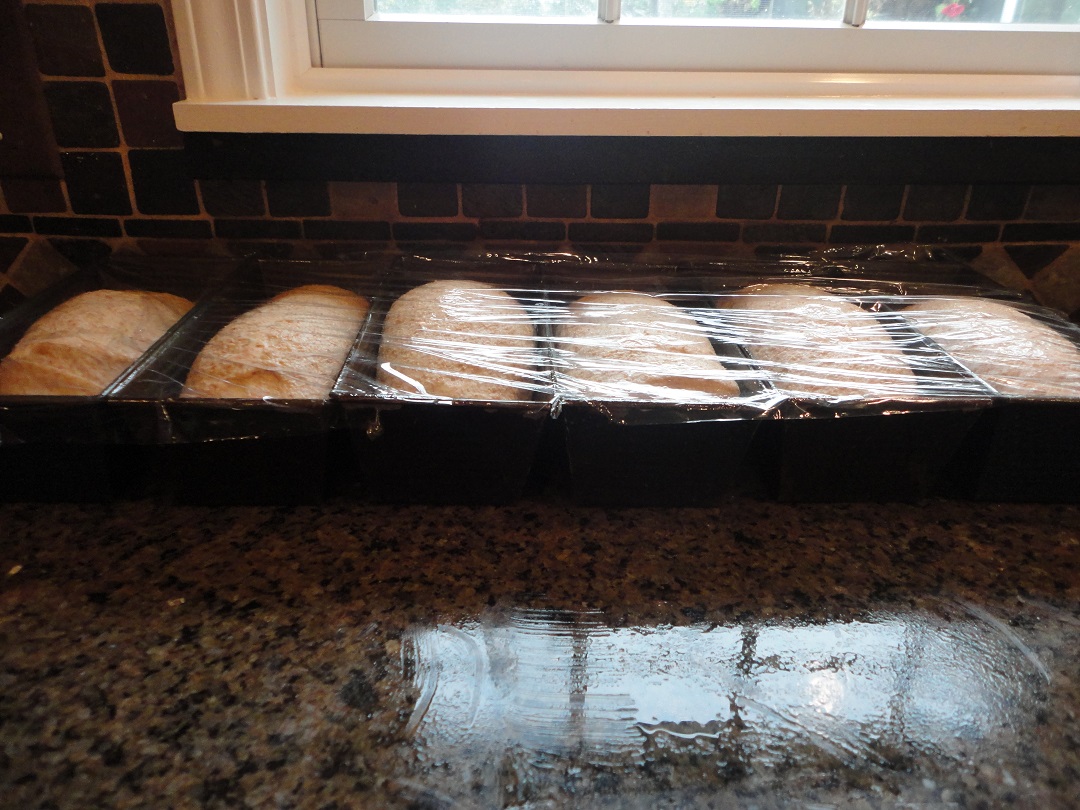
First, I spray my loaf pans with non-stick spray. Then I put my 6 balls of dough into the 6 pans. There are all sorts of ways to “shape” loaves. Don’t get too worried about it. Just get the top somewhat smooth & press them into the bottom of the pans. They will rise and fill out the pans beautifully.
I cover mine with a sheet of plastic wrap and let them rise for 30 minutes (or until they crest the pan 1 inch). This is the second rise.
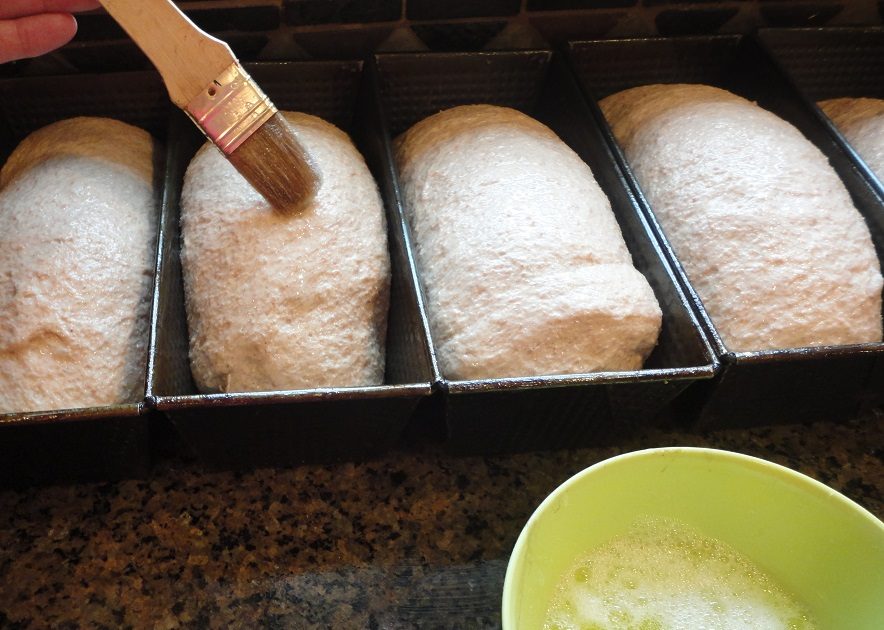
Once the dough has risen, they are ready to bake. You can place them into the oven as is, or make them fancy with a little egg wash.
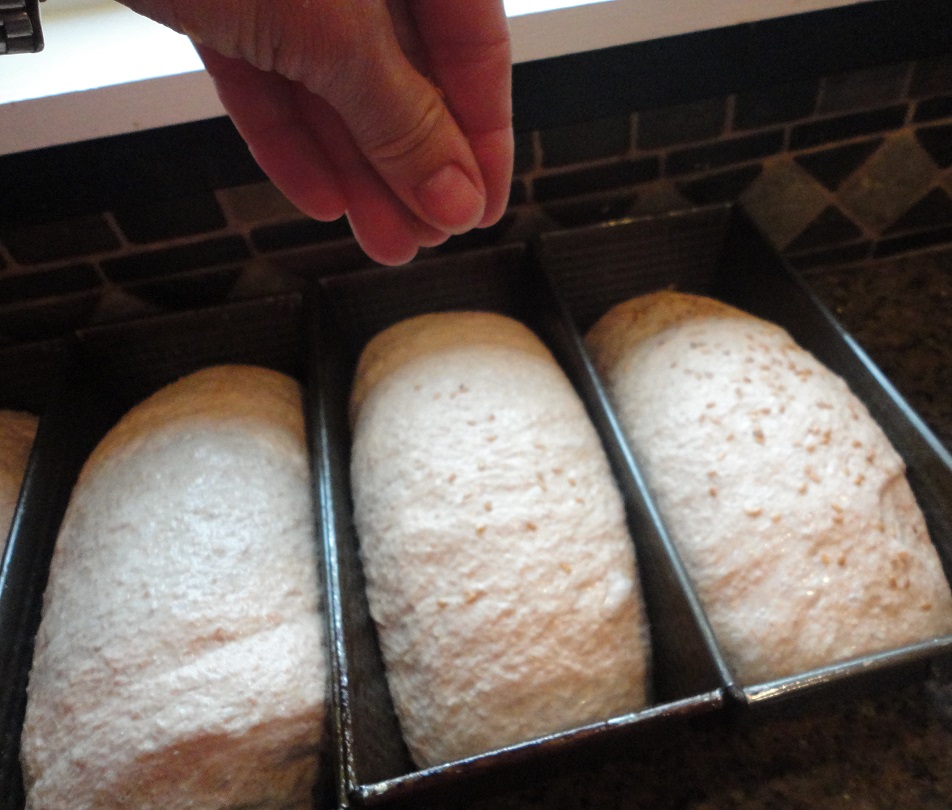
Or sprinkle with some flax seeds.
Bake them for 30 minutes at 340 degrees.
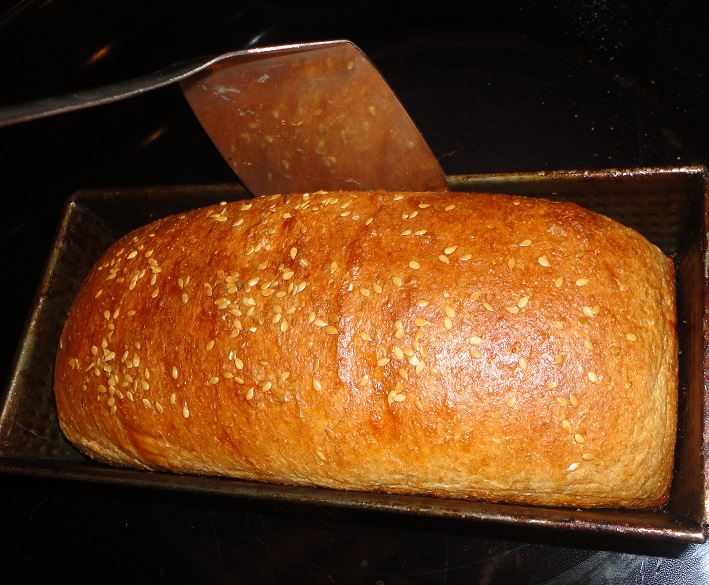
After 30 minutes they will look like this.
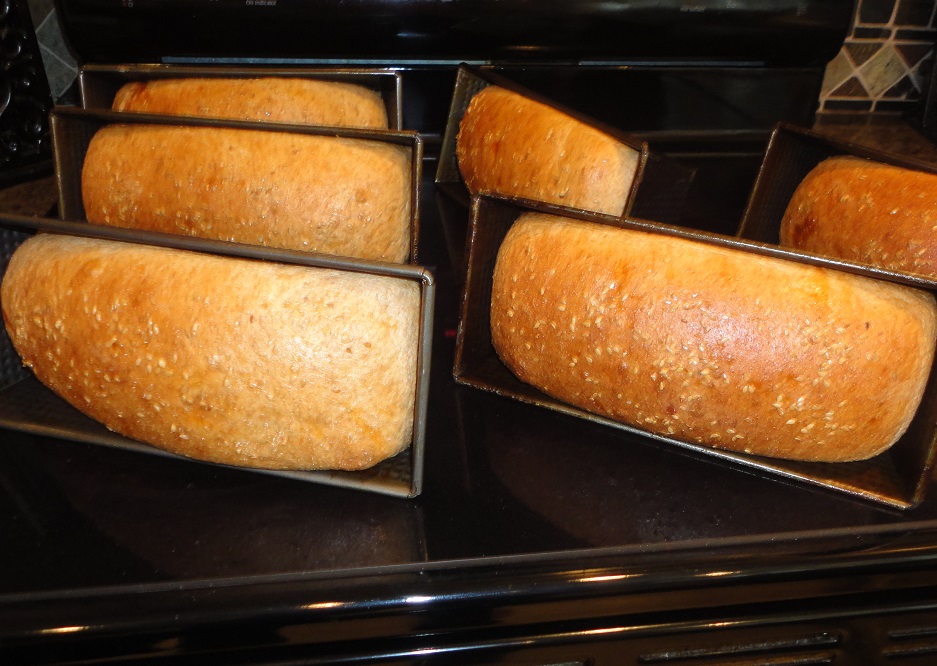
If you have ever had trouble with your loaves “falling” try this trick. Just lay the loaf pans on their side while the bread cools.
Once they have cooled enough to touch, use a spatula to detach the bread from all the sides of the pan.
Work your way all around the loaf.

Then dump the bread out.
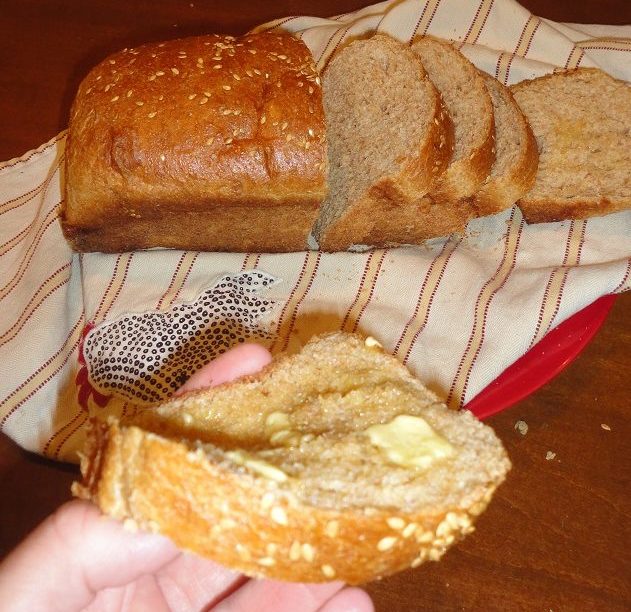
Now call your children to announce that the bread is out of the oven.
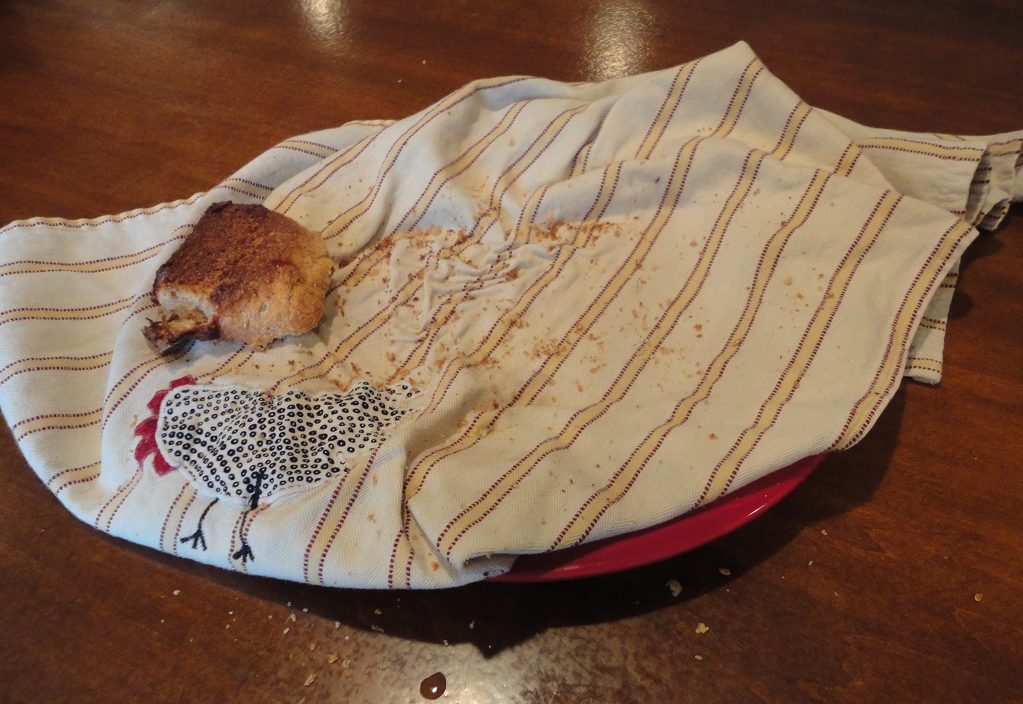
And watch your first loaf of bread disappear in 30 seconds.
Some of my loaves are pretty with little flax seeds
some of them are rustic
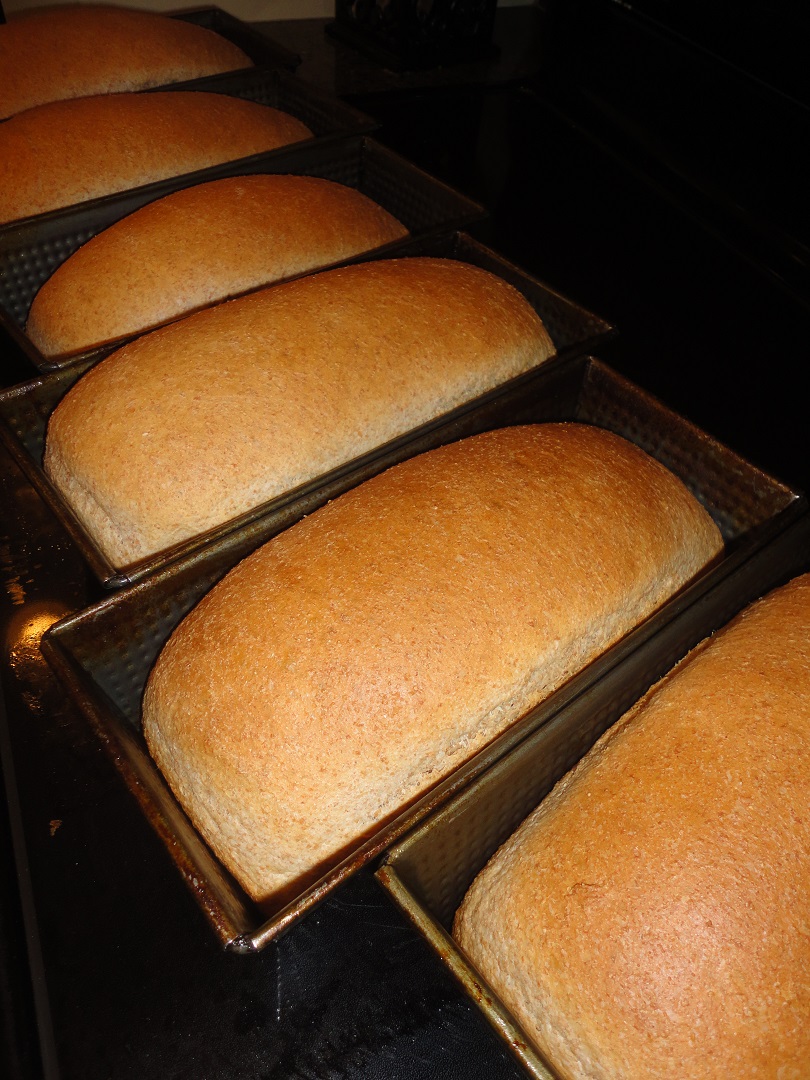
Some of them are plain and smooth.
When I make bread, I get my money’s worth. I’ll usually clear my calendar for the morning & spend the day baking. I’ll put over 20 loaves in the freezer and serve bread and soup for dinner.
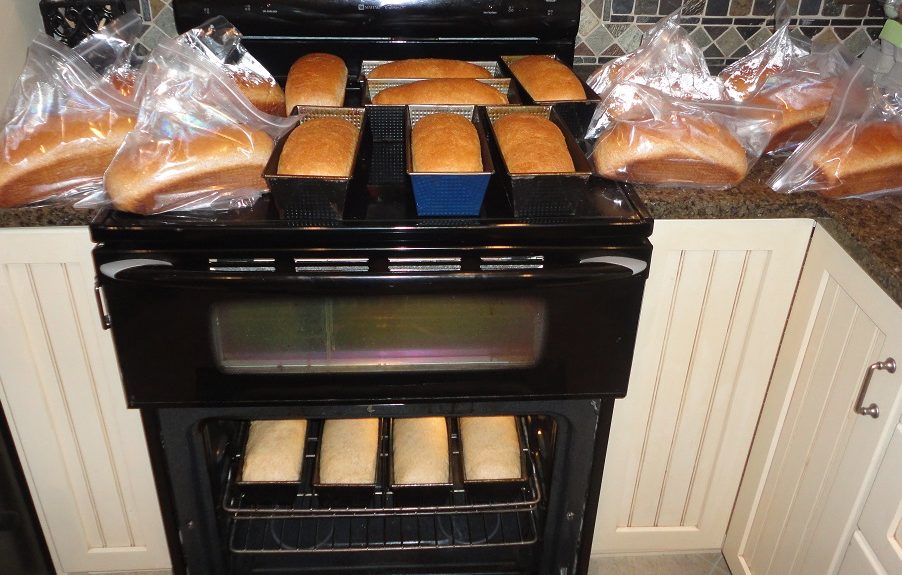
The cleanup time is the same whether I baked 6 loaves of bread or 24 loaves of bread. So, I make a ton.
After the bread is out of the pans I stick the loaves in ziplock bags & freeze them.
Here’s the recipe:
- 11 Cups Wheat berries (5 cups hard white wheat, 4 cups hard red, 2 cups spelt)
- 5 1/2 Cups Hot water
- 1 1/4 Cup oil
- 1 Cup honey
- 3 Tbsp Yeast
- 1/4 Cup gluten (optional)
- 5 Tsp salt
Put water, oil, honey, and yeast in mixer. After yeast activates add gluten flour and 5 cups of flour, mix on low. Add salt. Continue adding flour until the sides of mixer begin to clean, mixing on low. Place top on mixer & mix on medium 9 minutes. Let rest 20 minutes. Turn out onto an oiled surface. Divide & shape into 6 loaves & put in pans. Cover & let rise. Bake 30 minutes @ 340 degrees.
Be sure to join the email list (for free) here. You’ll get updates & the latest homesteading fun delivered straight to your inbox.
If you want to dive into the world of making bread (which you should) I’d encourage you to think about becoming a Member. It’s cheap and you’ll learn everything you need to know so you can make homemade bread like your great-grandma did. Learn more about becoming a member here.
Happy Baking!
-Candi


