
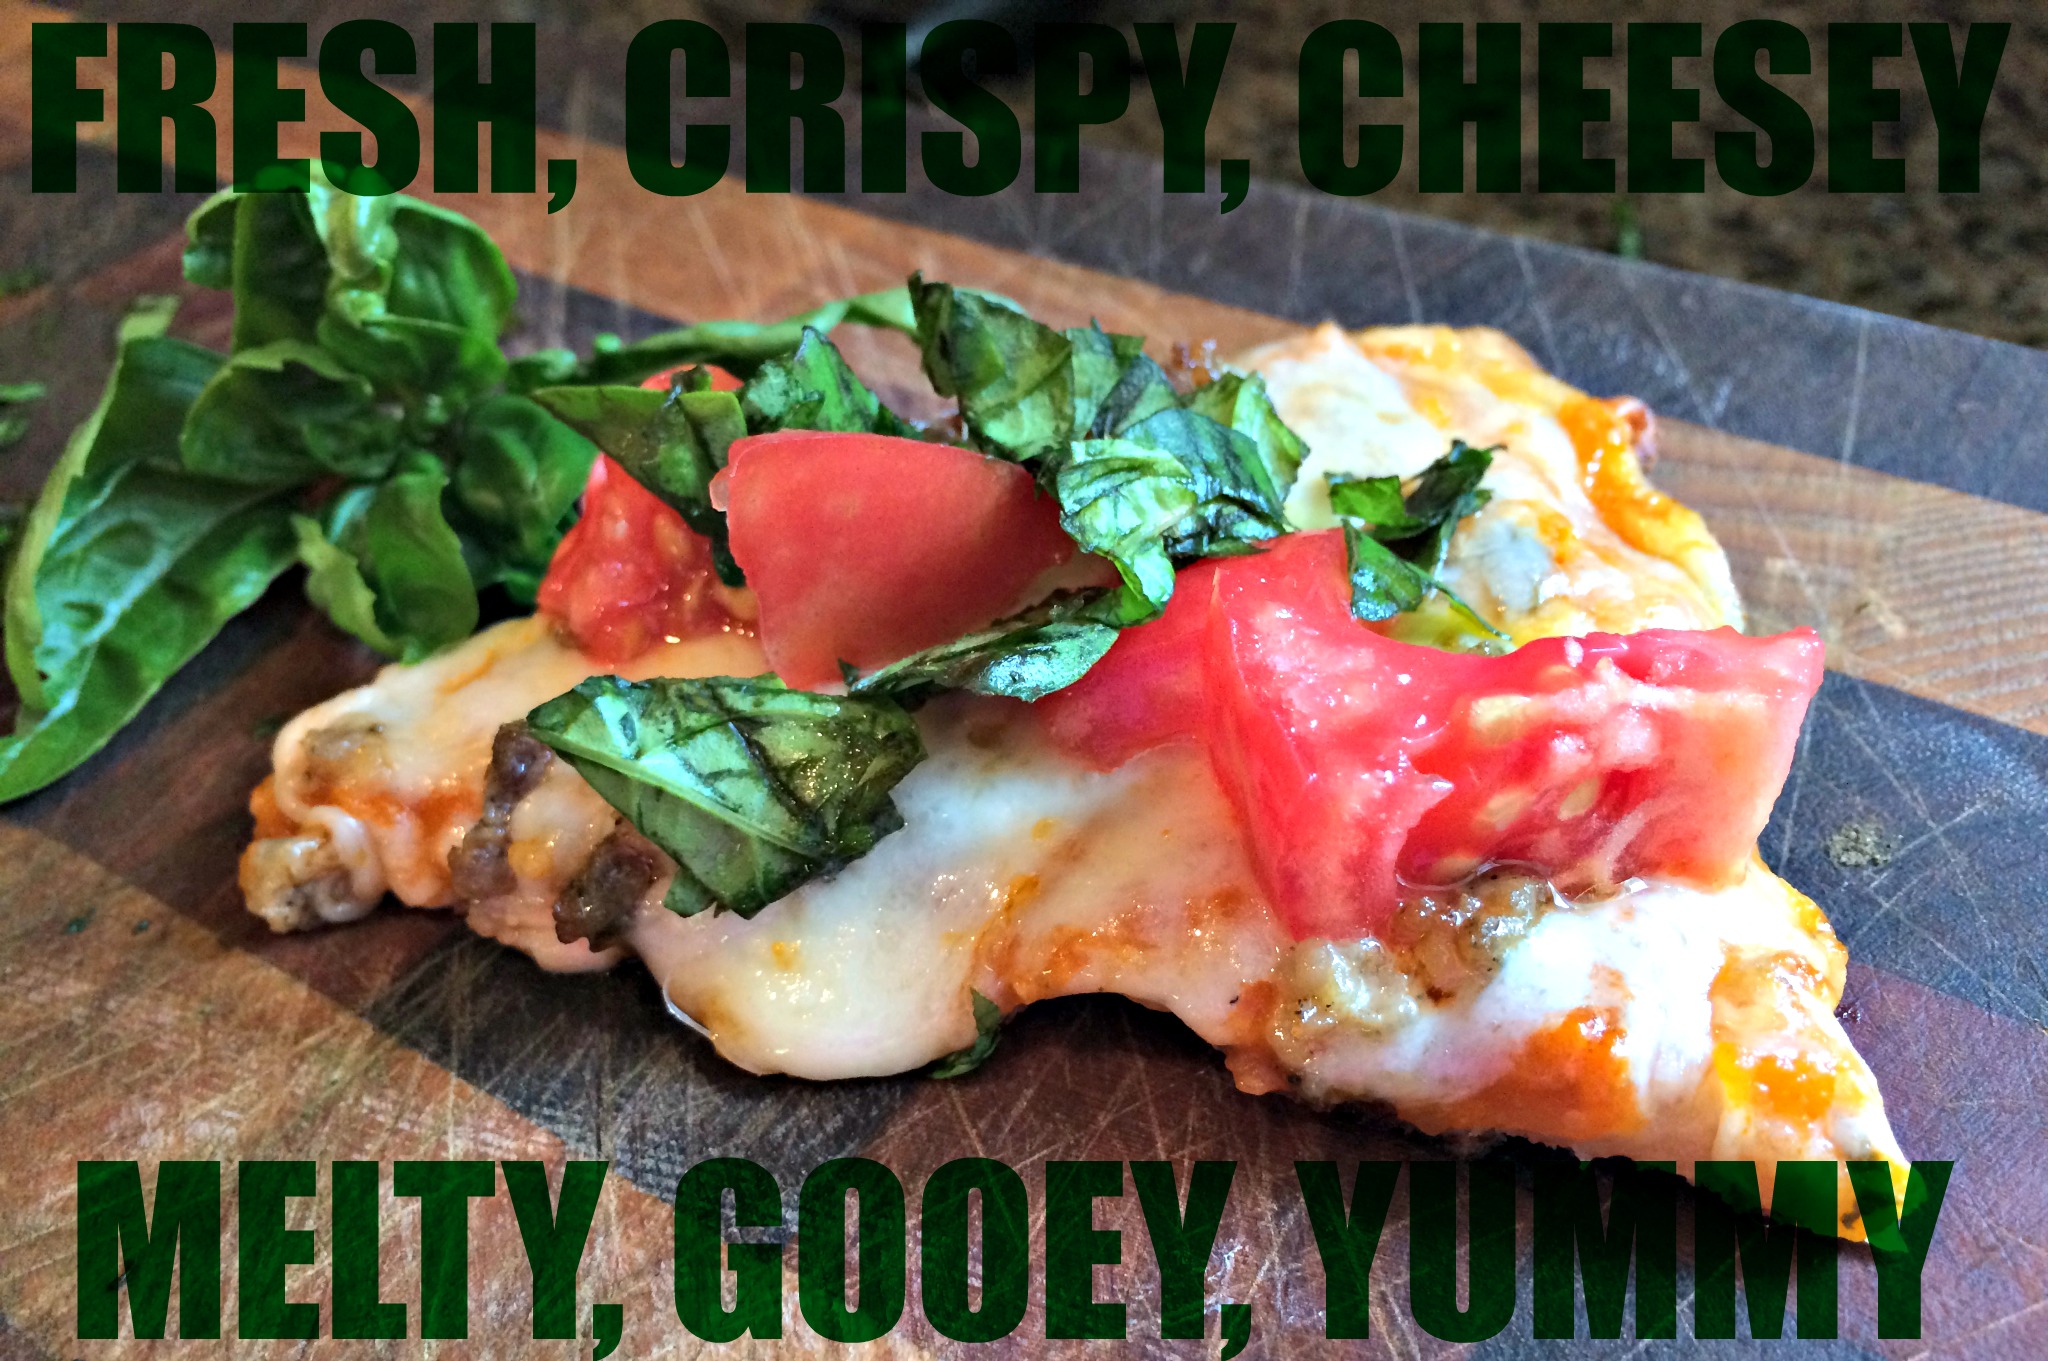
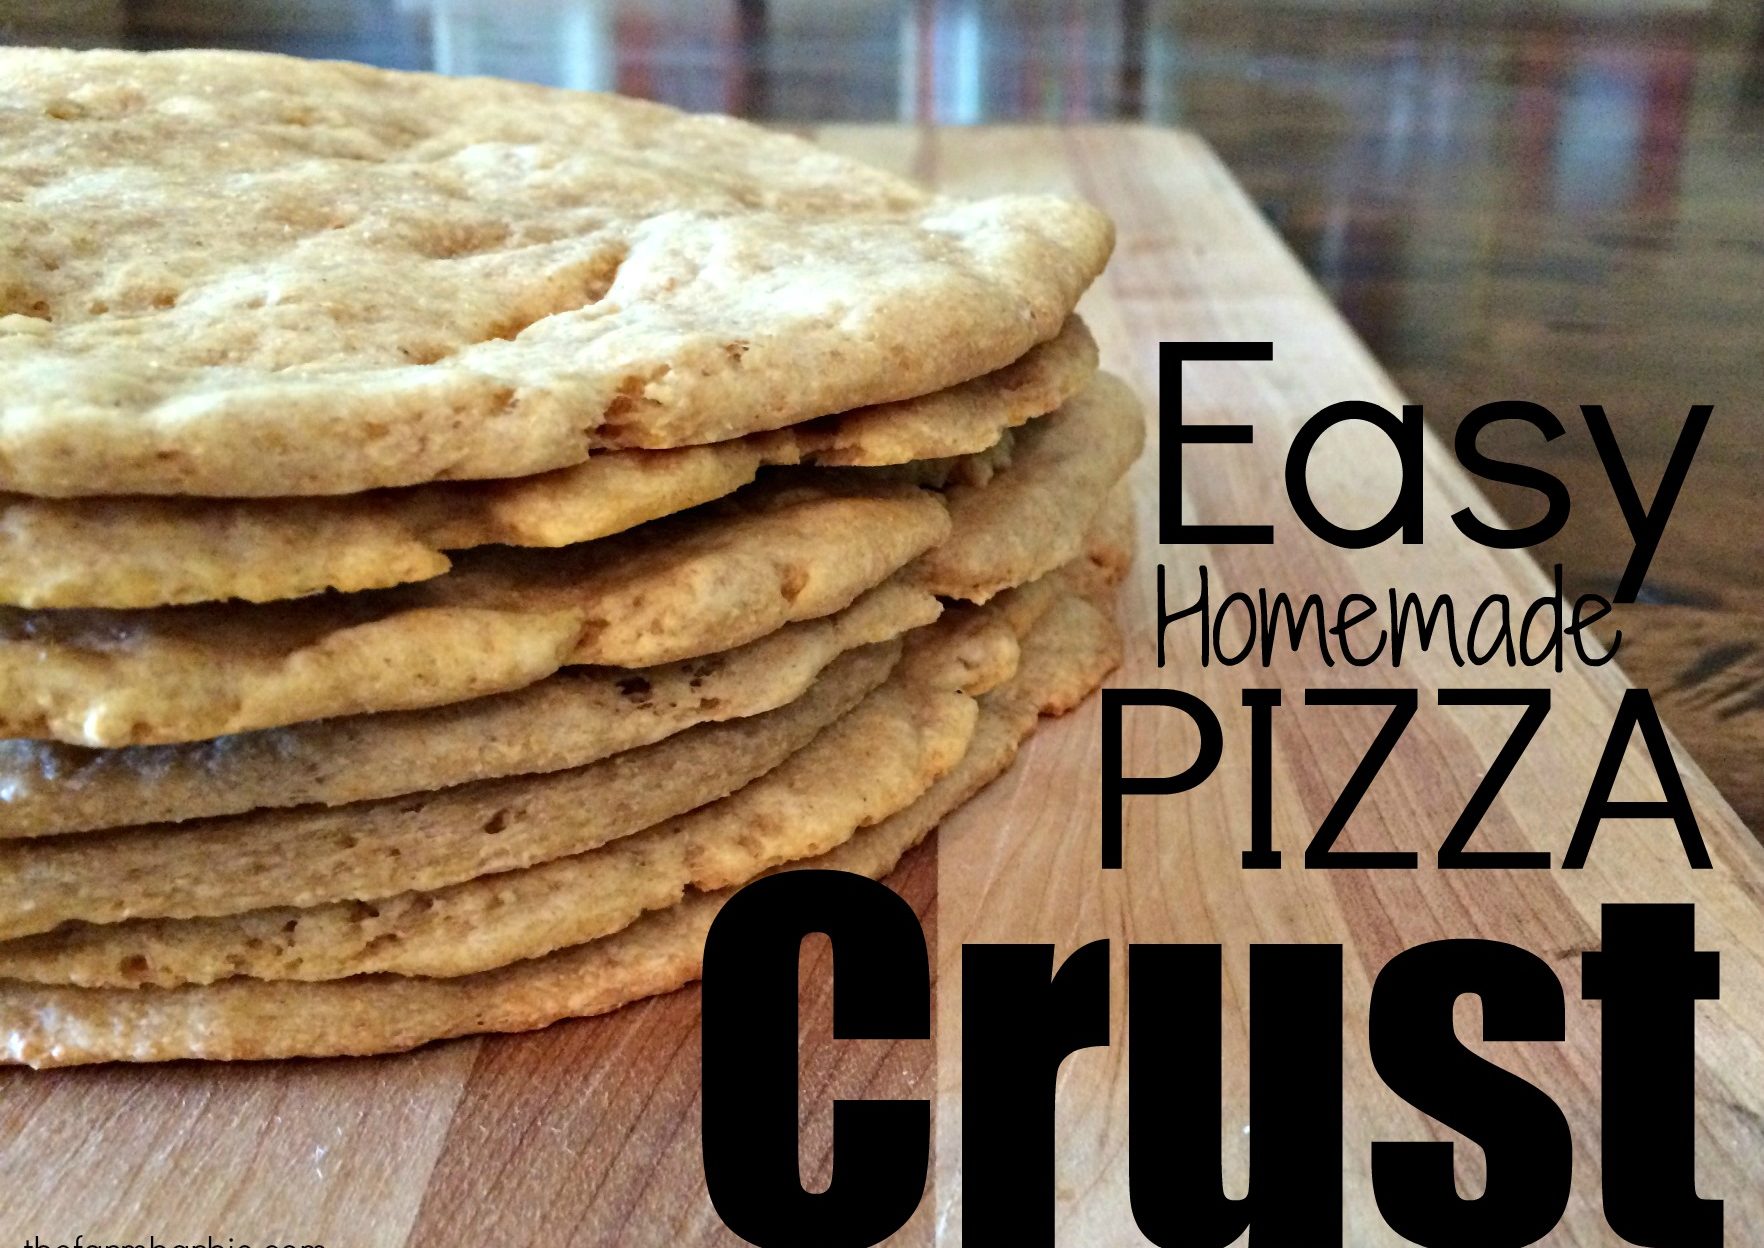
Make Your Own Pizza Crust
Homemade pizza has no competition as far as I’m concerned.
I’ve been making this homemade pizza for almost as many years as I have had children. That’s a long time.
If you’ve been following along, you’ll recognize this recipe. It is my basic yeast dough recipe that I use for everything from pizza crust, to slider buns to doughnuts. It’s super versatile & with a generous application of olive oil, this soft dough transforms into a nice, hand-tossed-like, pizza crust.
- For why you should grind your own flour go here
- For an introduction to an Electric Grain Mill & how to use one go here
- For a super detailed introduction to this recipe and yeast breads in general go here
- For Homemade Slider Buns go here
- For Homemade Pan Fried Doughnuts go here
To learn more about home bread-making, see instructional videos and dozens of premium recipes you may want to consider a membership.
I love baking with fresh ground flour. It’s nutritious and beats anything from the store as far as I’m concerned.
The beauty of this recipe is that you will have so many choices once the dough is made.
- Eat pizza until you burst
- Invite everyone you know over for a pizza party
- Cover crust dough and stick in refrigerator and bake as the mood for pizza hits
- Bake all the crusts & freeze them for making pizzas later (this is what I do)
- Bake crusts, Assemble a bunch of pizzas, wrap them in plastic wrap & freeze for quick dinners
No matter what you decide to do with the dough – one things for sure… you’ll be glad you have it.
Let’s make some dough!
Just so you don’t get overwhelmed, here’s what we’re going to do:
- Put water, honey, butter, milk & yeast into a mixer and let it sit 5 mins
- Add eggs, flour, salt & knead the dough for 5 minutes on medium
- Let the dough rest
- Smoosh dough into thin pizza crusts & bake
It’s easy & delicious!
NOTE: This recipe makes A LOT of pizza crusts. You may want to make some slider buns or doughnuts while you have the dough sitting in your kitchen. If you store this dough in the refrigerator the yeast will continue to grow. I do not like super yeasty doughs, so I make plans to bake all this dough the day I make it.
My preference is to make as many pizza disks as I can get out of the batch & freeze them for future use. I love having pizza crusts for the kids. They make a great, fast meal on busy days.
Here’s the dough recipe:
Slightly Sweet Bread Dough
- 1 cup very warm water
- 1/4 cup honey (Real Maple Syrup works too)
- 1/2 cup butter (melted & warm)
- 1 cup very warm milk
- 1 1/2 tbsp yeast (I use this one)
- 2 eggs
- 2 teaspoons salt
- Around 6-7 cups Fresh Milled flour (add flour until dough begins to “clean” the sides of the mixing bowl) – If you don’t have a mill, or wheat berries; Yes, in a pinch, you could use flour from a supermarket. 🙂

First, grab your mixer and insert the dough hook.
The mixer I use is this one. It is amazing. It can knead & handle enough dough to make over 10 loaves of bread at once (compared to the Kitchen Aid’s 4 loaf max). This machine makes Kitchen Aid look like child’s play.
I know the Kitchen Aid boasts a 5 Quart capacity which seems similar to the Bosch’s 6 1/2 Quart capacity, but I think the main difference is the power of the motor. It is pricier, but the Bosch has more capacity, more power, a killer warranty and can make anything you throw at it. I love mine.
Add the (very warm) water, honey, melted (warm) butter, and (very warm) milk to your mixer bowl.

Sprinkle the yeast into mixer (on the warm liquids). Turn the mixer on for a few seconds just to mix the yeast in. Cover & let this sit for a few minutes so your yeast can activate. After the yeast is all foamy and bubbly you can add the eggs & give them a spin.
Once the eggs are in, it’s time to get the flour & salt into the dough.
Add 1/2 the flour (3 cups) & then add the salt. Then add the rest of the flour.
I use fresh flour. Go here to read why fresh flour is the bomb. Go here to see which mill I use & how easy it is to use.
Add the rest of the flour one cup at a time mixing after each cup so you can see the consistency of your dough. When you get close to the 6 cup mark begin to pay attention to the sides of your mixing bowl. Sprinkle in the flour slowly and watch what is happening to the dough. I leave my mixer running on low as I sprinkle in flour.
Stop adding flour when the dough begins to clean the sides of the mixing bowl. Set your mixer on medium and let it knead your dough for 5 minutes.
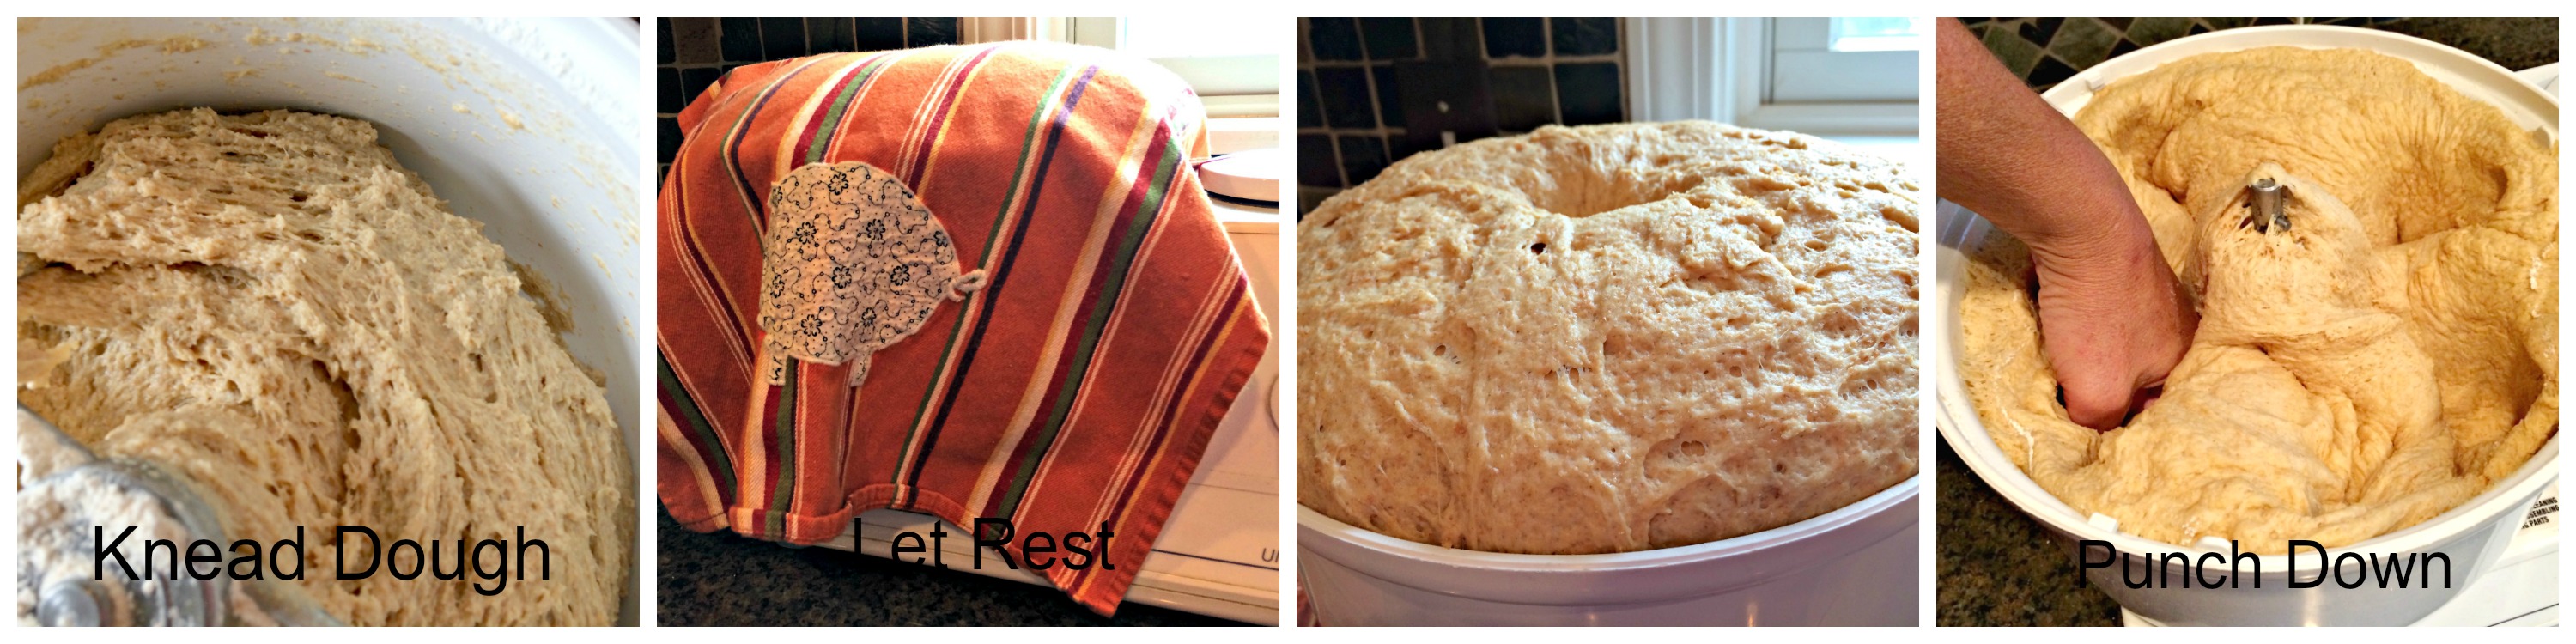
Remove dough hook & cover dough to rest (I just leave the dough in my mixer & put the lid back on). Let rest 10-15 minutes.
The dough will rise. After the rest, punch down the dough.
Now the dough is complete.
Let’s make pizza!
It does not take much dough to make an individual pizza. I just pull out a hunk about the size of a lemon. For bigger crusts, just use more dough.
We are going to oil everything & then press the dough into a circle on a baking sheet. You can use a rolling pin (more on why you shouldn’t below), you can toss it around the kitchen or you can use your hands to press it onto a cookie sheet. I usually go with the last option.
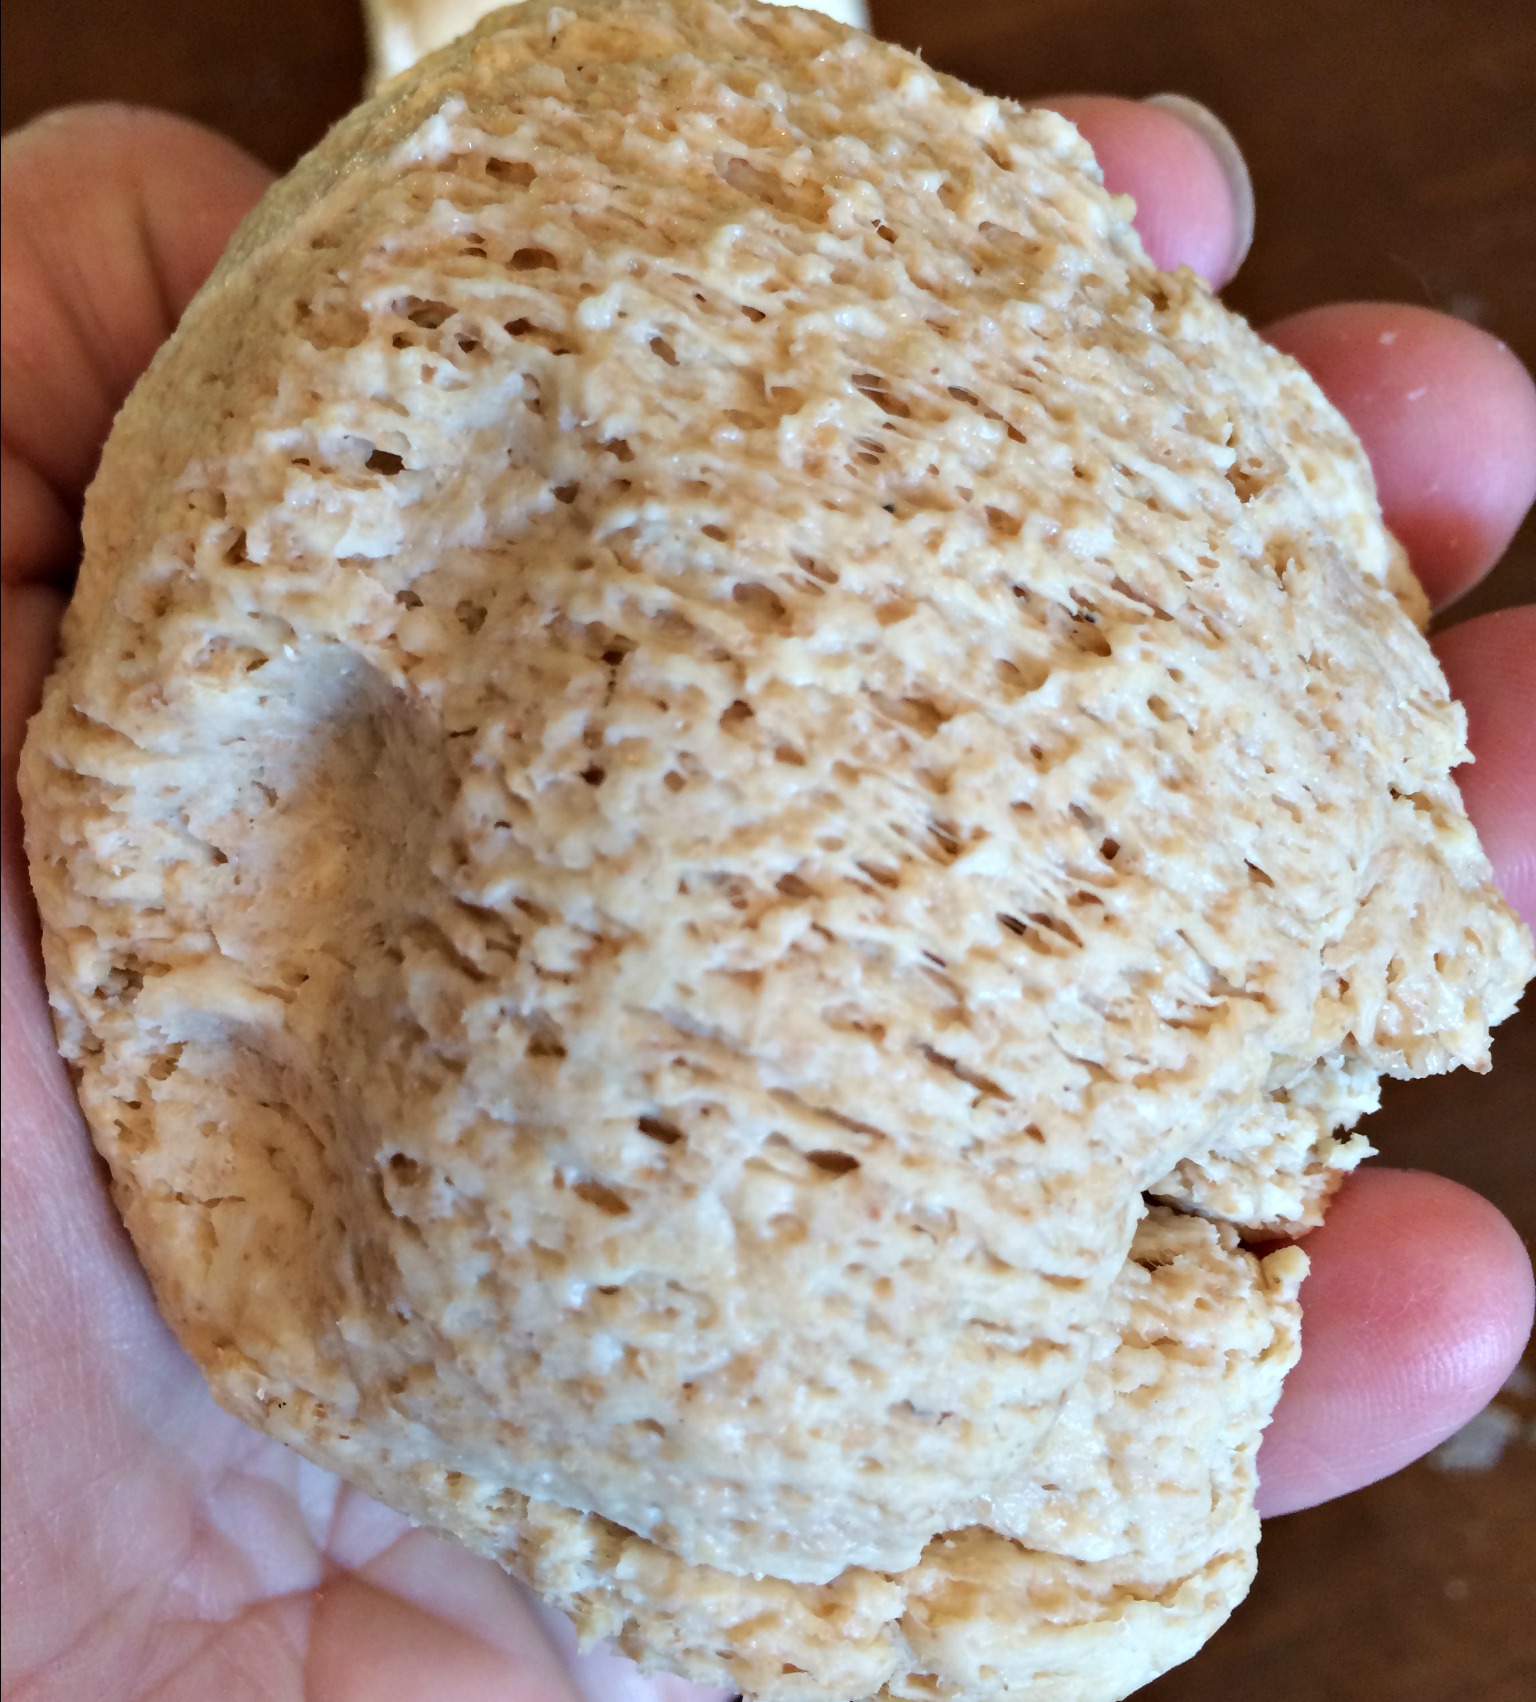
Helpful Hints: Pizza dough is sticky. Sticky dough means a soft wonderful crust. Sticky is what you want. But sticky can be difficult to handle. To make it easier grab some olive oil and take a quick bath in it.
Just kidding…. but you will want to oil the surface you will be working on. Oil your hands. Oil the pan you are going to bake the crusts on. Oil everything.
Oiling the sheet you are baking the crust on will help the crust to “fry” in the oven and get crispy – which is good.
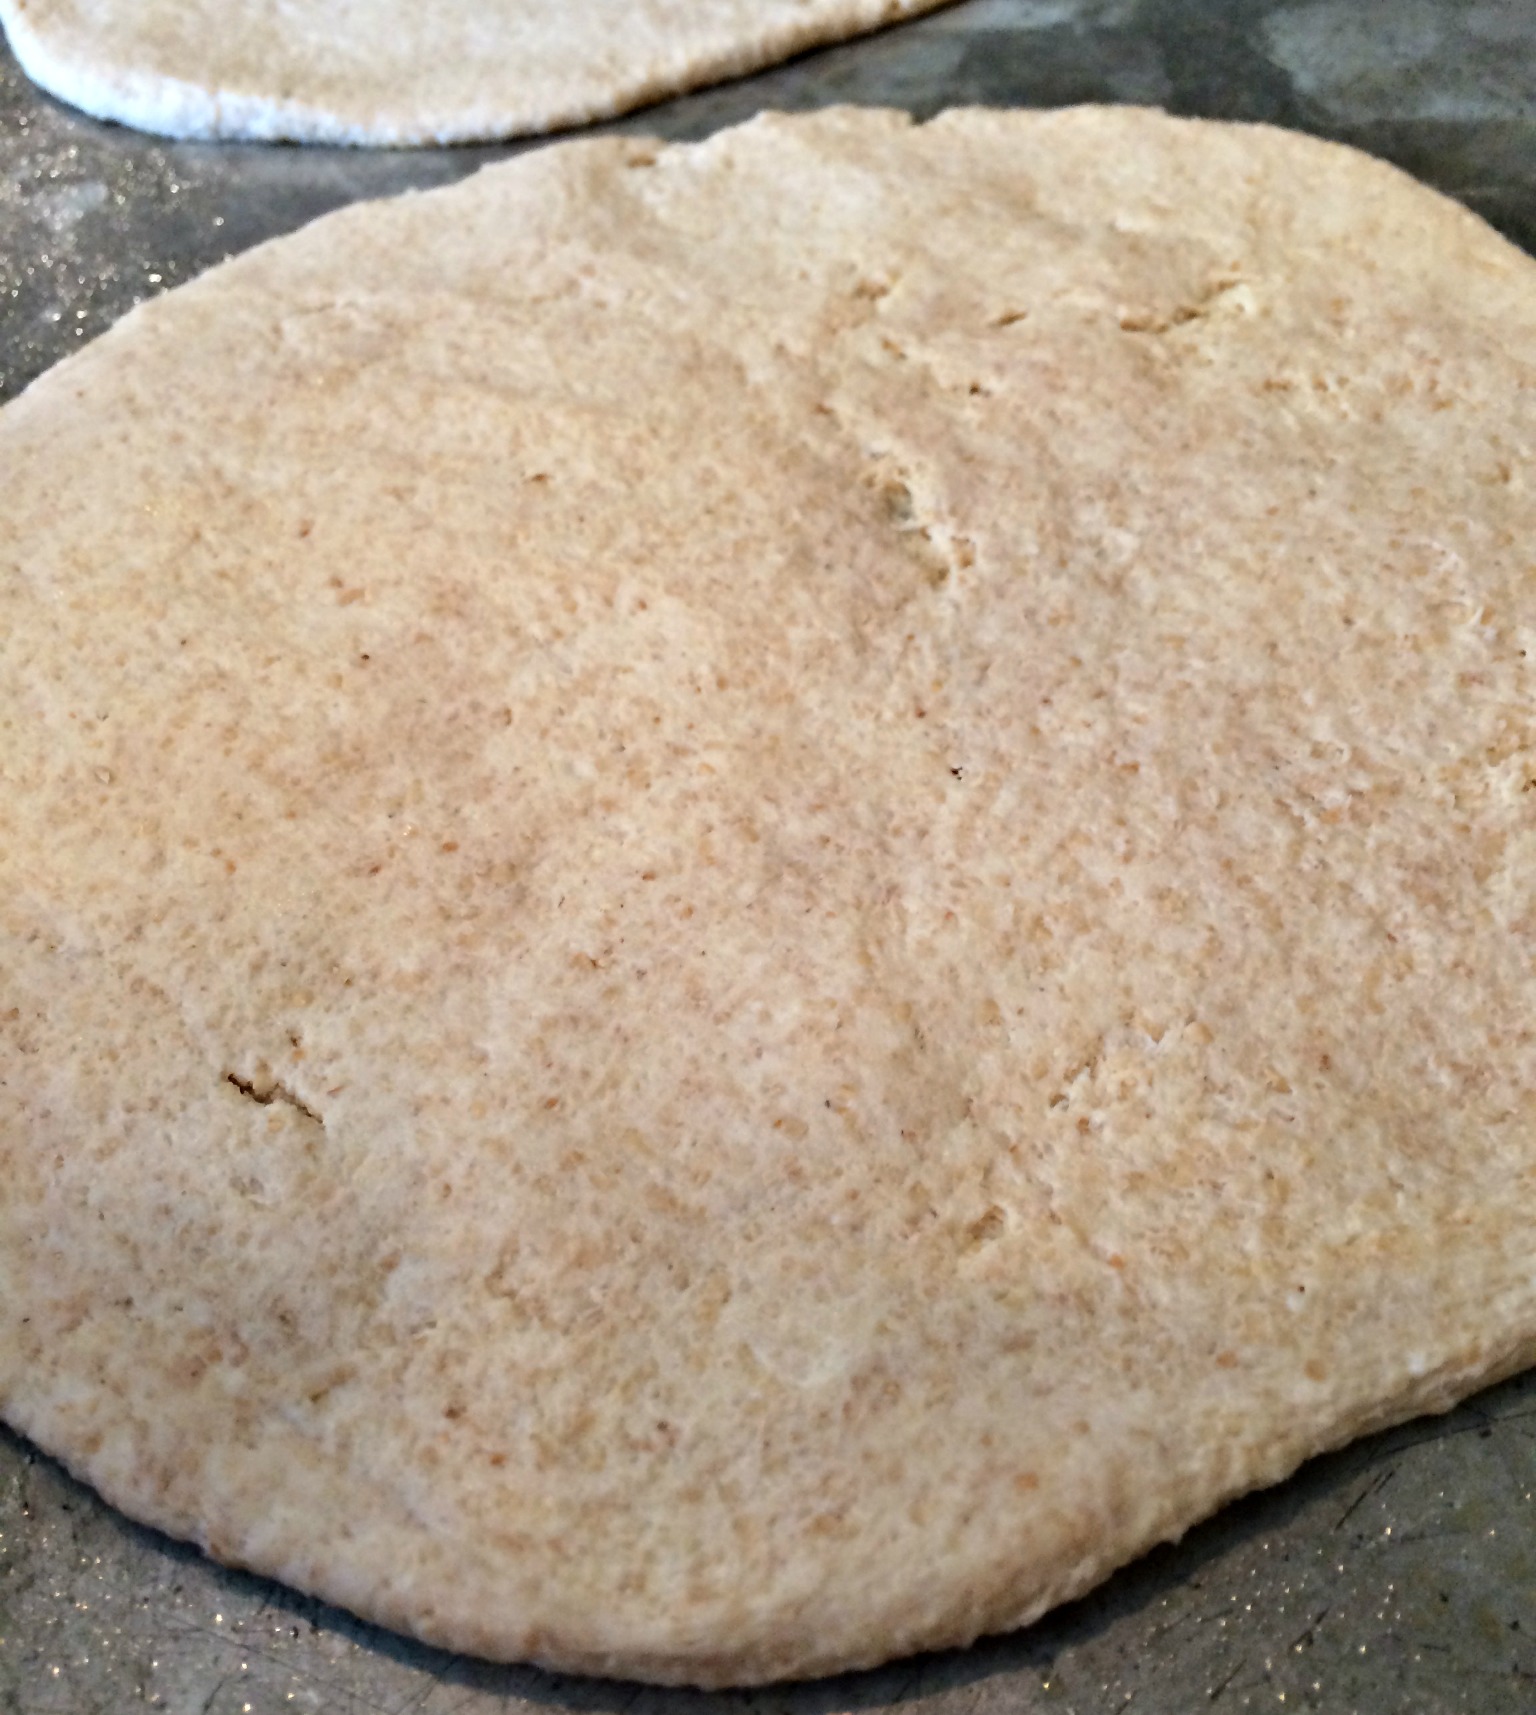
So, start by generously oiling the baking sheet, then plop your ball of dough onto the oil – push to flatten. Now, flip the flattened ball of dough over to oil the other side. Once everything is nice and slick, begin smashing it out with your hands & fingers into a nice round disk.
If you like “deep dish” pizza don’t smoosh your dough out as thin as mine. I like a crispy, thin crust.
Warning against rolling pins: You can use one, but it may squash all those wonderful bubbles out of the crust. For the lightest, bubbliest crust you’ll want to stick with your hands for the stretching.
Once the dough is the right size and thinness be sure it has some oil on it & bake it for 5-7 minutes at 450 degrees. Be sure to watch it. Depending on how thick or thin your crust is, it may need more or less time in the oven.
Take it out of the oven when it is cooked enough to be handled. You don’t want it to brown, because you’ll be cooking it again with all the toppings on it. You just want it prebaked so it can stand up to all the toppings and stay crispy.
Why do I bake my crust before I bake my pizza?
- I don’t like soggy crust. By baking it ahead I know that my crust will be crispy and cooked thoroughly.
- It’s easier for kids/ company to handle, top, fill & maneuver a prebaked crust. Prebaking makes a pizza party much easier, or just personal pan pizza’s for 6 much easier. Everyone can grab their crust & throw on the toppings to their hearts content without the worry of destroying the delicate pastry.
- You can stack them. If they are prebaked, they are no longer fragile, circles of uncooked goo. After you bake these disks you could play frisbee with them & then make pizza. Very functional.
- You can freeze them. Just wrap them up & toss in the freezer. Once again, you have a disk to work with & it can stand up to freezing, defrosting and man-handling.
Can I top my uncooked pizza crust with toppings & bake it all at once?
Yes! BUT, be warned, if you are using juicy toppings (watery pizza sauce, fresh tomatoes, peppers), it will result in a soggier, softer crust. For the crispiest crust, prebake a few minutes before topping.
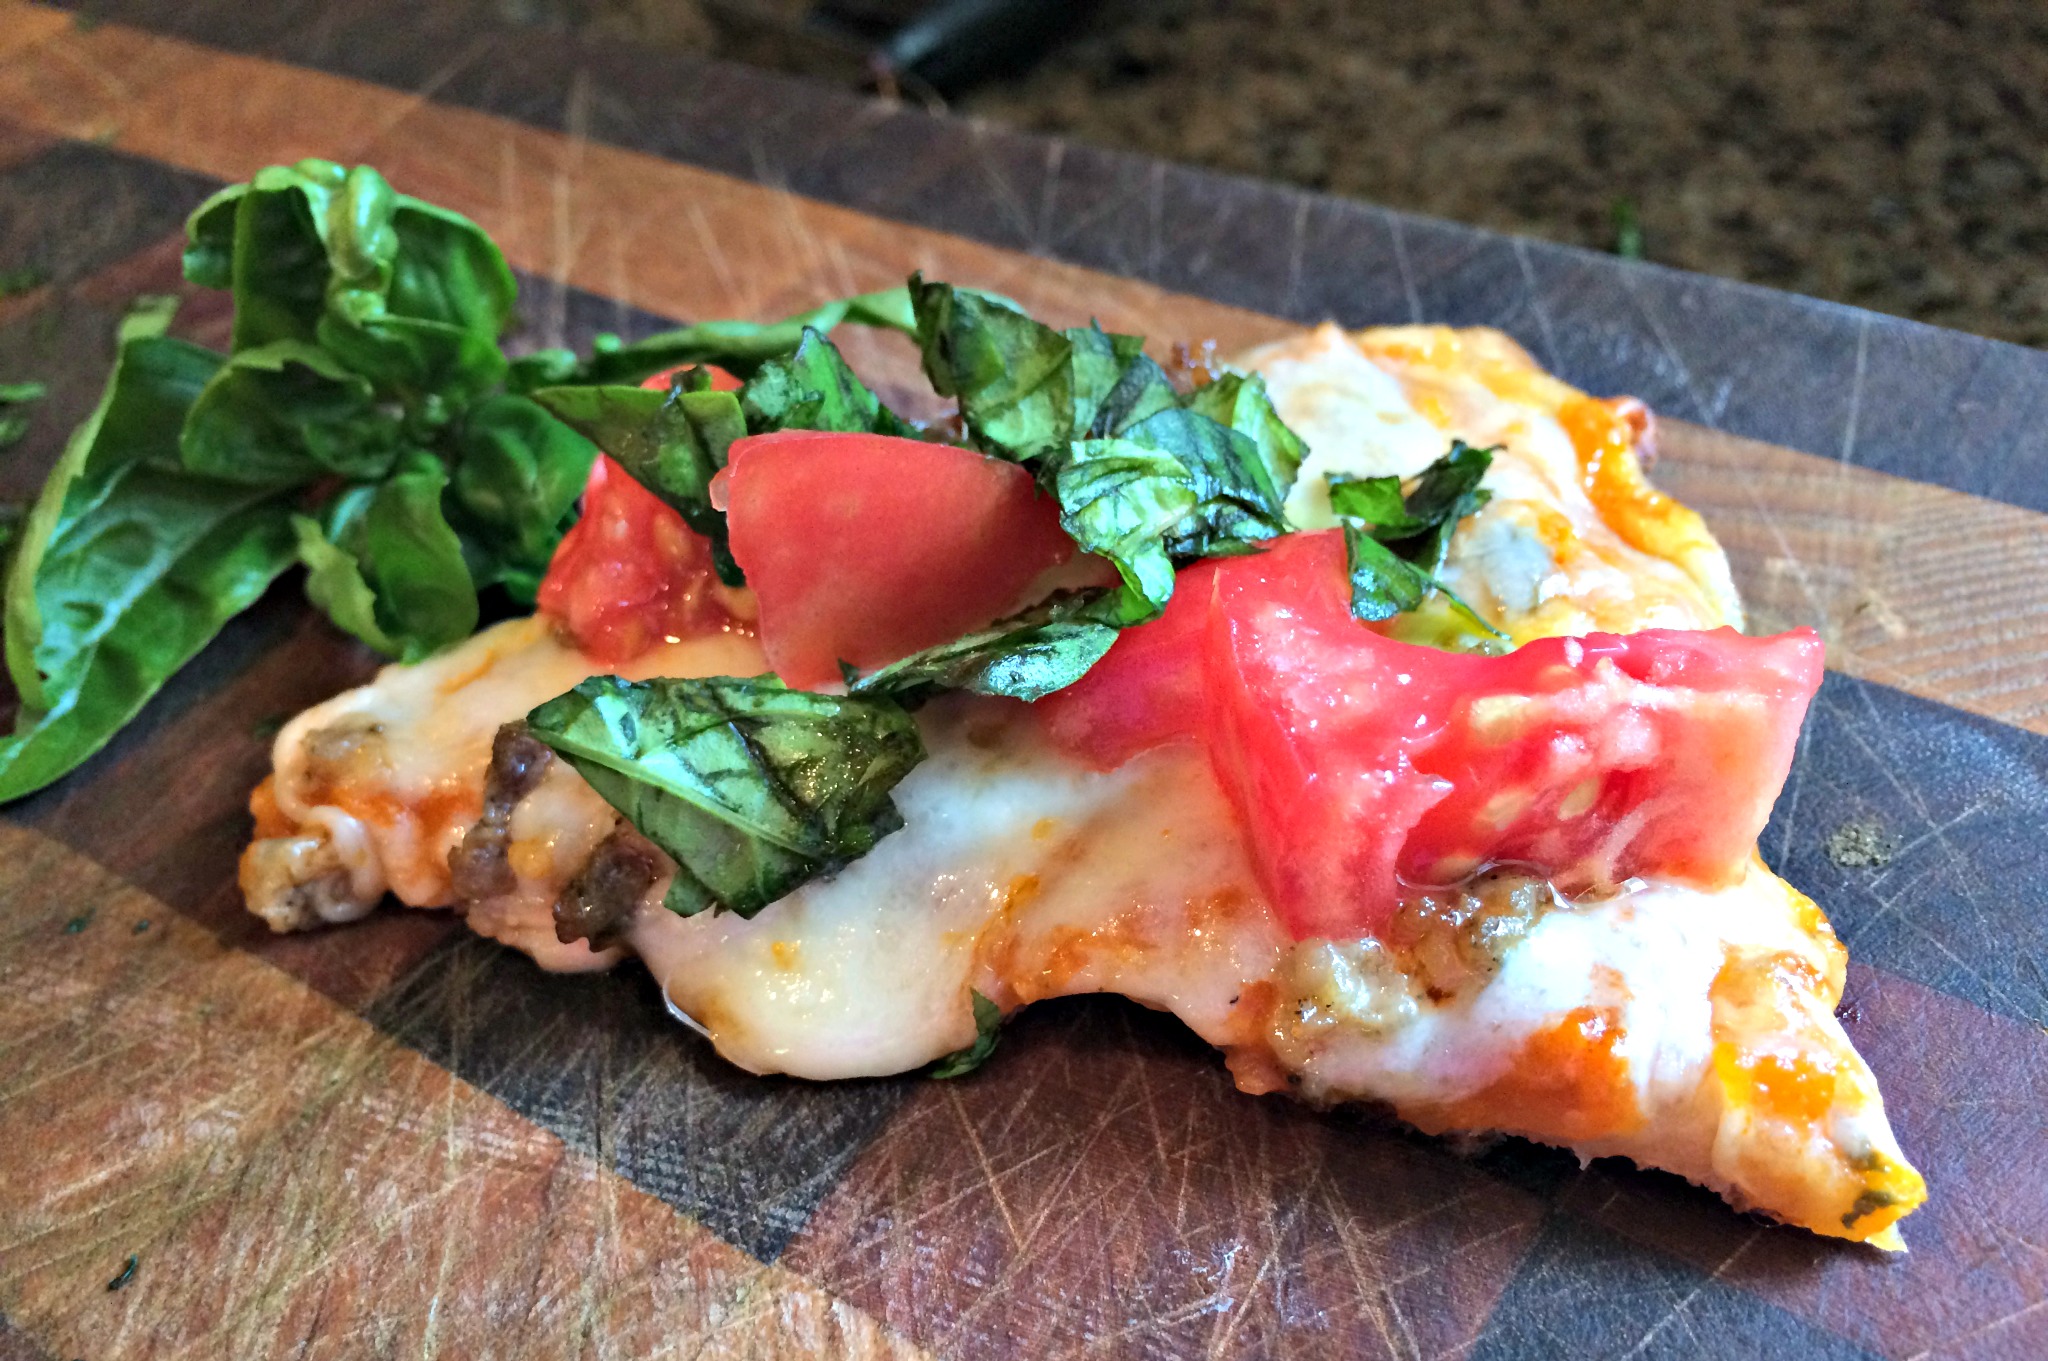
Now that you have your prebaked crust, you can top the daylights out of it & bake it again. For the crispiest crust, oil everything again: the pan, the crust, the edges. Then add toppings & bake at 450 degrees until the edges are brown, the cheese is melted & bubbly & looking just like a pizza should.
Be sure to join the blog if you haven’t already…. By email (here).
Happy Baking!
-Candi

| Servings |
batch
|
- 1 cup water very warm
- 1/4 cup honey
- 1/2 cup butter melted & warm
- 1 cup milk very warm
- 1 1/2 tbsp active dry yeast
- 2 eggs
- 2 tsp Salt
- 6-7 cups fresh milled flour hard white wheat
Ingredients
|
|
Add water, honey, melted butter & milk to your mixer with dough hook attached. Sprinkle yeast over surface of liquid. Turn mixer on low to mix in the yeast & turn off. Cover the bowl & allow yeast to activate for 10-15 minutes. Once yeast is bubbly add eggs. Begin adding flour 3 cups at first & mix in. Add the salt & mix in. Continue adding flour one cup at a time while your dough hook is kneading. Watch the dough as you add the flour. When the dough begins to “clean the sides or pull away from the sides” you have added the correct amount of flour.
Set mixer to knead the dough on medium for 8 minutes. Take out dough hook, cover & let rest for 15 minutes. Remove cover, punch down dough & shape as desired. After shaping the dough, cover lightly and allow to rise before baking. It should take 20-30 minutes (depending on the temperature in your kitchen) for your buns to double in size.
When they have doubled remove the plastic, brush with egg wash if desired & place in a 340-degree oven. Bake 30 minutes.


Anonymous
10/03/2016I made this as pizza crust Friday night with my granddaughter’s help (they weren’t quite round) but we had a blast. We used 2 and put the rest in the freezer. I used your sauce recipe (“jarred” a few weeks ago) and topped it with garden vegetables, pepperoni and ham. It was awesome! I then made this again Saturday morning for Cinnamon Rolls and they were the best! Thank you for sharing your life and recipes with us. You inspire me to do more.
Candi
10/03/2016So Glad you enjoyed it!