
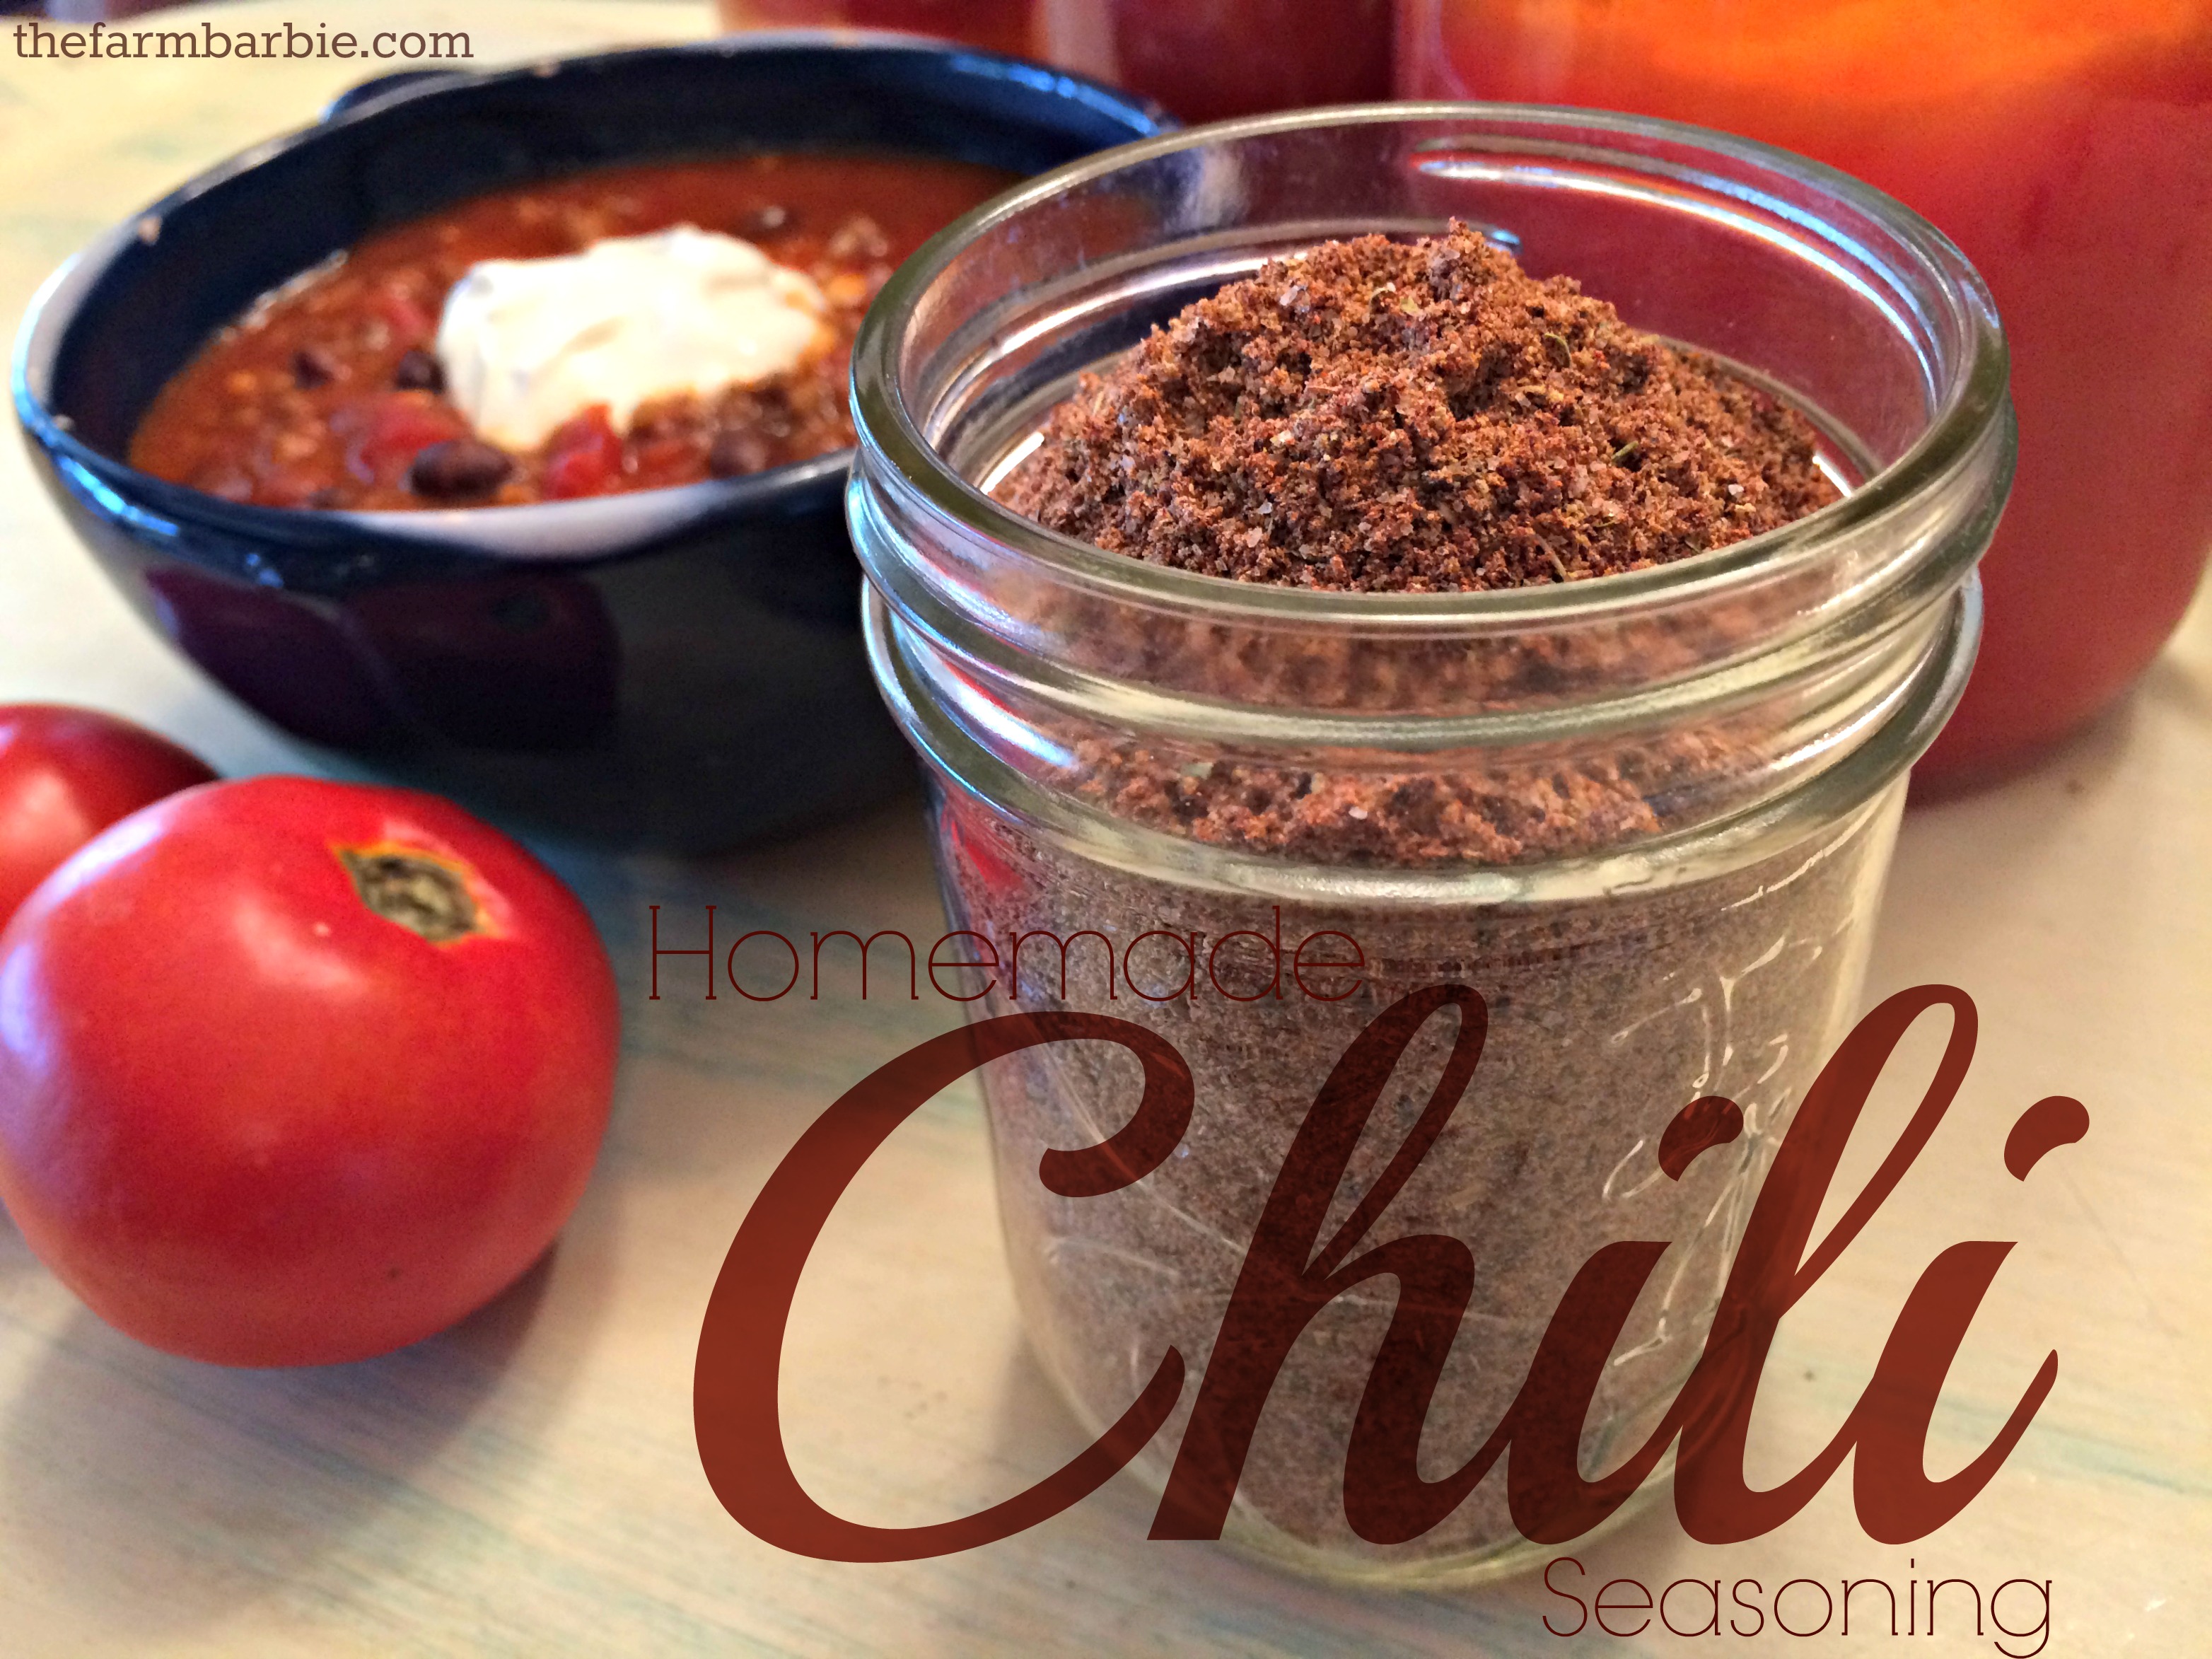
Make your own Chili Seasoning.
It’s healthier, easy and (I think) better tasting.
Have you ever read the ingredients in those packets that they sell at the grocery?
Which packets, you say?
Any of them: dips, salad dressings, gravy, chili, taco mix. There’s tons of them.
Ack – chemicals. MSG. Weird stuff I can’t pronounce.
I am ashamed to say that these little packets of convenience were one of the last to go from my world and pantry. It was hard to say good-bye, but the good news is that you can make most of them in your own kitchen.
Really. Dip mixes, chili seasoning, taco mix, salad dressings. It’s not hard.
Not only will they be homemade, they will be healthier & I think they taste better.
I like to make big batches of them and store them in little mason jars. I have cute jars filled with assorted seasonings in my pantry that I can grab whenever I need them.
They also make great gifts, by the way.

This is my FAVORITE mix by far.
It can be used to make chili or tacos or empanadas. Really, it can. You can use this seasoning mix to make some rockin’, perfect chili OR it can be used on ground meat (ground beef, pork, or venison will do) for taco night.
Today, I’m going to show you how to turn this mix into a thick, rich, perfectly-spicy chili.
First, let’s make the seasoning mix!
You can use organic. You can use fresh from your garden. You can use McCormick. This is a judgement free zone. I’ll be using a bit of everything. I have fresh garlic & oregano from my garden – but the rest will be coming from convenient plastic containers. Which (I think) is still waaaaaay better than the packets of nitrates & MSG sold at the store. A-hem.
If you want to store this in your pantry or give it away as gifts, it is best to use dried herbs & seasonings so it won’t need to be refrigerated & will have an extended shelf life.

This is so easy. Just start measuring & dump them all into a bowl.
Mix all the seasonings together to combine.
That’s it for the seasonings. You can store this in an airtight container (I use little mason jars) in your pantry until you need it.
If you want to eat chili tonight, go get some meat out of the freezer.
I say “meat” because you have lots of options for chili. Ground beef, ground pork, ground venison and even mild sausage works great in this chili recipe. I have used all of them, and combinations of them. It always results with groaning adults and children refilling their bowls.
I use what needs to be eaten.
Today I have 2 packages of venison sausage and a package of ground venison that needs to be consumed. Rifle season opens in 2 weeks here in Kentucky & these 3 packages represent the sparse remains of last years deer (there were 5 of them). I like to get all the venison from the previous year out of the freezer and into bodies before we begin stockpiling the fresh provisions.
So, a combination of ground venison & venison sausage will make my chili today. If you have beef – it will be great. If you have pork – it will be great. If you use sausage, it will be spicier, but fabulous.
Chop 2 onions & put them in the skillet with 2 pounds of ground meat & get it all browned.
If you used garlic powder, you won’t need to add garlic. I’m using fresh, so I minced mine & tossed it in with the ground meat & onions.
We need to add some tomatoes to this. You have options here, too. I won’t mind if you bought your canned goods at the supermarket. They will do just fine.
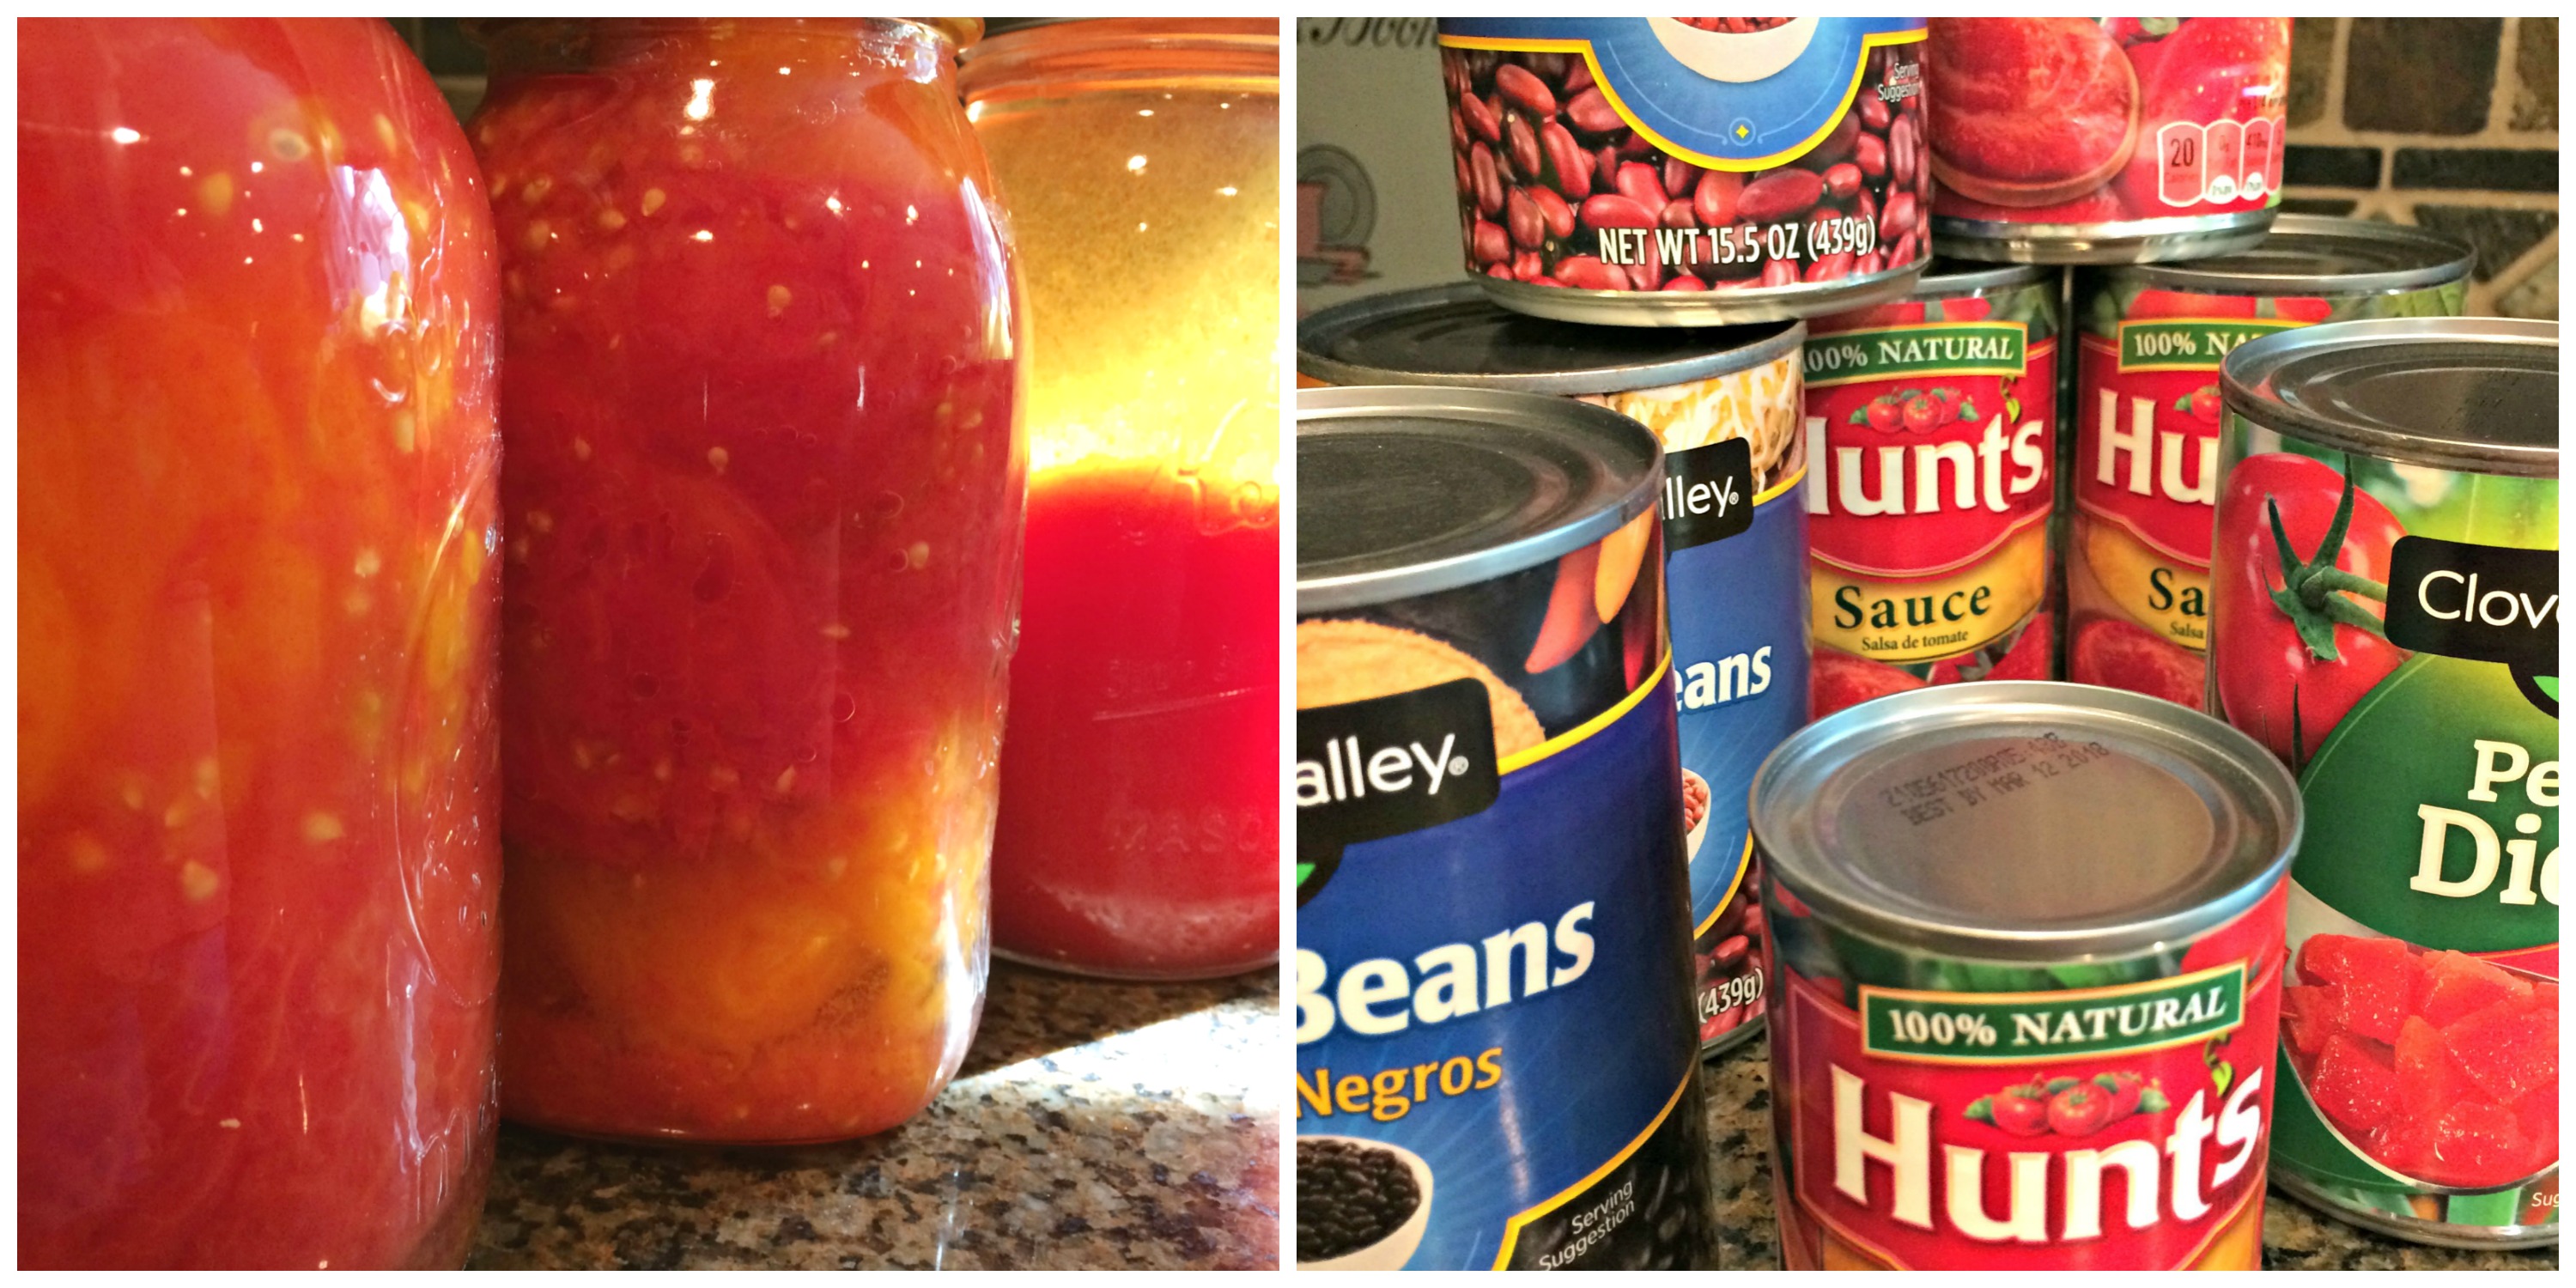
Since I have too many gardens & spent my entire summer canning vegetables, I will be using the farm fresh variety.
If you used a skillet to brown your meat & onions you will need to move things to a big stock pot. If you are smart and browned your meat in the bottom of a stock pot, pour all the tomatoes & sauce on your meat mixture.
Get that stirred up.
Now, let’s add some flavor! Add 1/2 of the seasoning mix to your chili & stir it up.
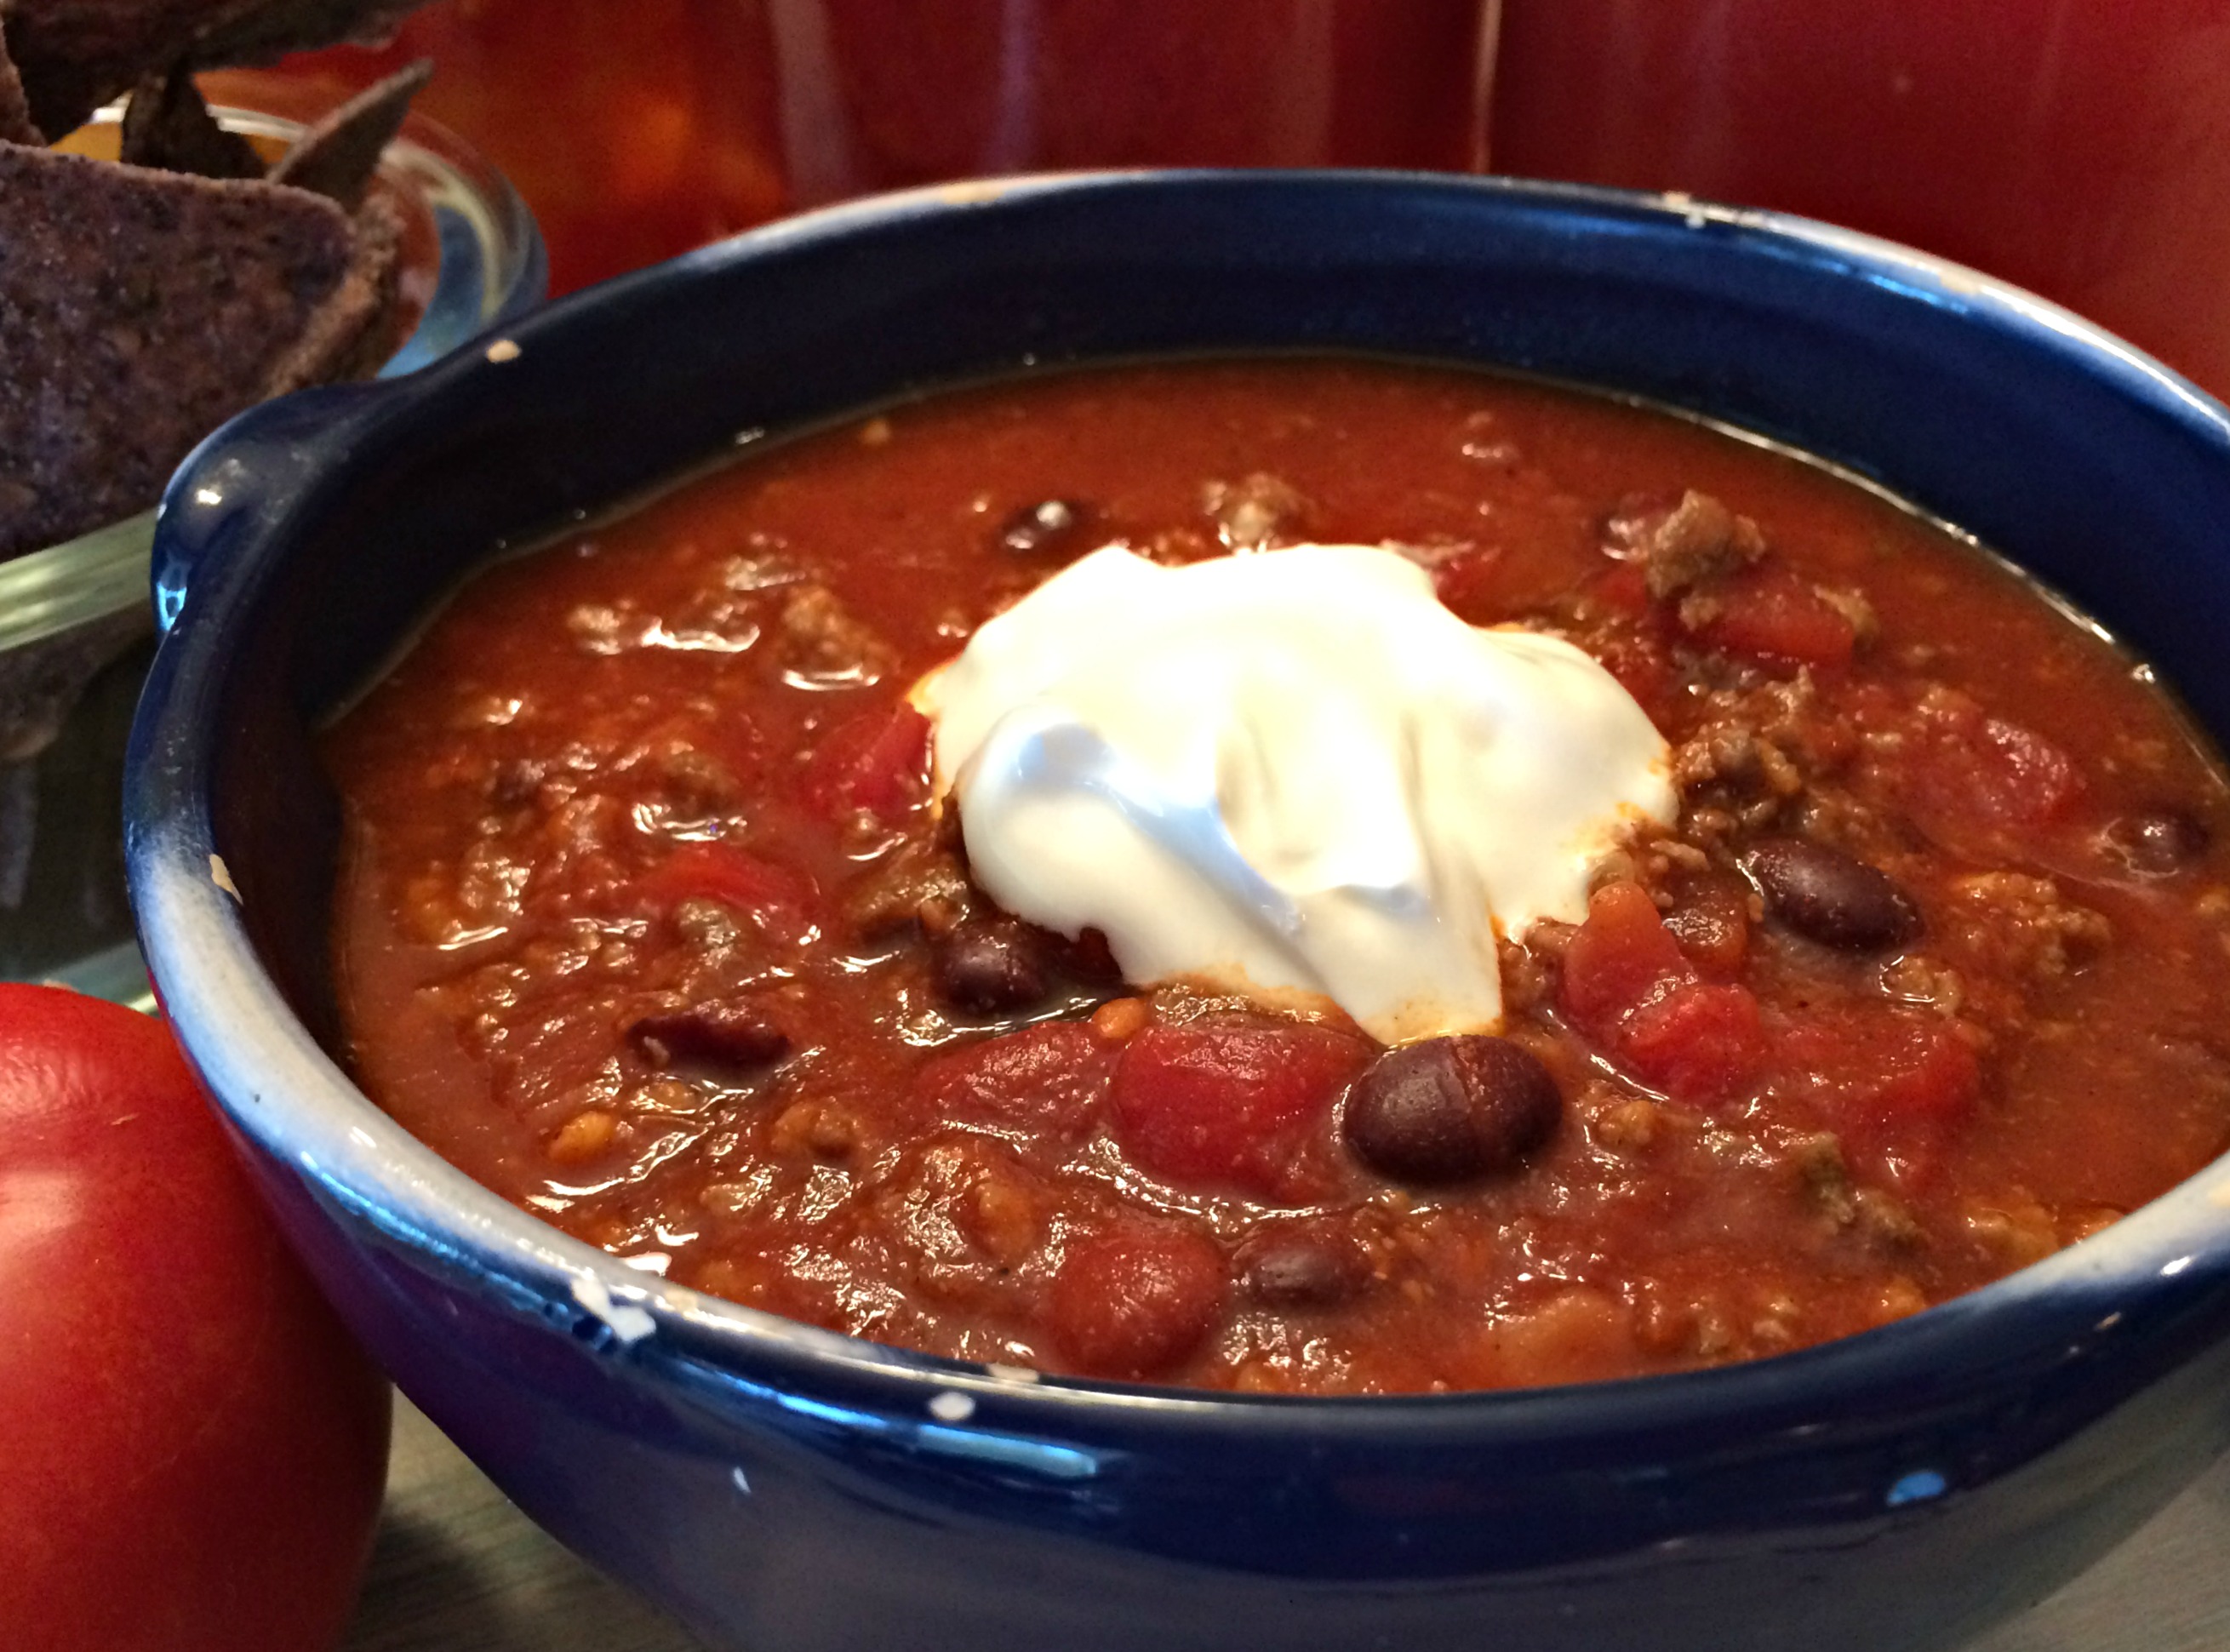
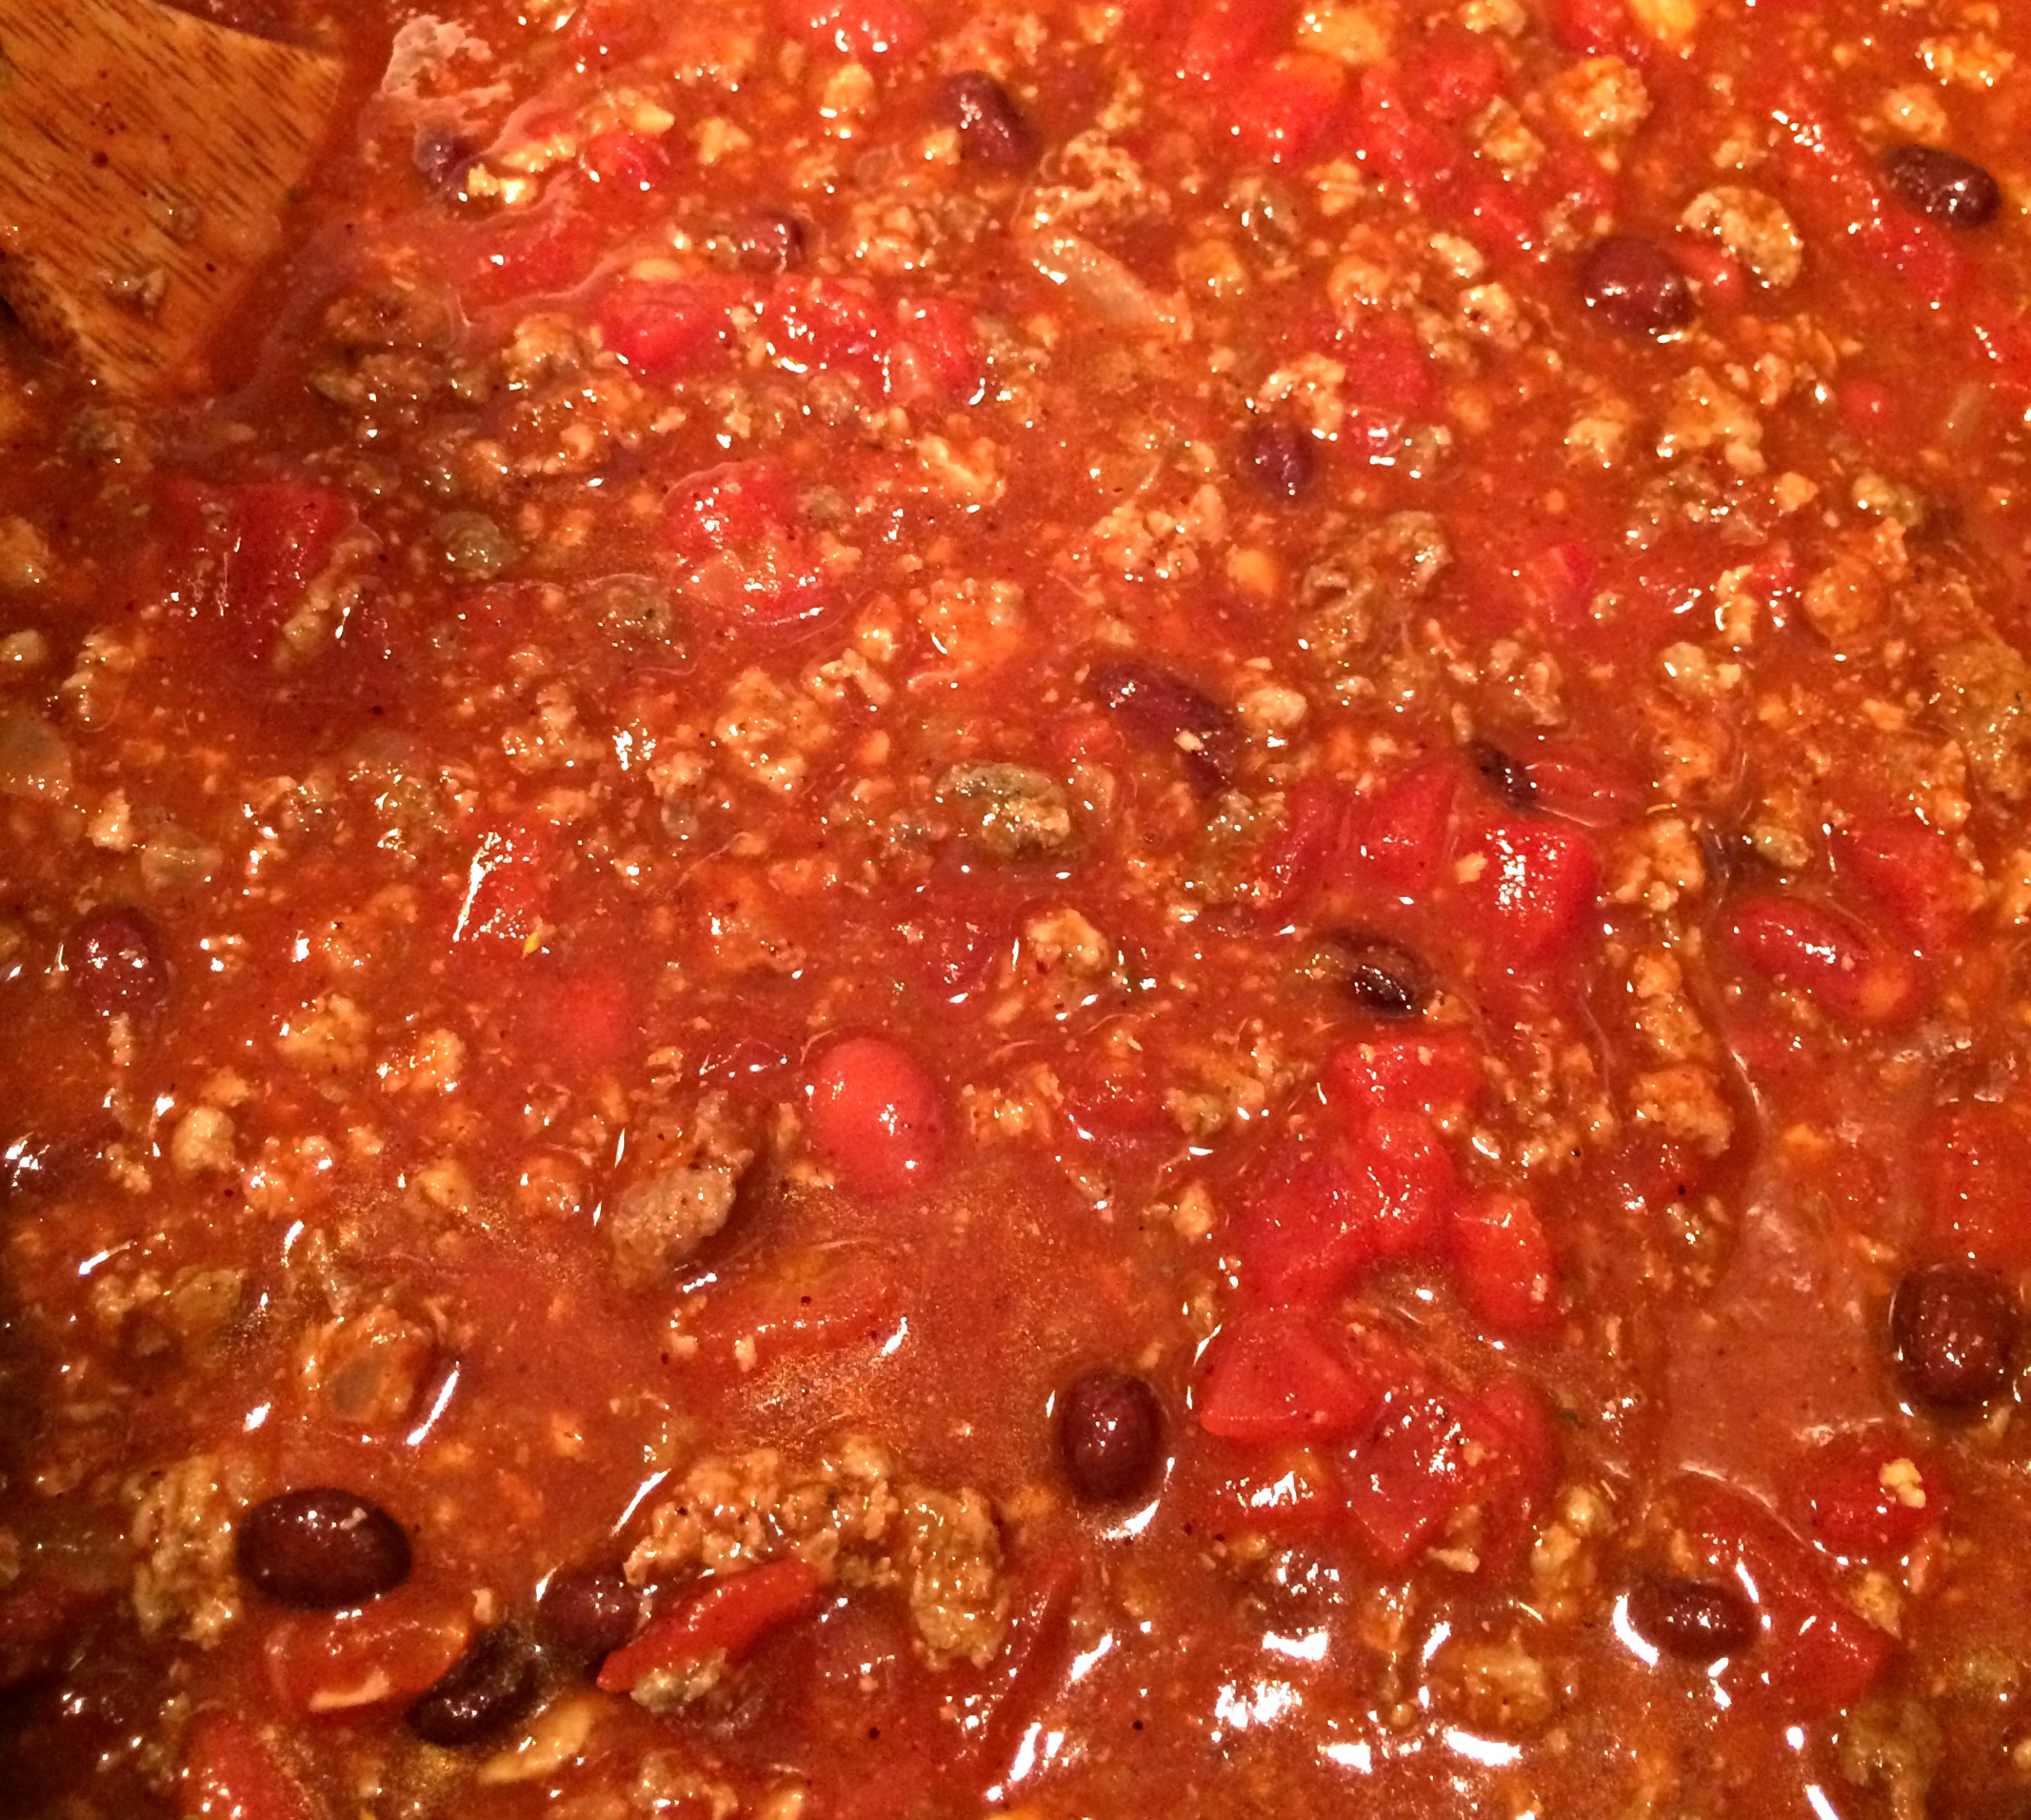
Last, add the beans (optional). I know some people have an aversion to beans in their chili. We love them. I use black beans and chili beans.
Give this a stir & let it simmer for 20 mintues. This is a great time to give the chili a taste. If you want to kick the spice up a bit you can add more of your homemade seasoning mix a teaspoon at a time until it is suited to your taste. I absolutely love the flexibility of having containers of my own seasoning. I don’t have to worry about packets, or not having enough.
Get old fashioned tips and recipes delivered straight to you! You can subscribe via email (here).
Love,
Candi
| Servings |
pot
|
- 2 tbsp cumin
- 4 tbsp chili powder
- 2-3 tbsp garlic fresh - 2-3 cloves minced
- 2 tsp oregano
- 4 tsp Salt more to taste
- 1/2 tsp cayenne pepper more to taste
- 3 tsp paprika
- 4 tsp corn starch (for thickening)
- 2 lbs ground meat (beef, venison, pork or sausage)
- 2-3 onions diced
- 2 cans (14.5 oz each) tomatoes diced
- 3 cans (15 oz each) tomato sauce
- 2 cans beans
- Chili Seasoning Mix (1/2 of the recipe)
Ingredients
Chili Seasoning (will make 2 batches of chili)
To Make Chili
|
|
To Make Chili Seasoning Mix:
Add all seasonings & cornstarch to a bowl & mix to combine. Set aside. This recipe is enough seasonings for 2 pots of chili. One for now and one for later (or to share!).
To Make Chili:
Chop 2 onions & put them in a large stock pot with 2 pounds of ground meat. Cook on stove-top until meat is browned and onions are clear. Drain off excess fat.
Add the diced tomatoes & tomato sauce to the meat and onions. Stir to combine.
Add 1/2 of the seasoning mix to your chili & stir it up. You can always add more if you want more spice. Taste it & adjust to your liking.
Add beans (optional). Give this a stir & let it simmer for 20 minutes.
Serve with pasta, sour cream, chives, grated cheese, tortilla chips, cilantro, fresh lime or anything else you love on your chili!


helenfern
01/06/2017This sounds great!! Would love it if you shared it at our What’s for Dinner Link up!!
http://www.lazygastronome.com/whats-for-dinner-sunday-link-up-77/#more-3960
Candi
01/06/2017Will do!
-cj
helenfern
01/07/2017Glad to see you joined the party Candi!! Hope to see you next week too – you have some great recipes!