
Starting Your Own Seeds
Joy! Joy! Joy! I may not be in my garden yet, but I’m playing with dirt in my kitchen and starting seeds and couldn’t be happier!
This is the first post in a series. To read on and see what I grow in my little green house:
- Start Your Seeds Indoors #2 – Planting the Seeds
- Start Your Seeds Indoors #3 – Waiting and More Waiting
- Start Your Seeds Indoors #4 – Transplanting Seedlings into Bigger Pots

Today I am going to show you the easiest, simplest, cheapest way to start your own seeds indoors (well, it’s the easiest, simplest, cheapest way I’ve ever found). This little greenhouse has been faithful to grow all my seeds for years. It is quick to build, costs next to nothing and can be tucked into a kitchen or bathroom without taking over your house.
I’m not an expert on timing, plantings, germination periods or transplanting. Before my little plants reach my garden I’m sure they will be forgotten at least once, stunted at least twice, deprived of water a couple of times and I will still love them.
I’m not a perfect gardener, but even with all my mistakes and setbacks – I have managed to get a successful harvest from my little kitchen greenhouse year after year. Aren’t you glad we don’t have to be perfect? 🙂
If you want to grow your own plants from seeds and save hundreds of dollars and have fun –
I can Show you How!
You can take this seed starting system and run with it. If you want to stagger the planting times so that on the first week in May (or whenever your last frost date arrives) all your little baby plants are exactly the right age for transplanting into your garden – go for it. If you want to build 3 growing huts and start your own CSA – you go! The sky’s the limit.
I’m a little more laid back. I’m growing a variety of plants and starting them all right now. Some may be a little big for the light hut by the time they move out – but that’s OK with me.
The next installment of this series will include what I’m growing in my little indoor greenhouse & what I’m not.
Today, we need to build the “Light Hut” so all your baby plants will have a place to sprout, grow and become big, grown-up seedlings.
What is a Light Hut, you ask?

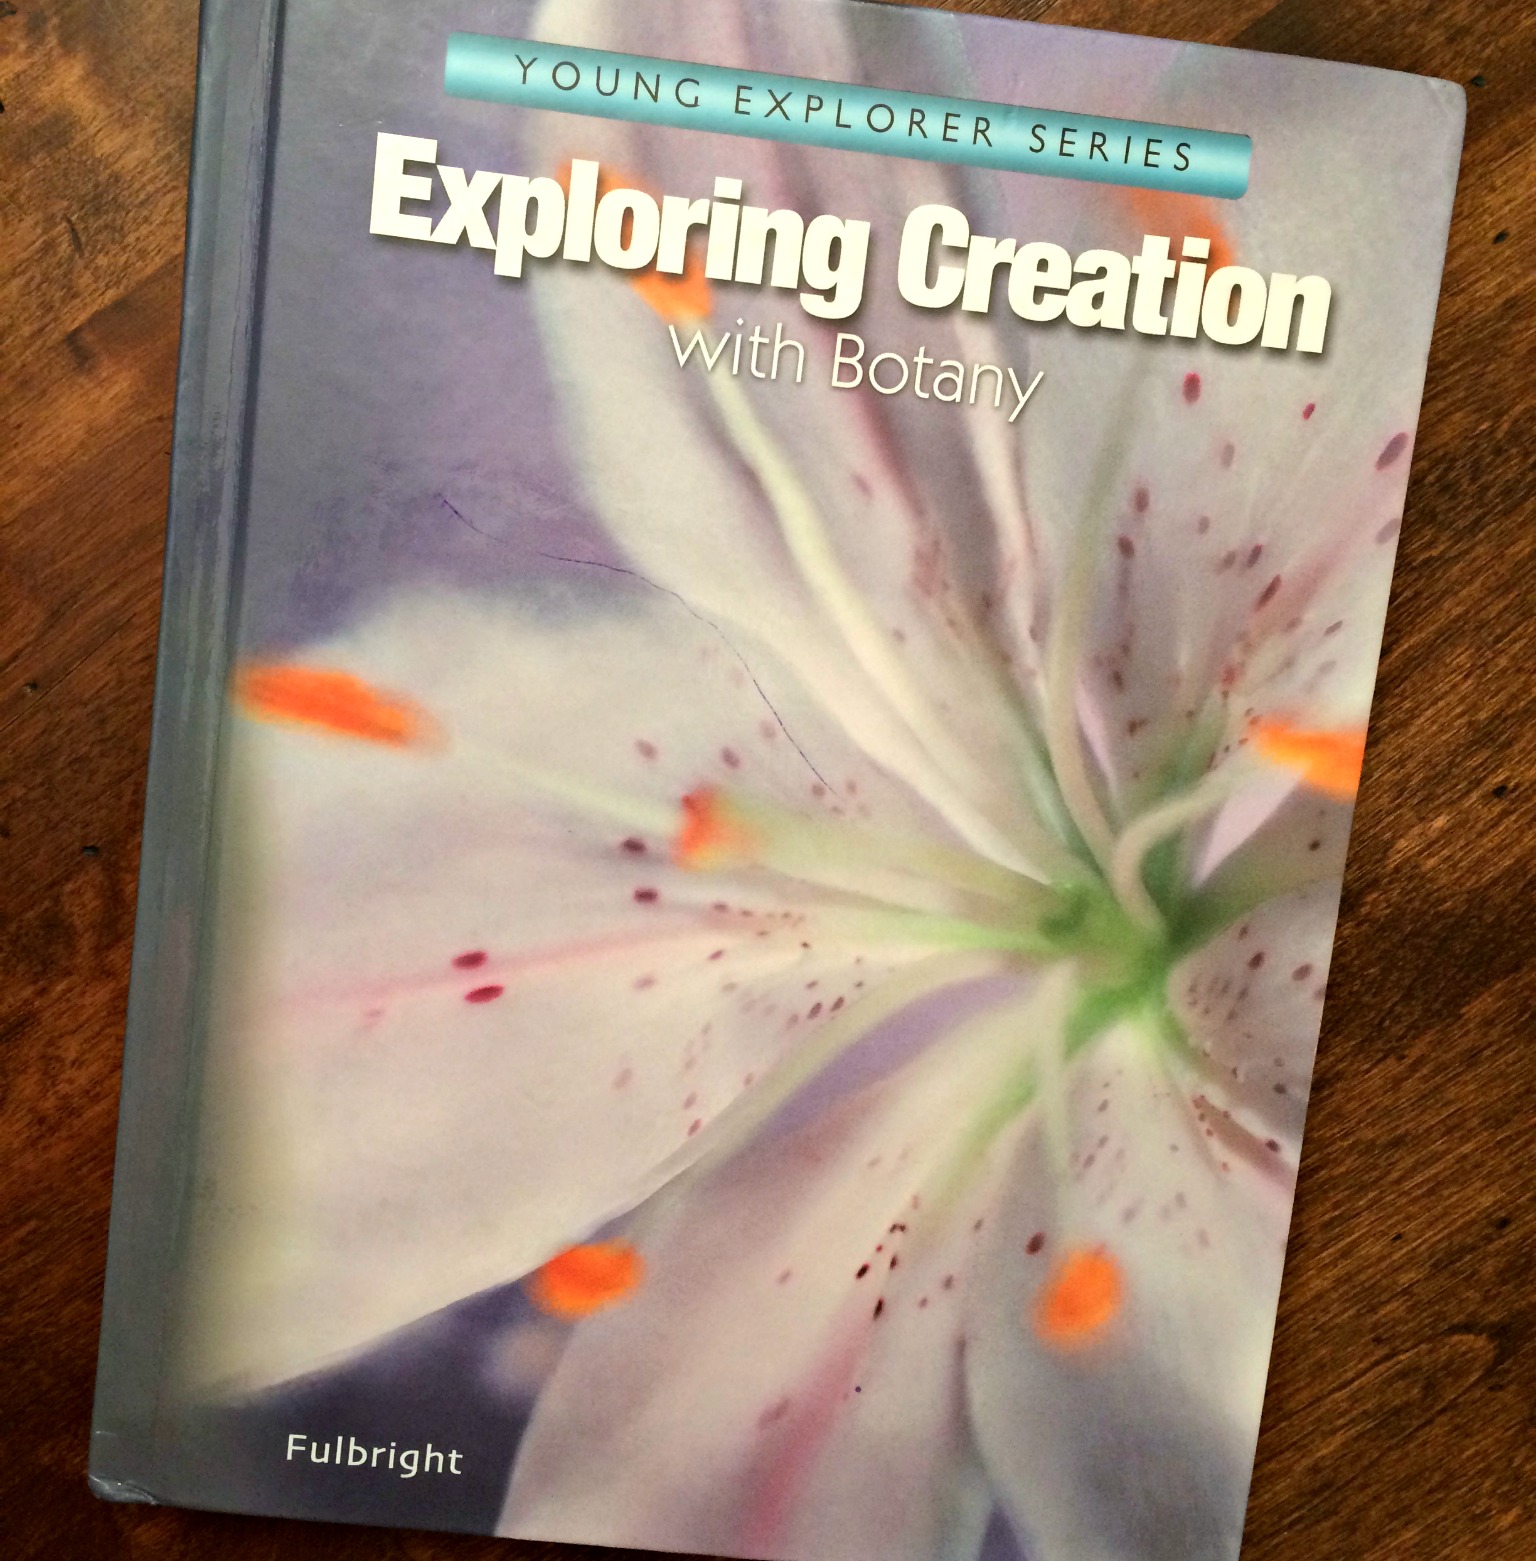
I made my first light hut about 8 years ago when my oldest child had to build one for his science class. We have used Apologia Science textbooks for years. The light hut project is an assignment found in the Exploring Creation with Botany (elementary) book. It was the most fun I have ever had helping a child with a science project in my entire life. Hands down. Big fun.
We He had to build the Light Hut, fill it with containers of dirt, plant the seeds, keep them watered & watch everything grow.
I have had 2 other children go through that same class and build Light Huts since that first one many years ago. These days, I build Light Huts for myself. No assignments necessary. The kids always help and enjoy watching science happen before their eyes, but it’s purely voluntary these days.
I would guess that starting my own seeds in a Light Hut easily saves me $200 on plants. I will typically grow 100+ plants in a year. This would include spring plantings, summer crops and fall plants. I use a relaxed “succession planting” system in my garden where one space may grow peas in spring, cucumbers in summer and greens in fall. By doing this I get more food from less space – but I go through a lot of plants.
The coolest part about this Light Hut is it’s so simple a 9 year old can do it, but so effective, you can start your entire garden with it. Another perk is that it is built with simple items that shouldn’t cost you more than $20.
Yay! Let’s grow our own seedlings!
What you’ll need:
- A cardboard box
- Foil
- Tape or glue
- Plastic lid
- Light socket with plug (usually sold at Home Improvement stores or Department stores)
- 13-15 W spiral light bulb (60 Watt equivalent) – Daylight is preferable
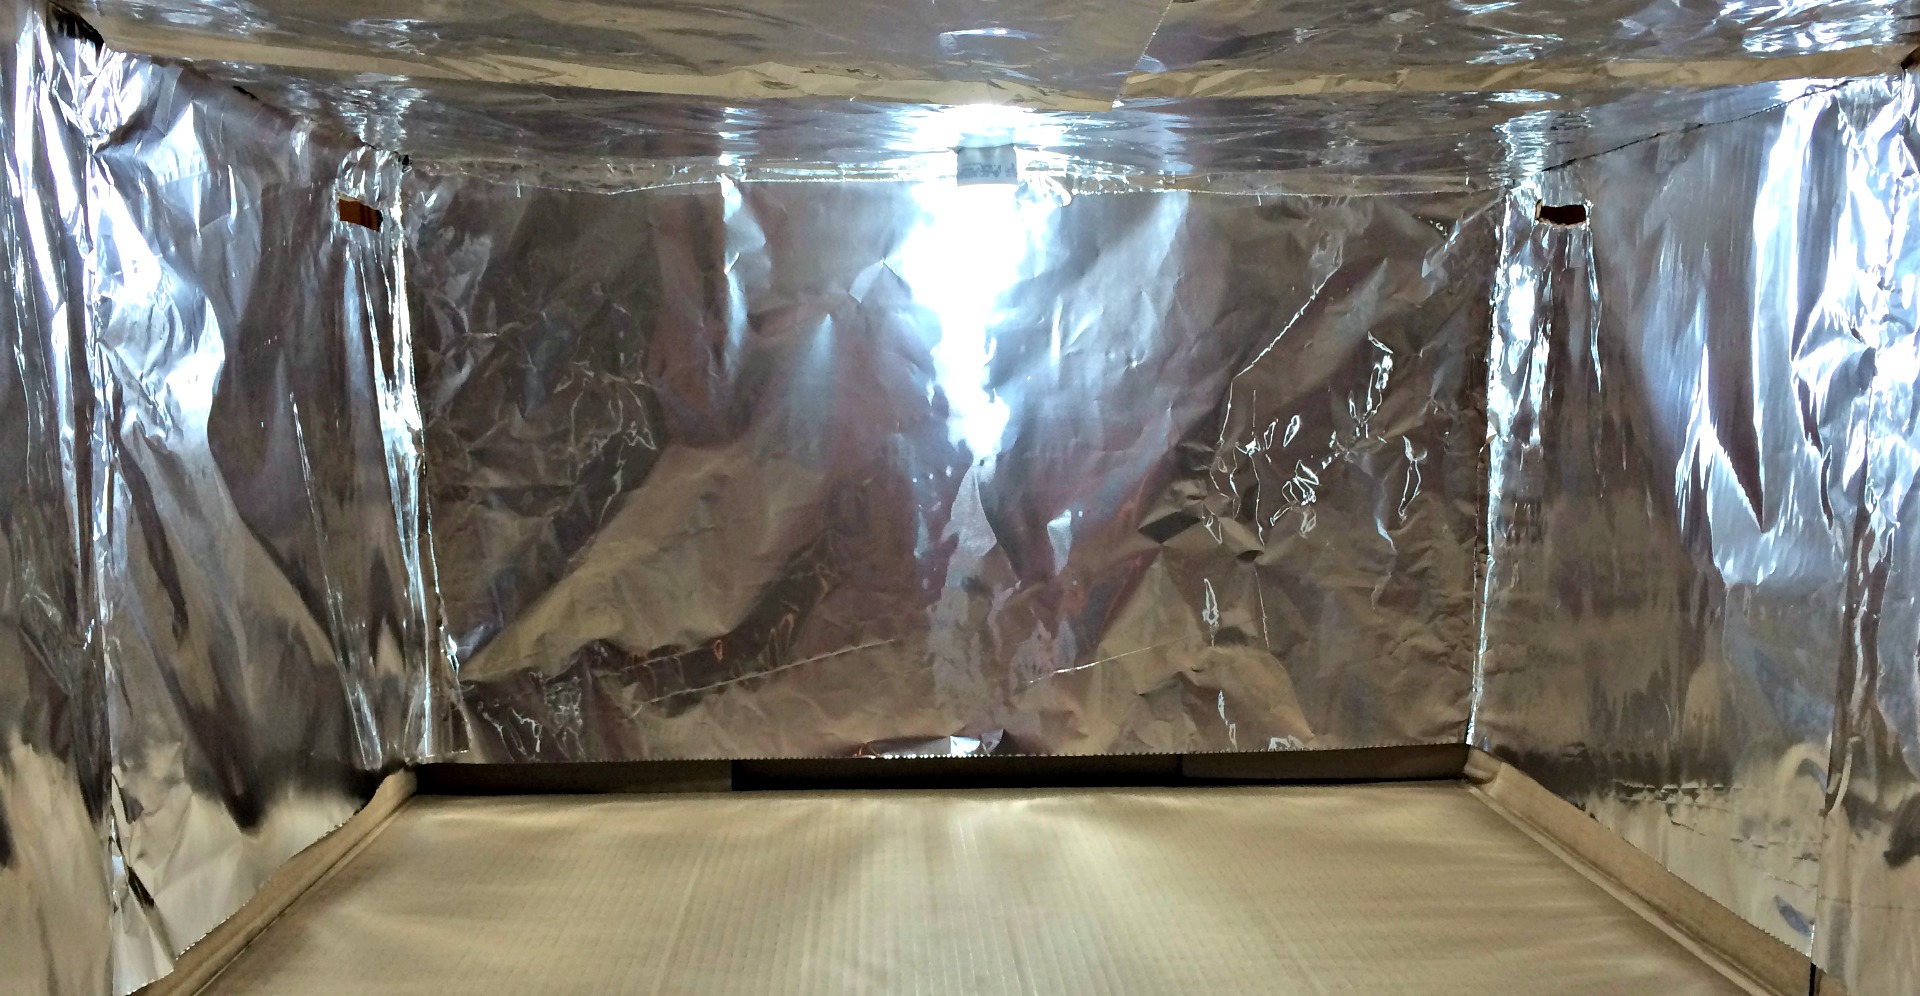
I wanted you to see the finished Light Hut so you will know what we are going for. The card bard box is on it’s side opening facing you. This is the position it will stay in the entire time it is growing your plants for you. The bulb at the top, the plants will sit under the light.
The top, back and sides of the inside of the cardboard box are lined with aluminum foil. There is a grow light in the center of the ceiling of the box. There is no need to line the bottom with foil unless you just want to. We will be putting the plants on foil trays/ pans so there is no need to foil the “floor.”
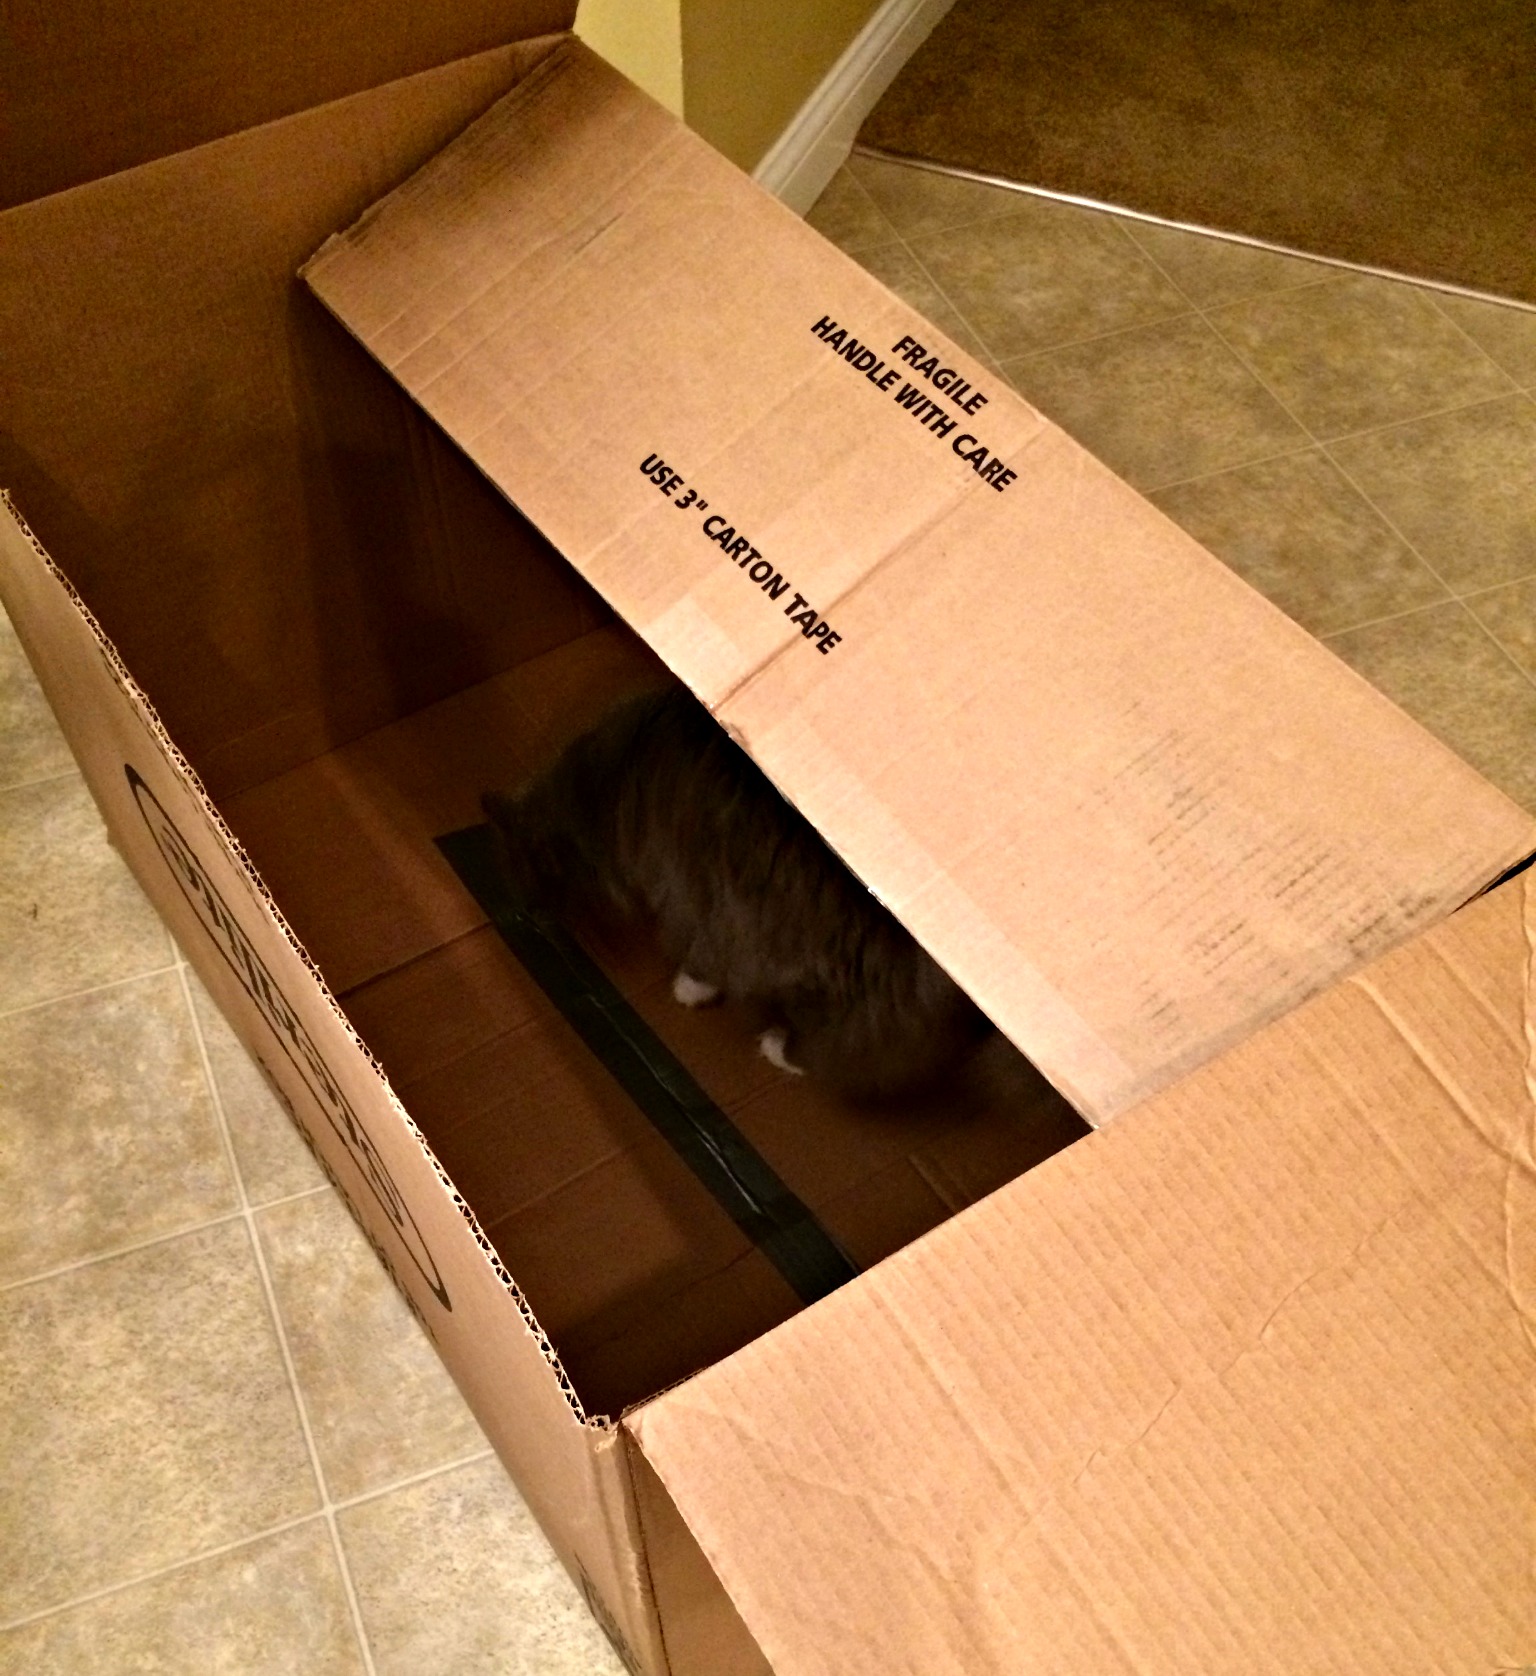
First, you’ll need a cardboard box. Cat optional.
I grabbed this from the little store in my neck of the woods. Cost – free.

Turn you box on its side & cut a 1 inch hole in the top where your light bulb is going to go. You want it to be centered.
Once the hole is cut you’ll need to line the whole thing with aluminum foil (except for the floor where the plants will sit). This will make the inside of your light so bright and shiny and sunny your plants will think they are in Cancun. 🙂
You can glue it or use tape. I used tape. Whatever you have on hand will work.
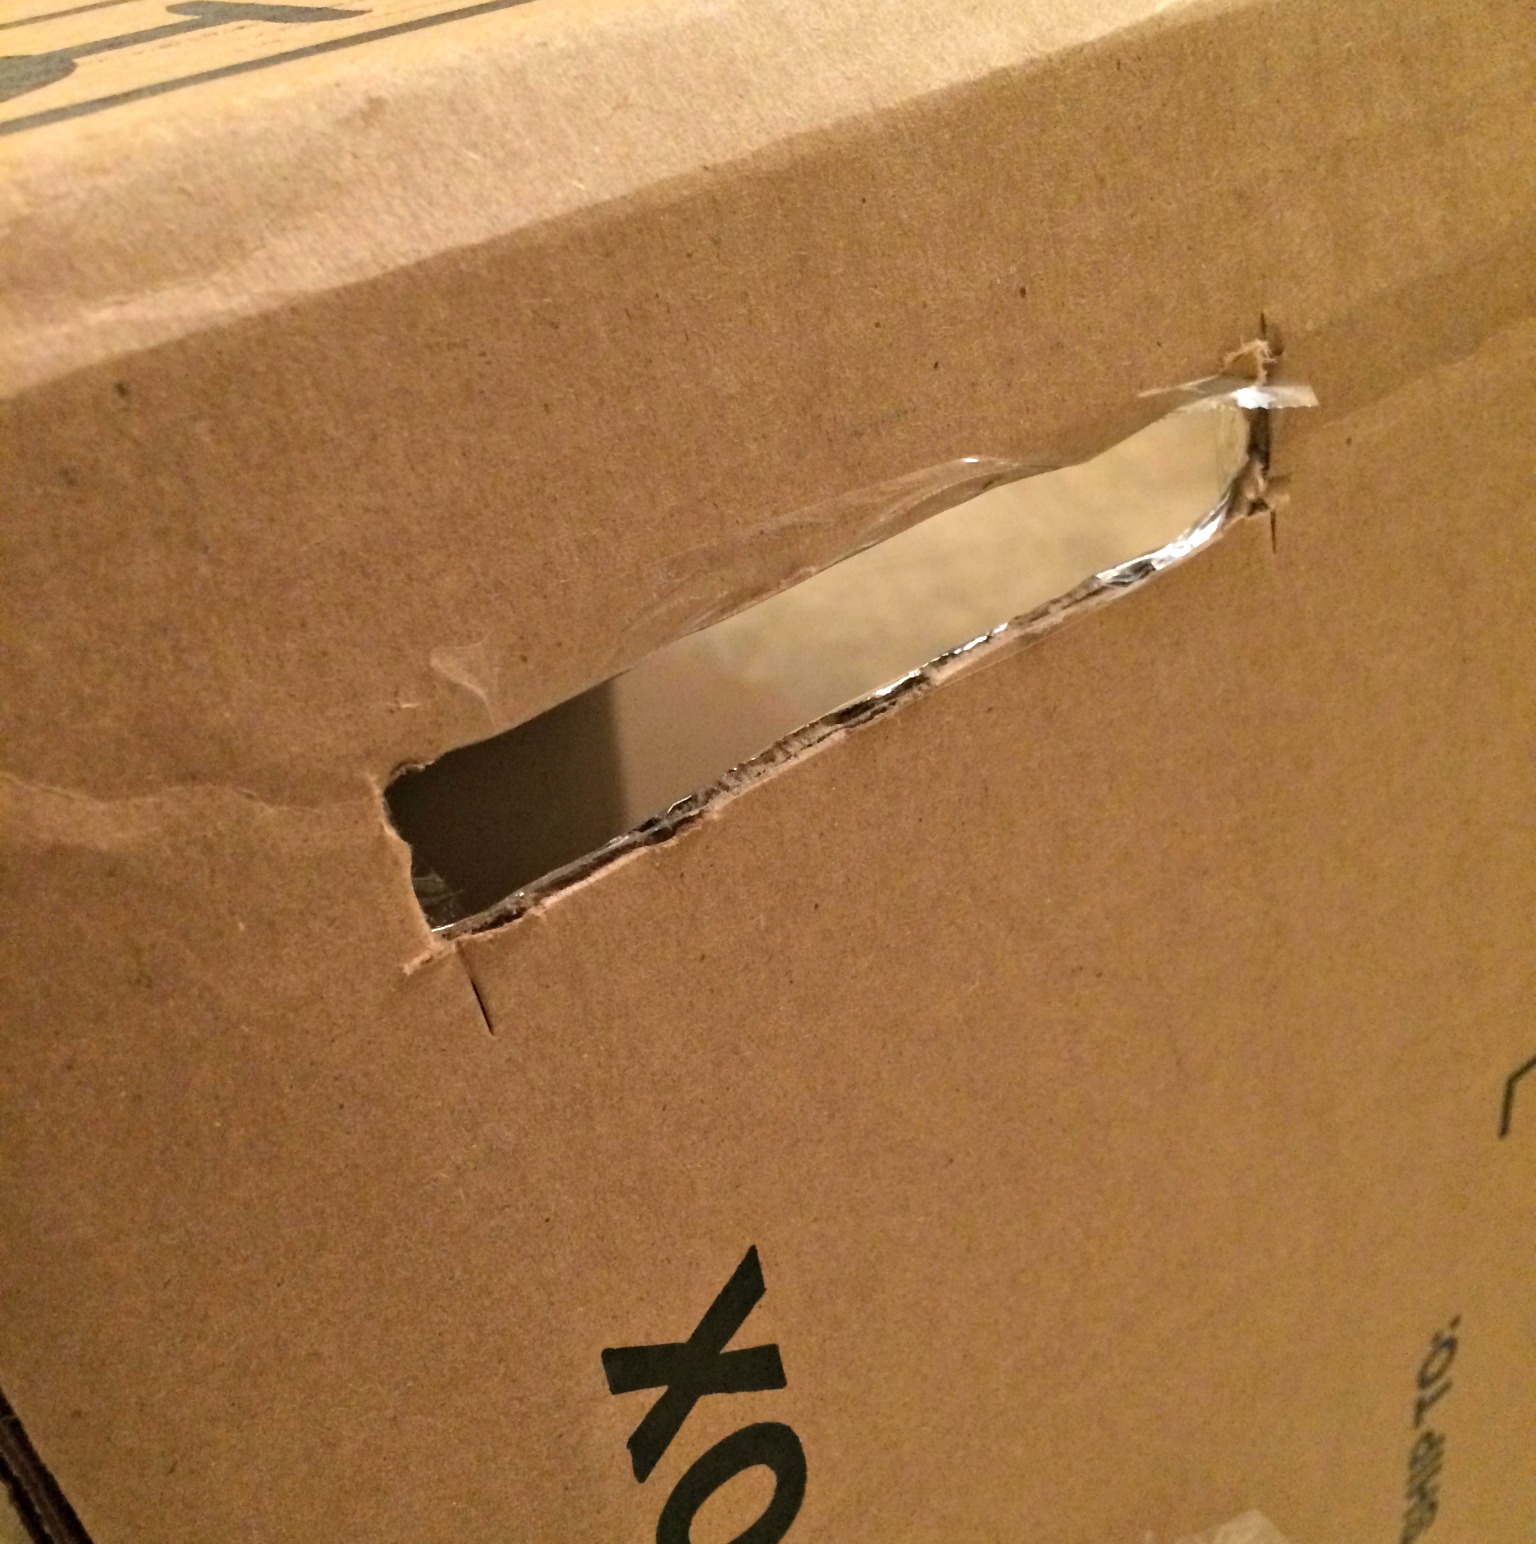
Cut some ventilation holes in the sides of the Light Hut for air flow.
Cut a 1 inch hole in a plastic lid.
That’s it. It’s built. Now let’s install the electric.

Starting from the inside of your Light Hut, push the base of the light bulb (without the socket attached) through the hole in the top of the box. Next, push the plastic lid in place (on the outside of the box) so that the base of the light sticks through it’s hole as well. Screw the light bulb into the socket.
When you finish, the light bulb will be on the inside (ceiling) of your Light Hut and the light socket with plug will be on the outside (roof). Once the bulb is screwed into the socket everything will be secured in place.
All that’s left to do is plug it in & fill it.
Planting the seeds is coming next. Squeal!
To read on and see what I grow in my little green house:
- Start Your Seeds Indoors #2 – Planting the Seeds
- Start Your Seeds Indoors #3 – Waiting and More Waiting
- Start Your Seeds Indoors #4 – Transplanting Seedlings into Bigger Pots
To get old fashioned tips and homesteading fun delivered straight to you be sure to subscribe via email (here).
XO,
Candi


Pea Proffitt
02/10/2016We are sooo doing this. I’m so excited to start gardening!
Candi
11/07/2016Me tooooooooooo!
🙂
-cj
tim
02/11/2016Sooo way cool. I have about 20 sunflowers already up about 18 inches and buds starting to open. Somehow the only seeds to germinate were sunflowers. I hope my chickens love Sunflower seeds? .. Finding heirloom seeds is next to impossible here…
Jeannettea (Striving Acres)
02/12/2016Candi, could you please take and post a picture of the bulb you’re using? I’m just not sure what to look for exactly when I go to the store …
Thanks!
Candi
02/12/2016Sure! Working on it now!
Candi
02/12/2016To see all the specifics on the bulb (with pictures) go here.
Let me know if you have any more questions.
Happy planting!
Michelle Kay Breathitt
02/28/2016Starting mine today 🙂 Thanks for your fun and simple inspiration.
Candi
11/07/2016Very Welcome!
-cj